Discovering Judges Bay
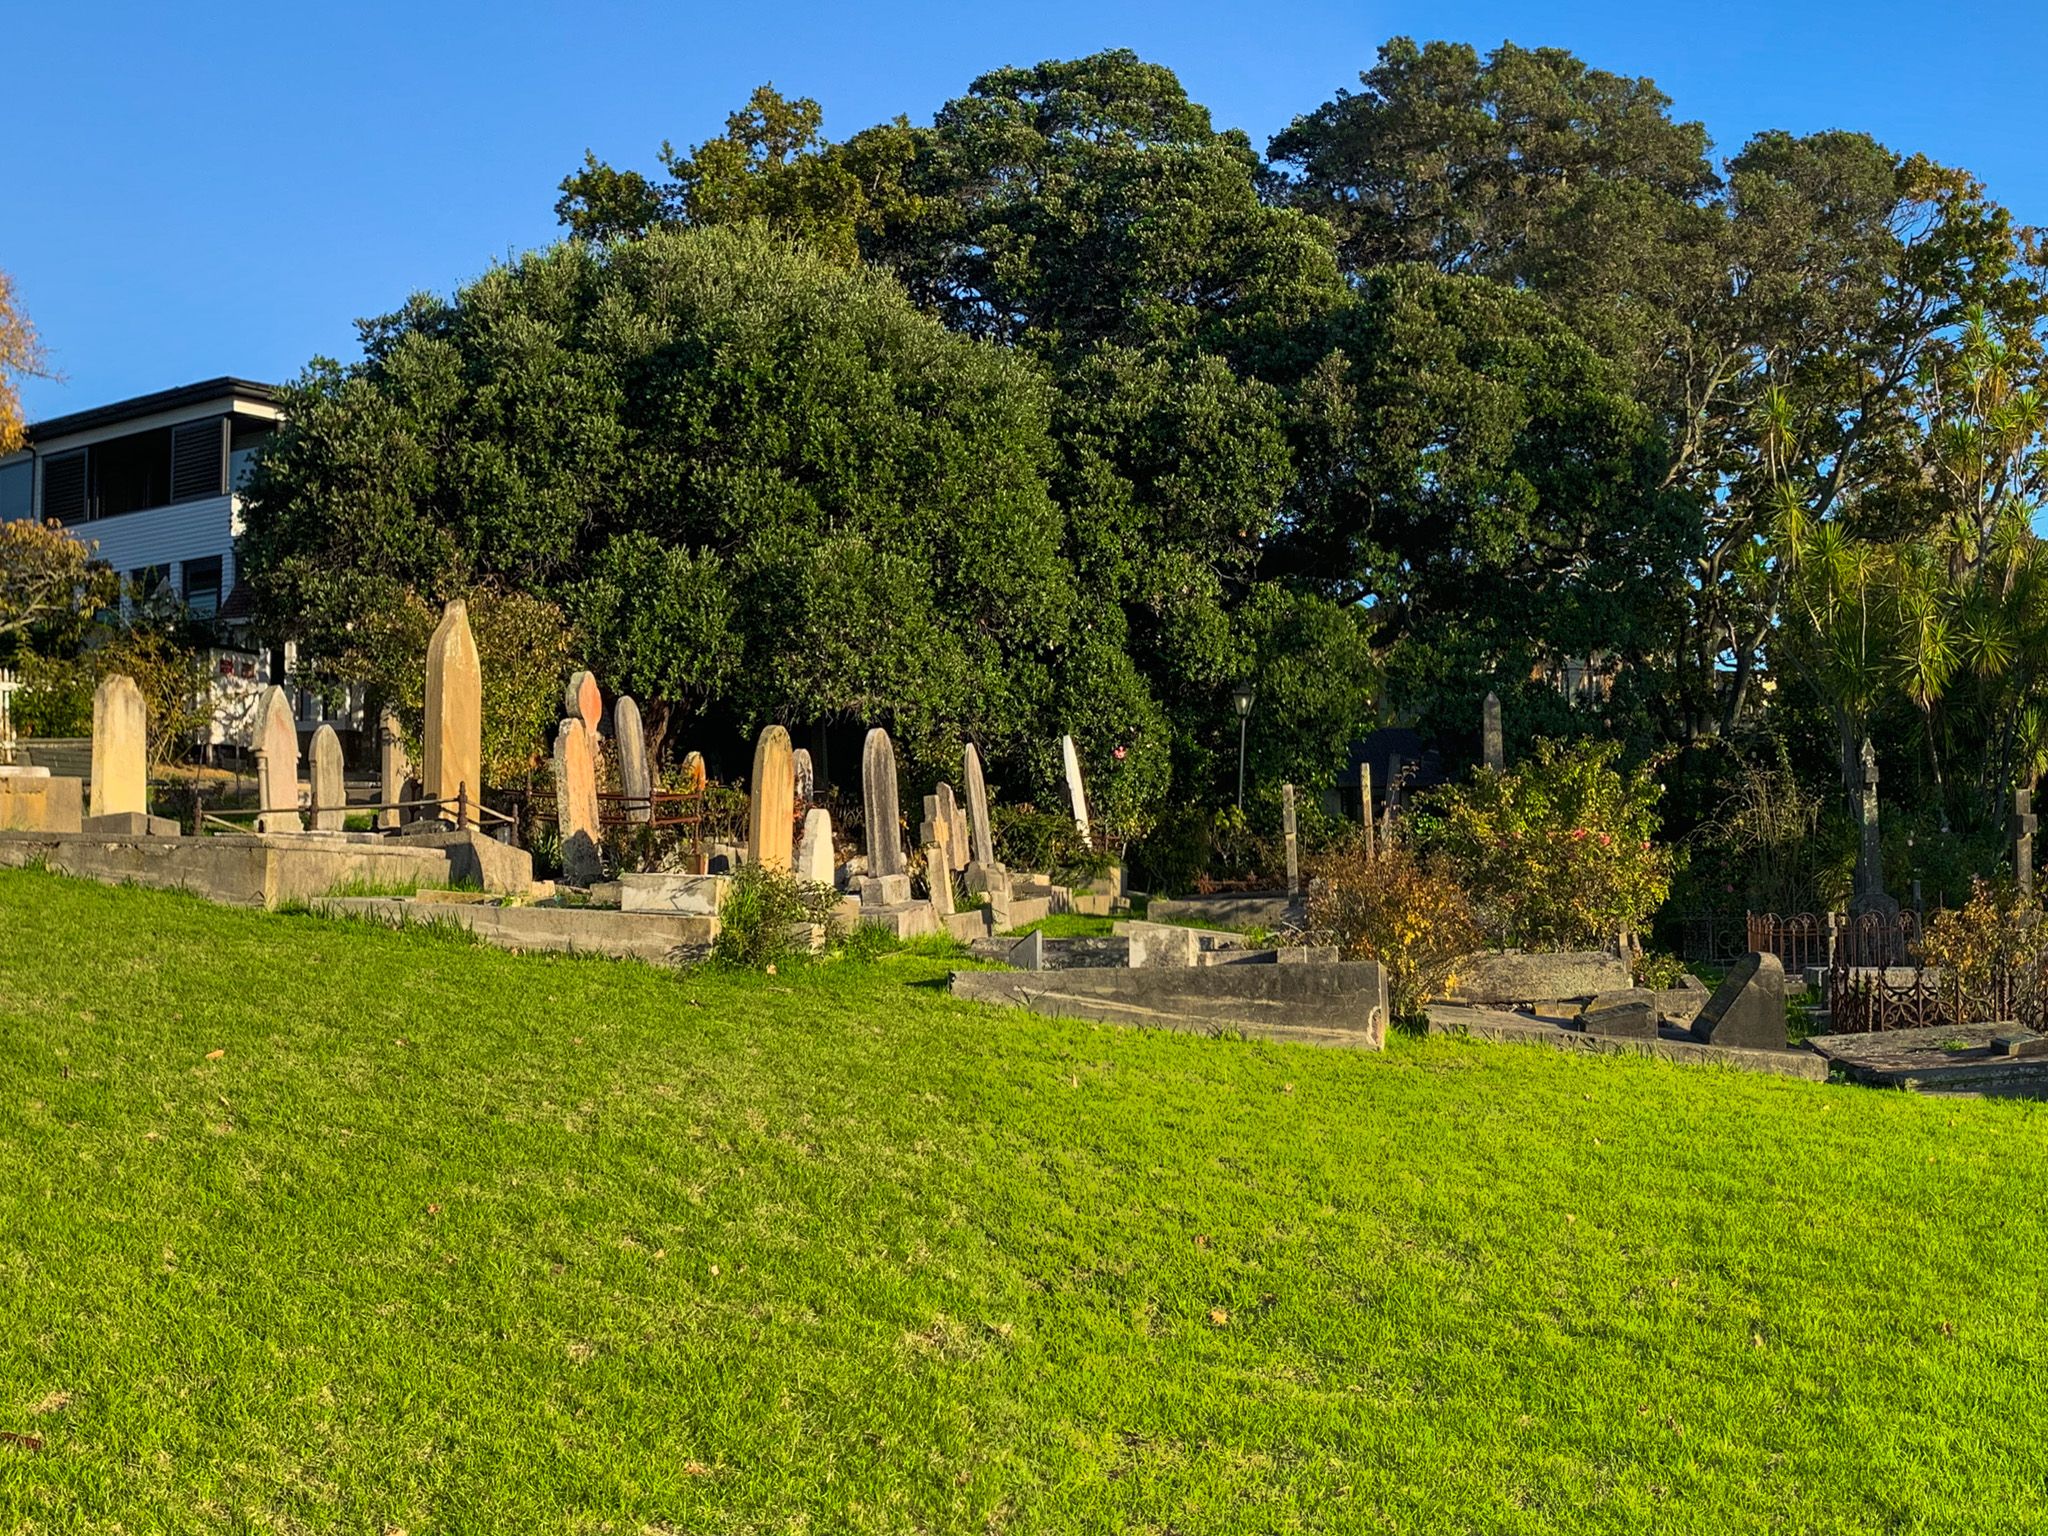
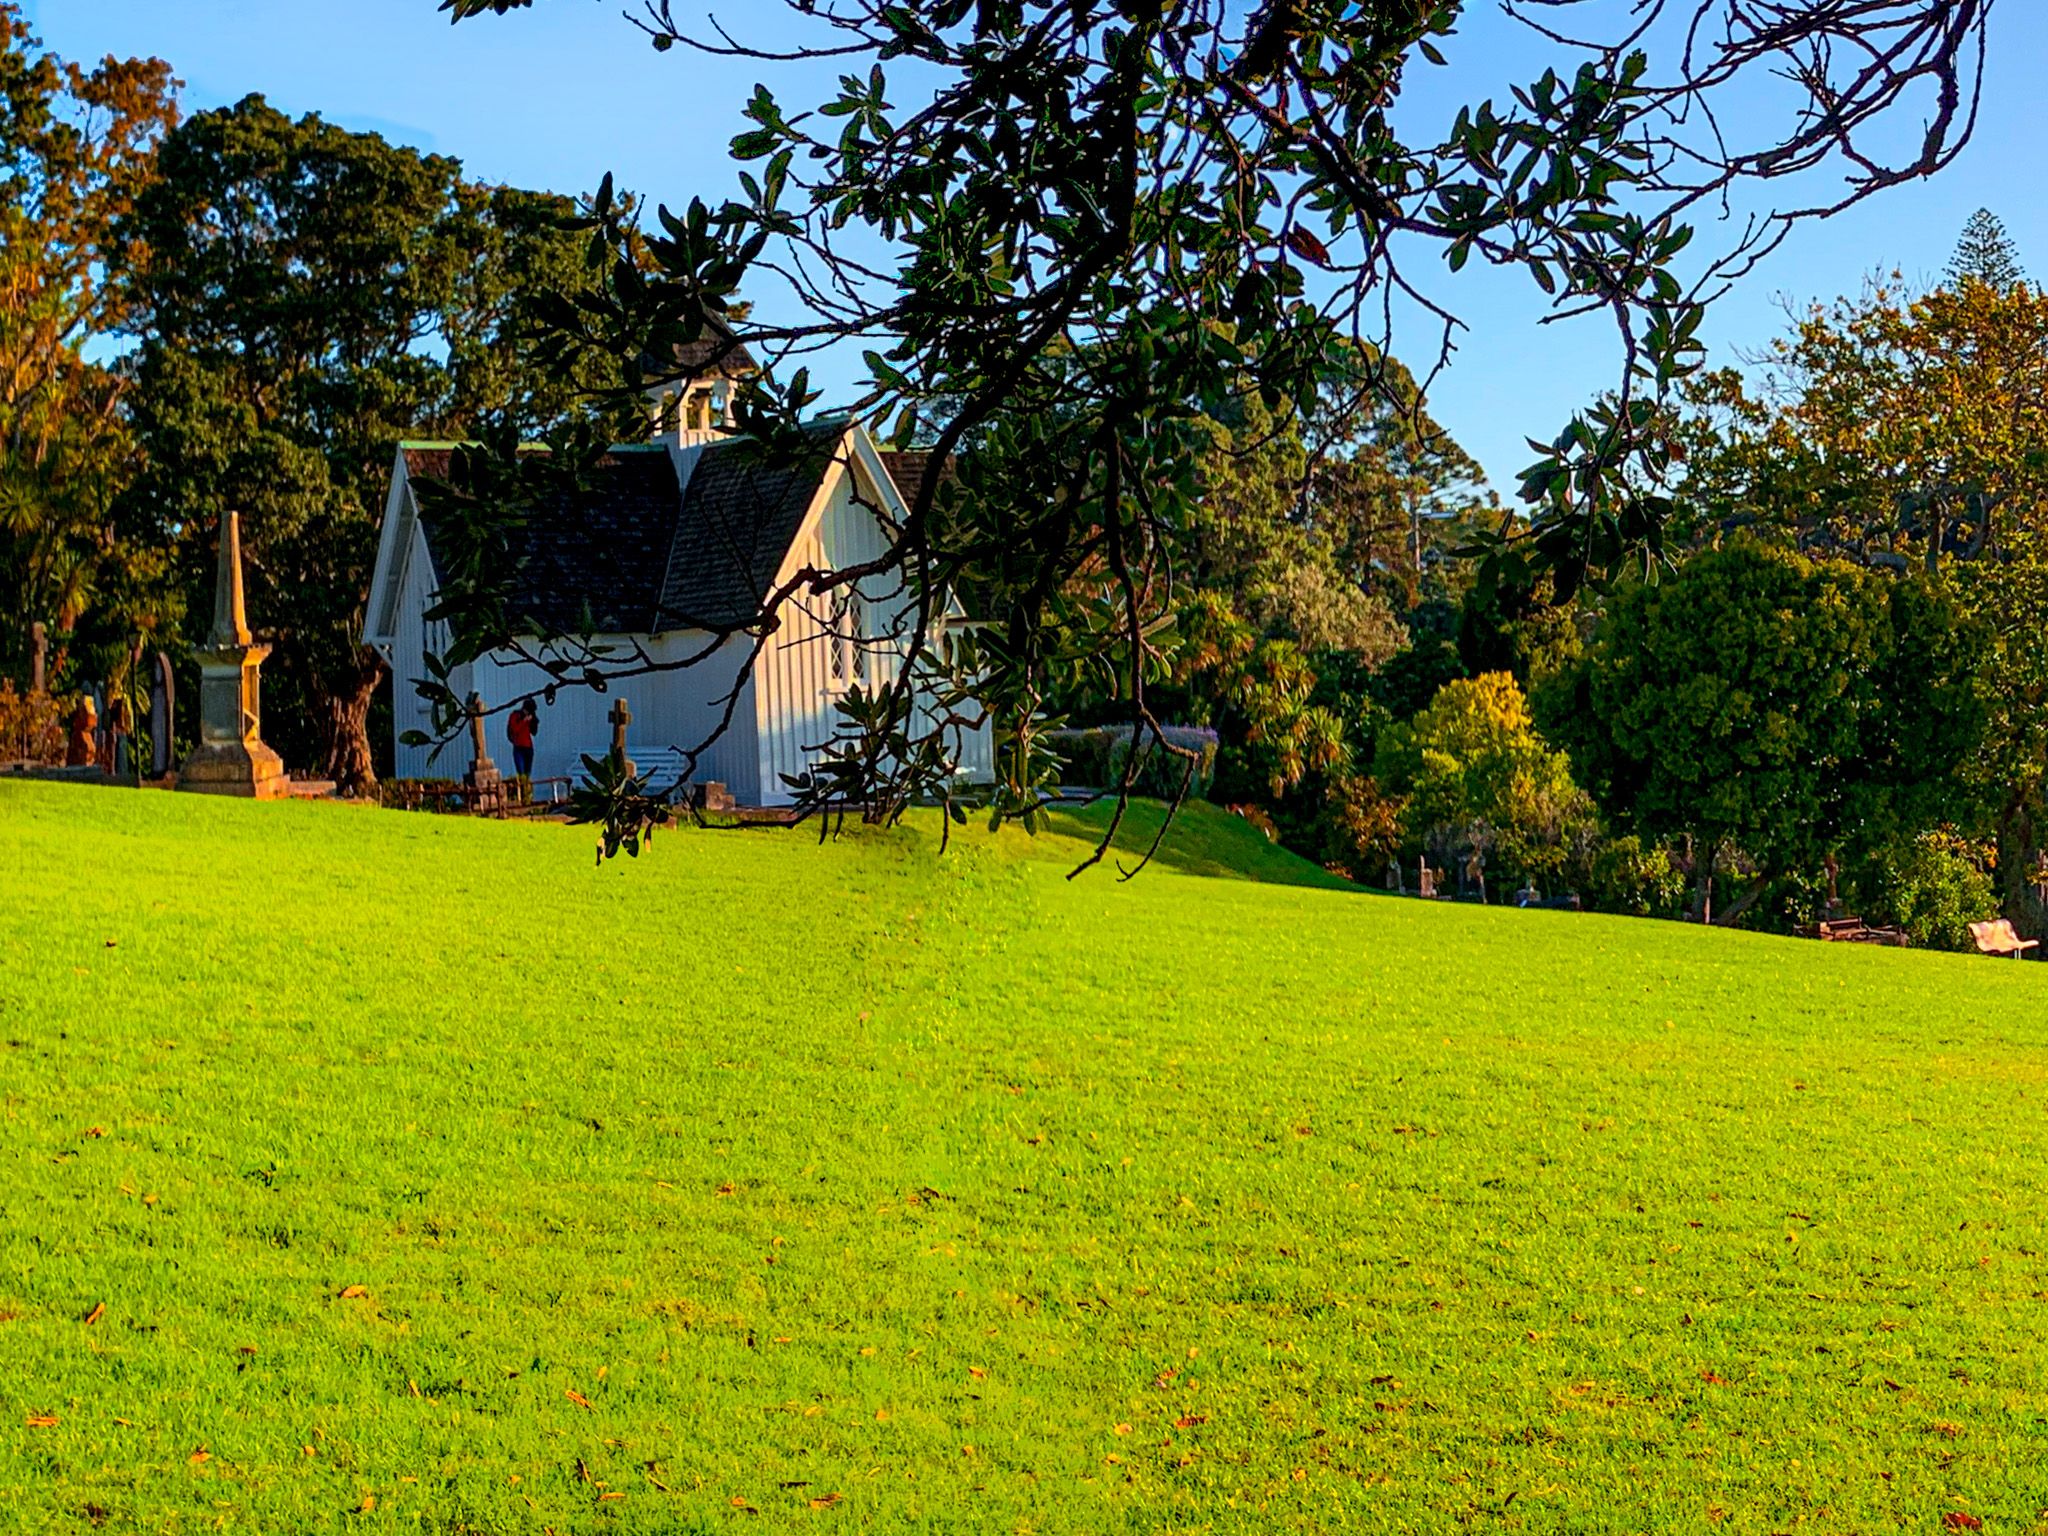
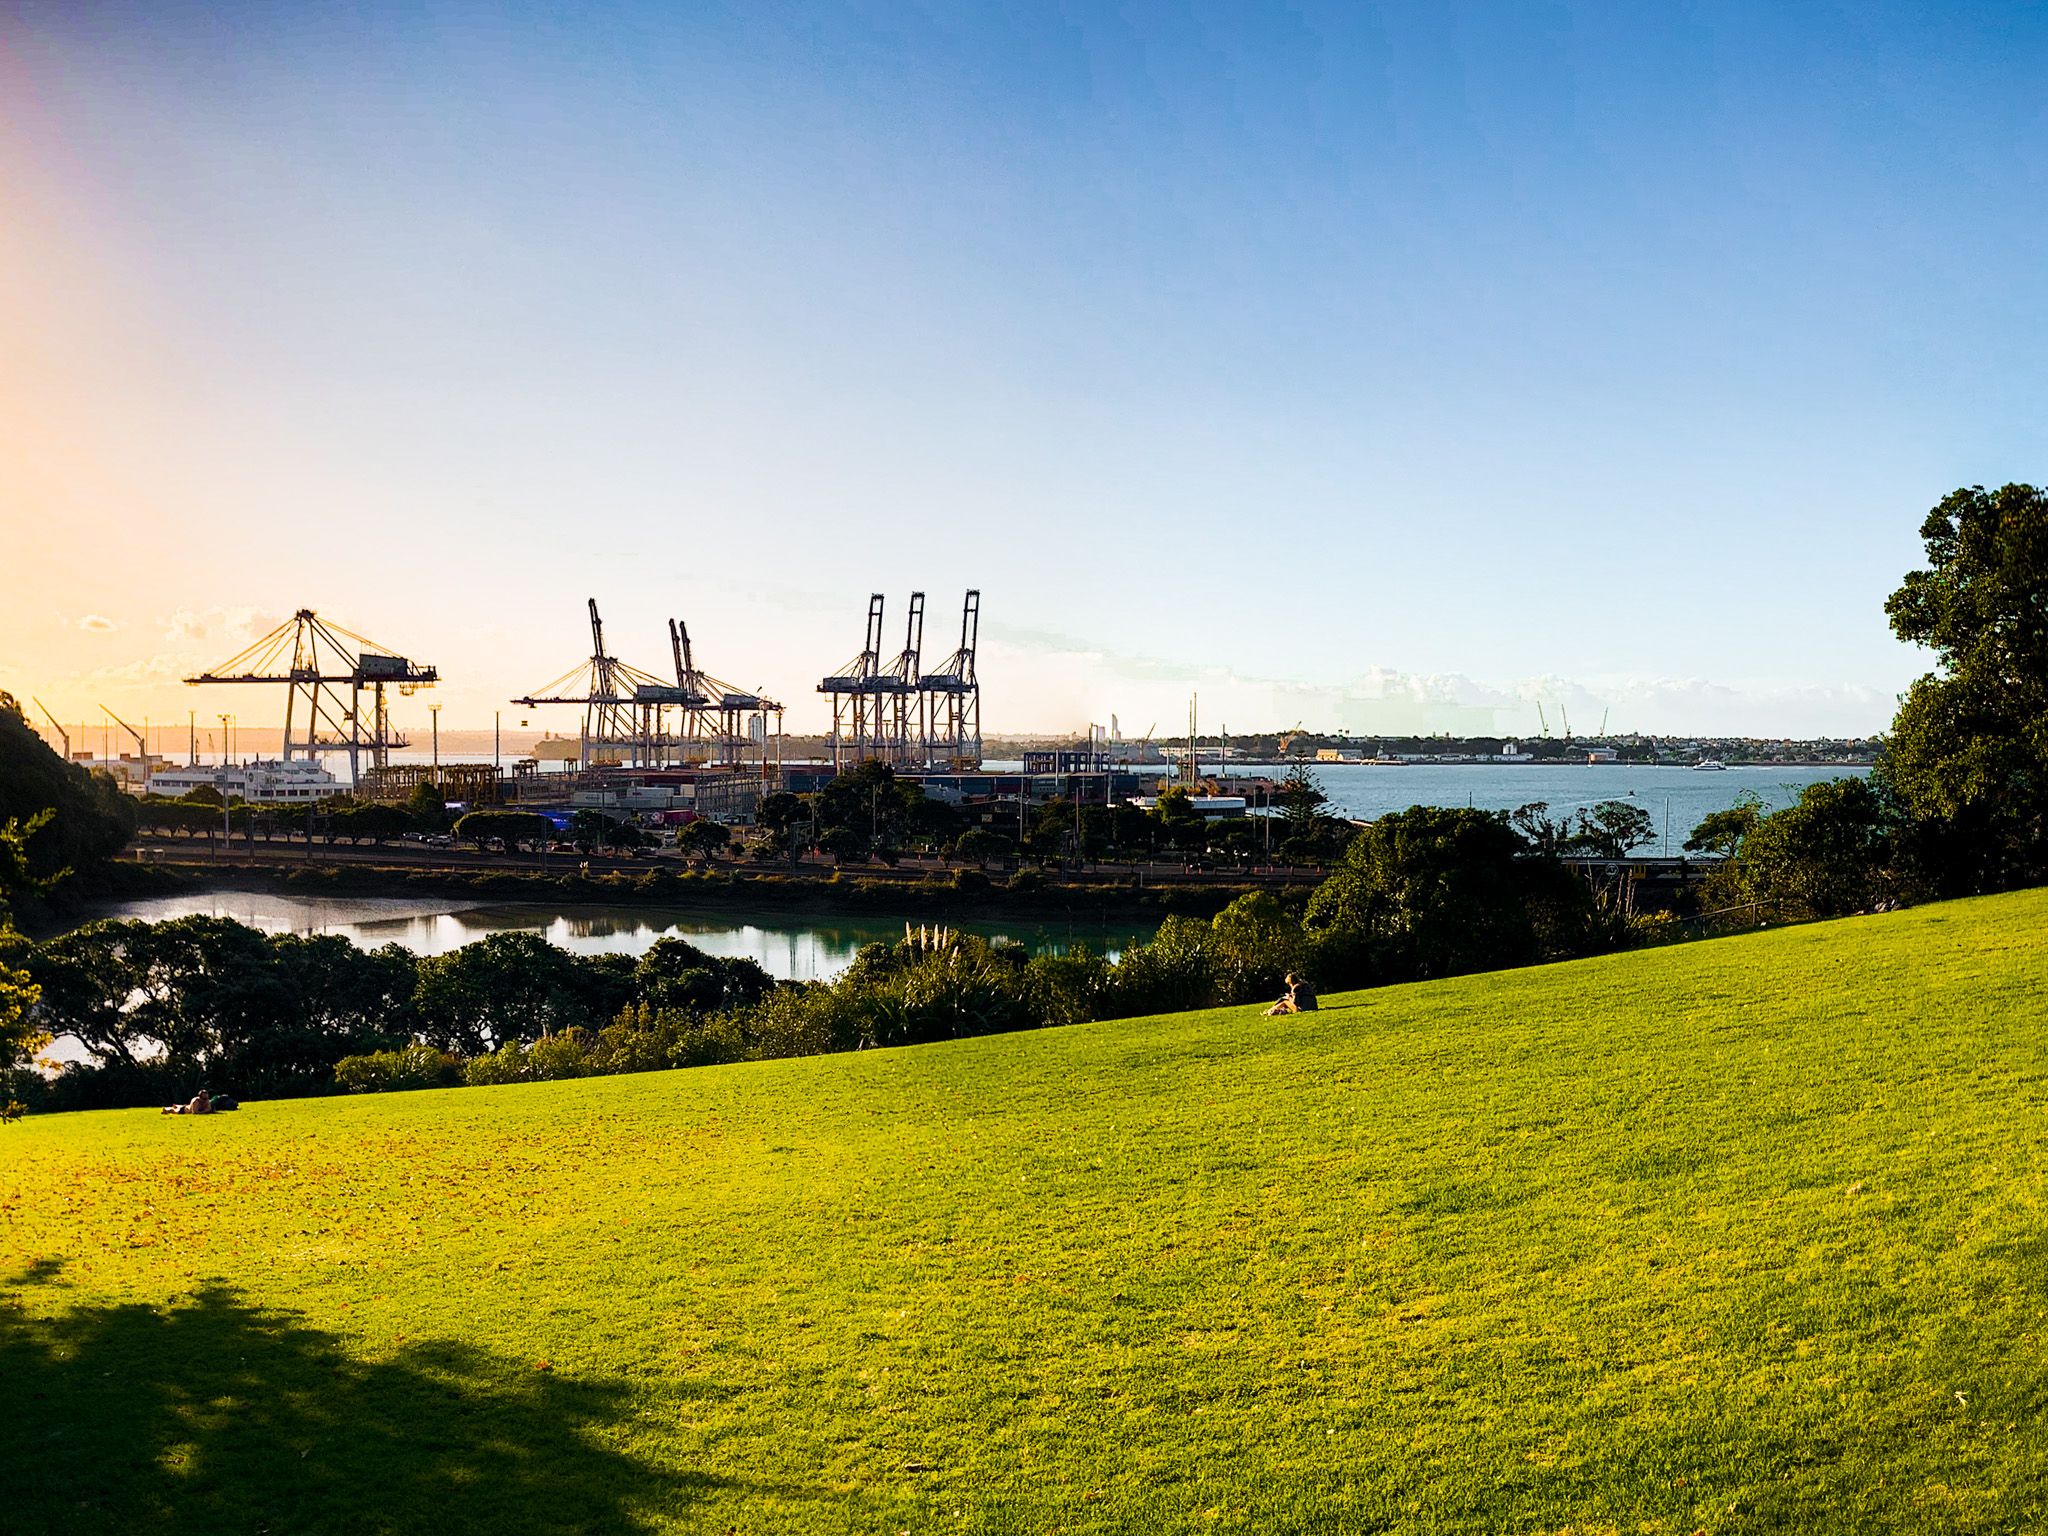
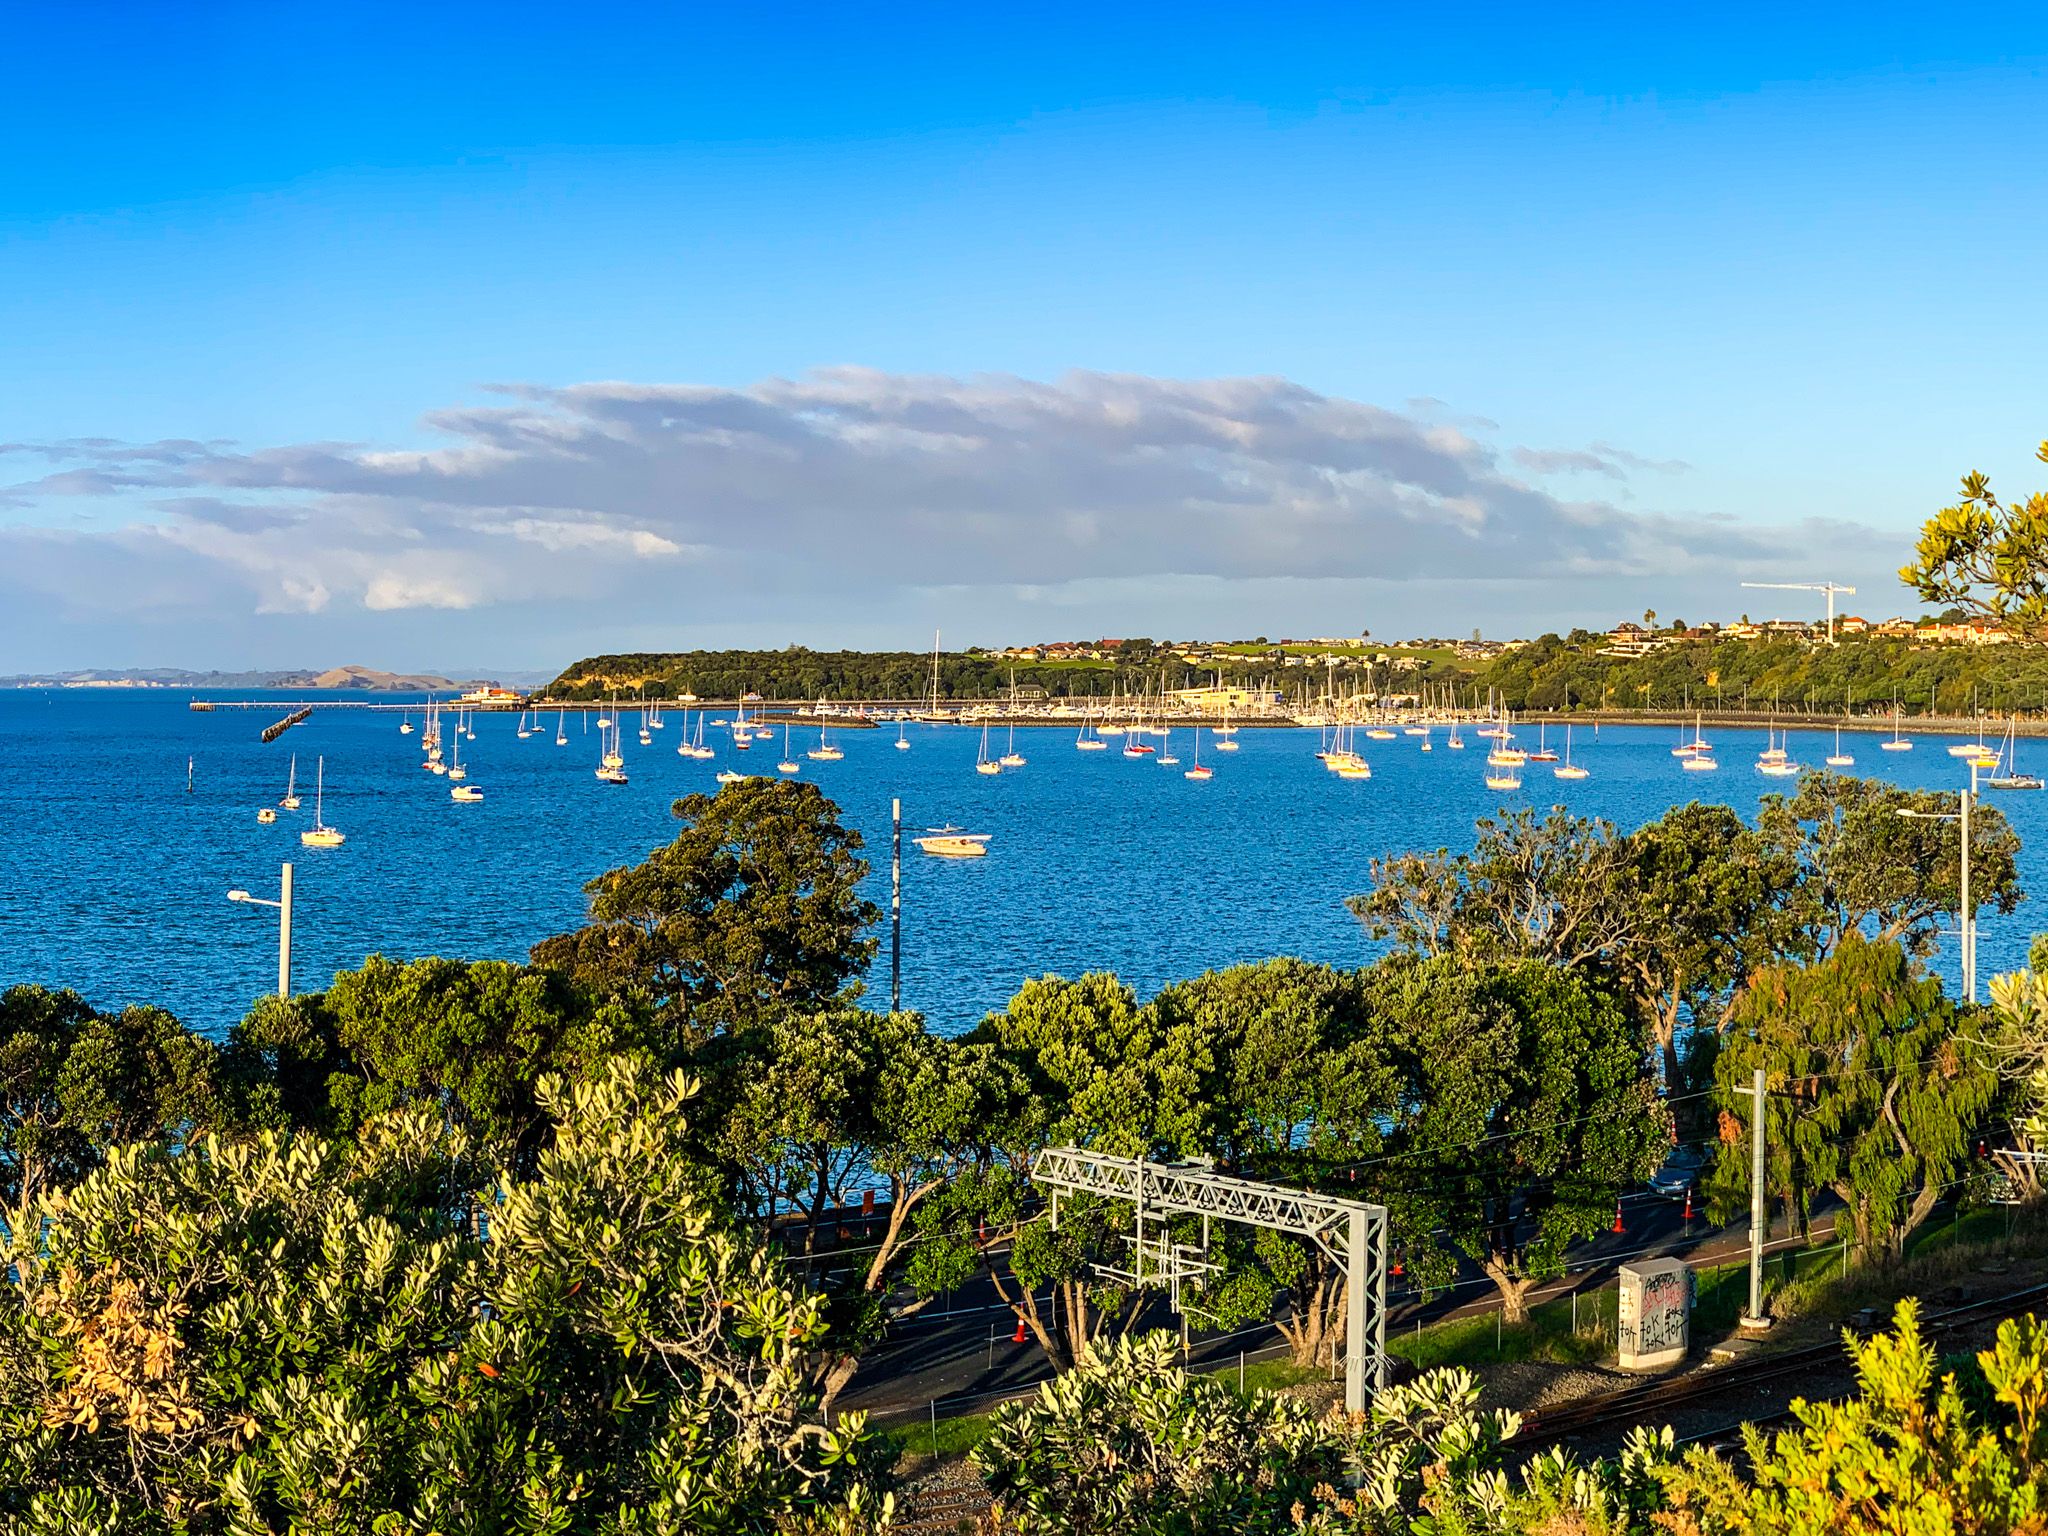
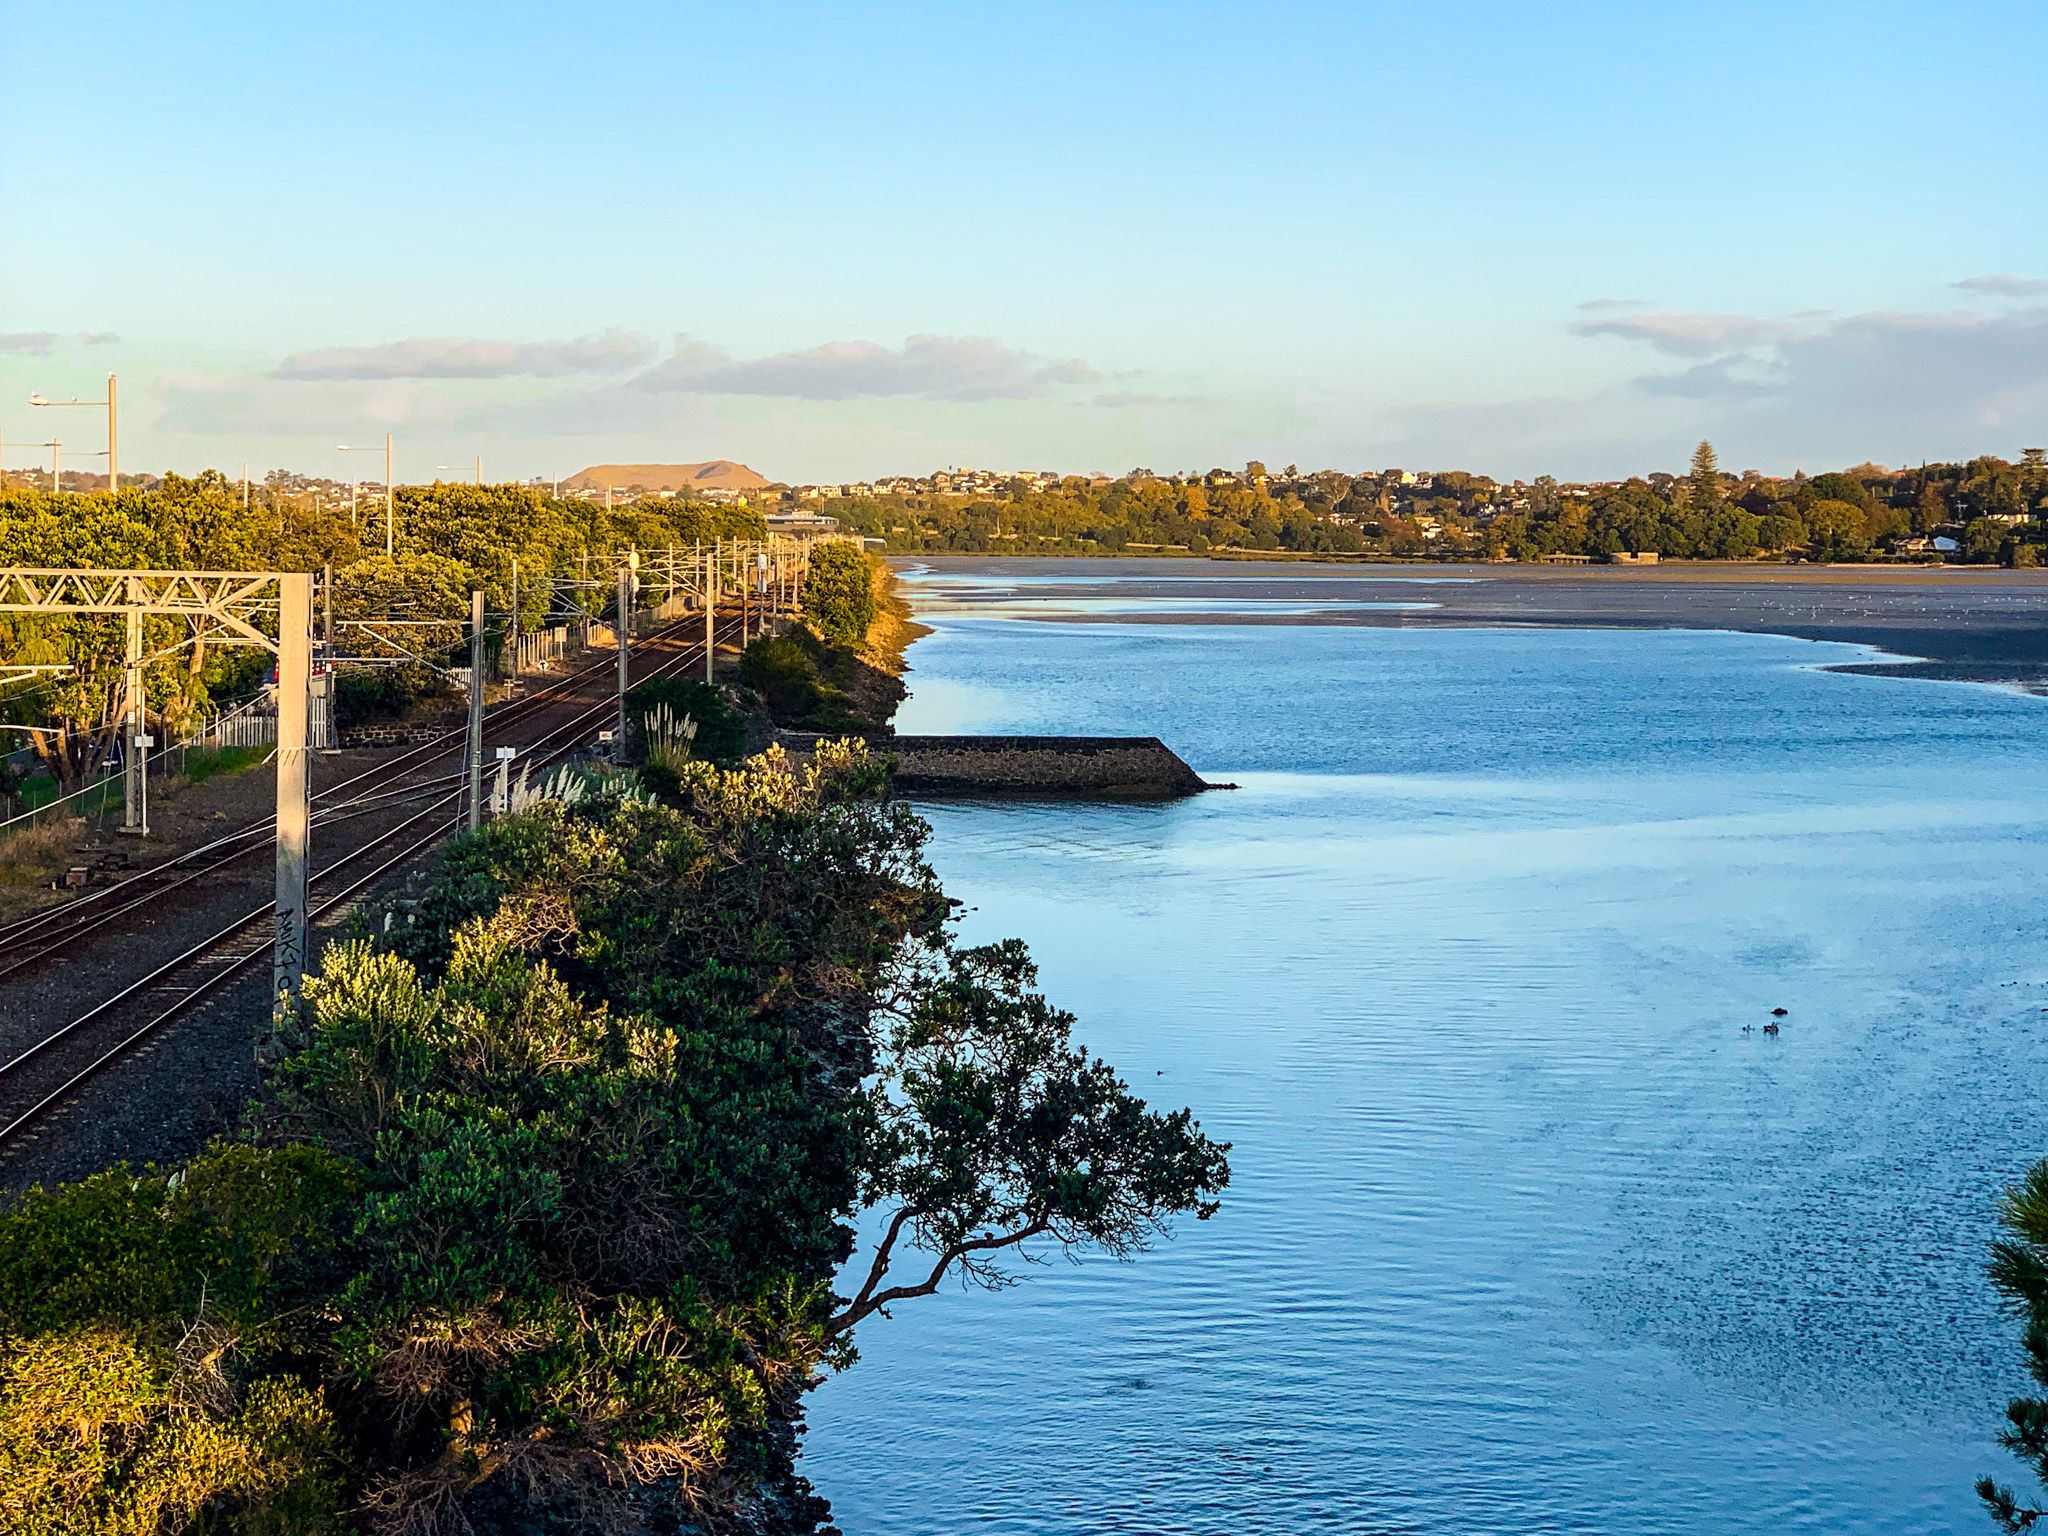
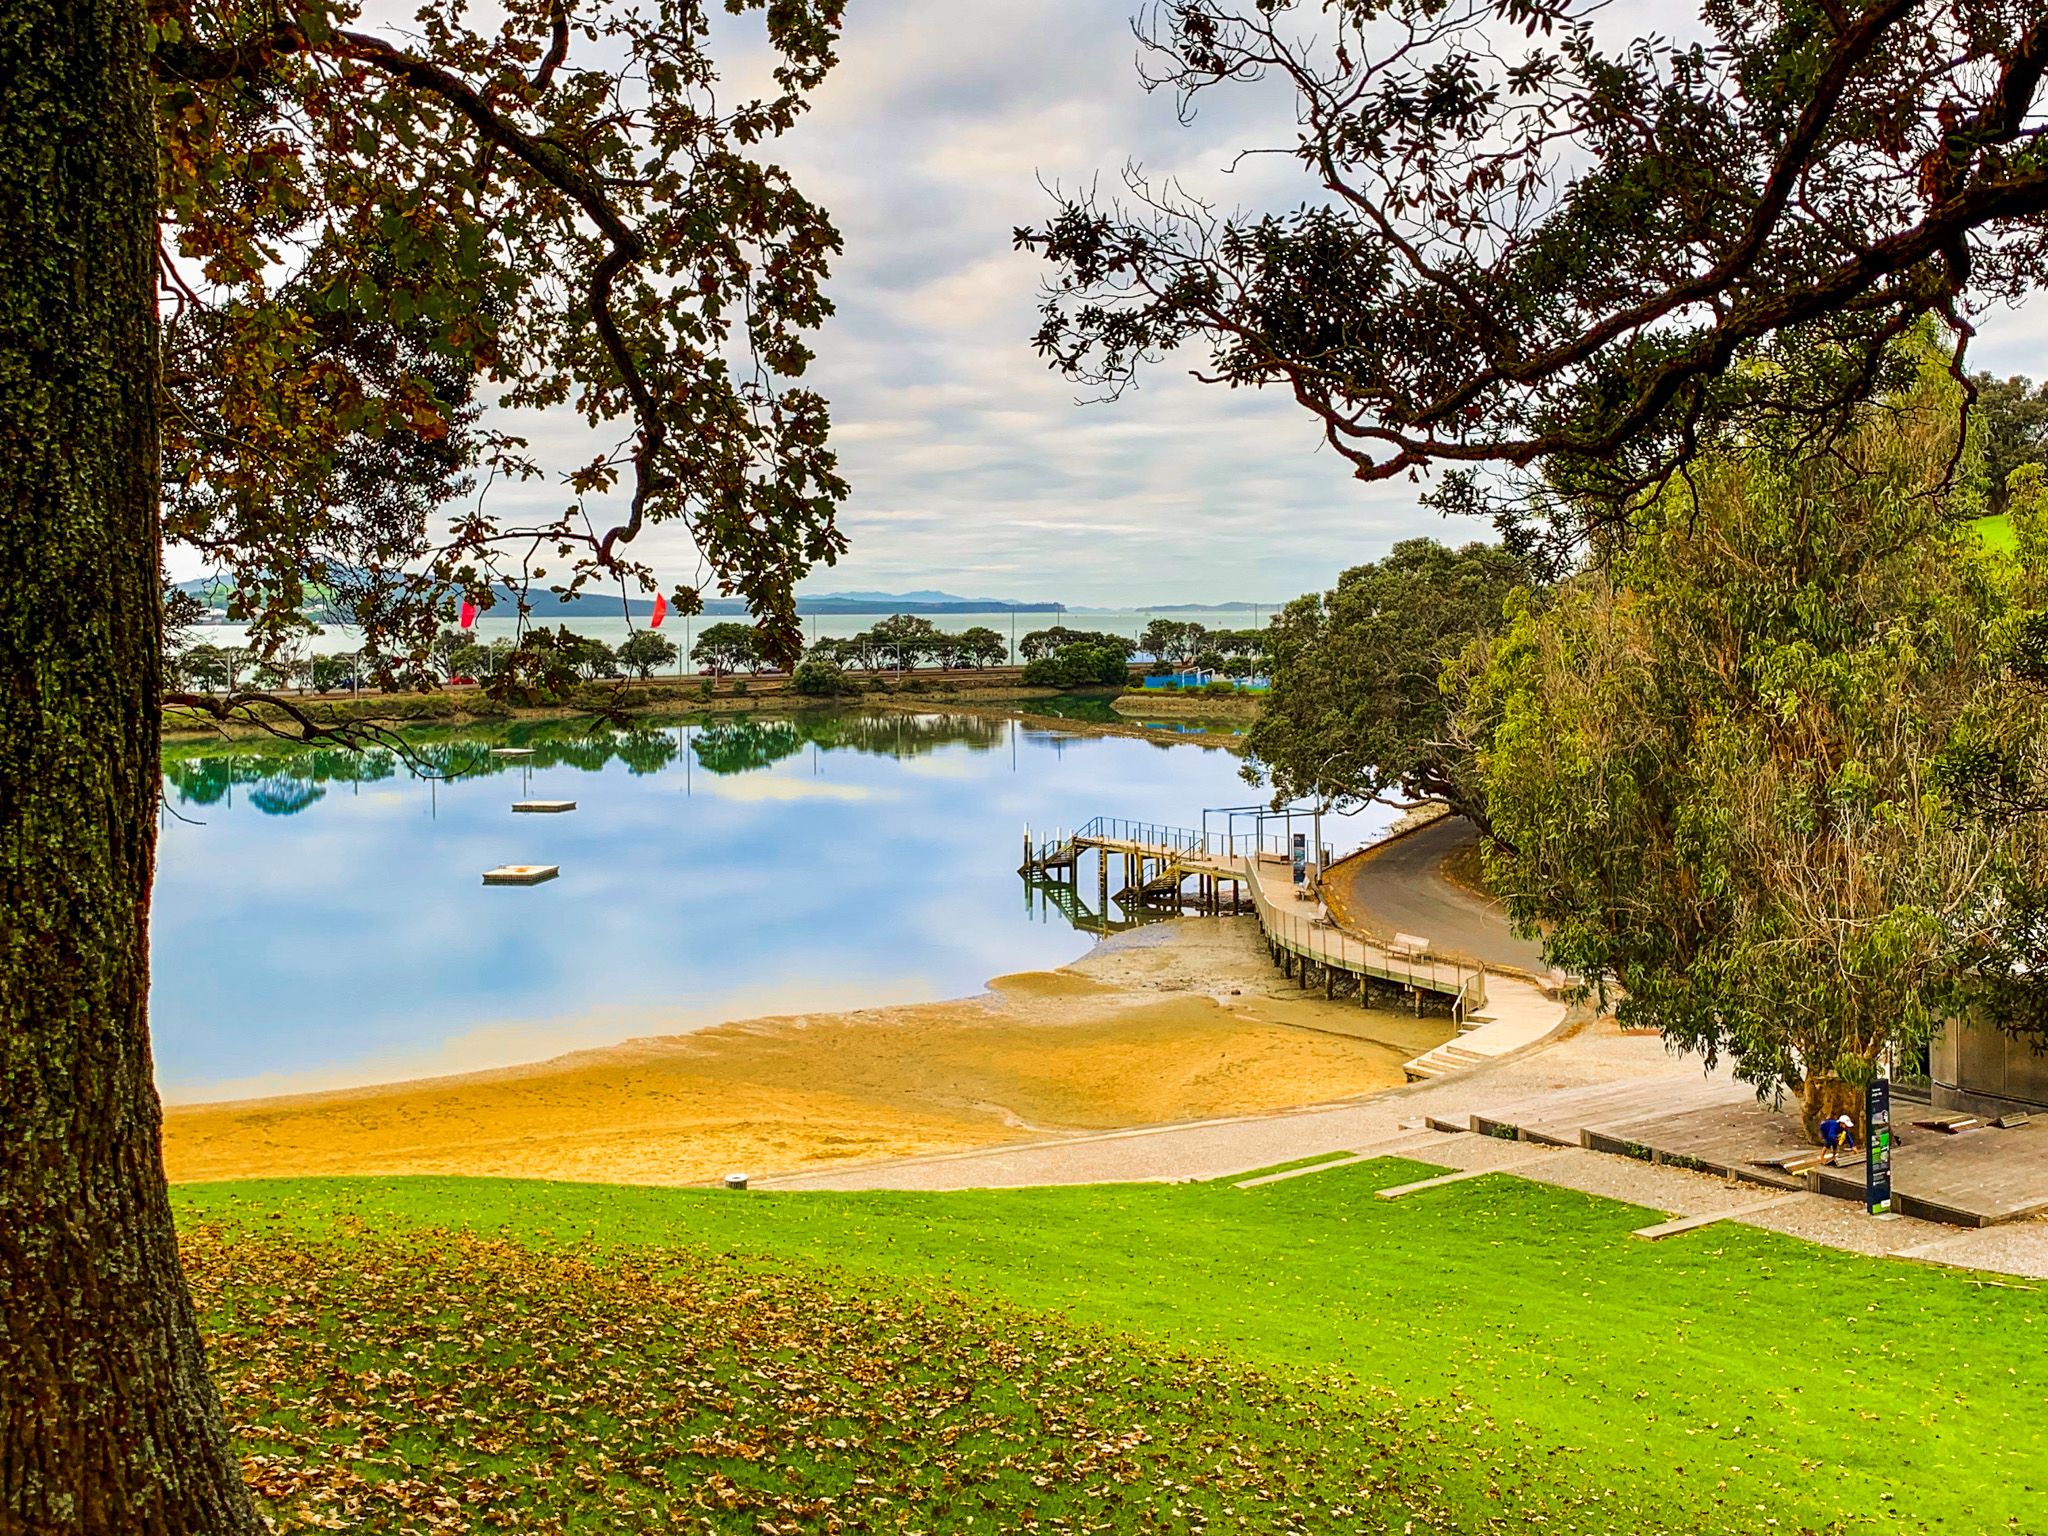
Judges Bay is a hidden gem near Downtown Auckland, largely separated from the sea by the Tamaki Drive and railway line viaduct crossing Hobson Bay. This small bay is perfect for a swim when the tide is in, with its golden sandy beach. The bay is surrounded by the steep slopes of Dove Myer Robinson Park and Judges Bay Reserve, with the historic St Stephen’s Chapel perched at the top of the reserve, east of the bay. At the northeast end of the bay is the Parnell Baths. It is easy to add a visit to the area to a tour of the eastern bays along Tāmaki Drive.
Exploring the Area
The Te Ara o Taurarua / Judges Bay Path links the bay and the connected parks and reserves to the surrounding streets, linking to Gladstone Road to the west and St Stephens Avenue to the east. For those driving, you can access a car park in the bay via Judges Bay Road from Gladstone Road.
Judges Bay is an ideal spot for a picnic, with the grassy slopes above the bay to the south and west shaded by mature trees. Next to the beach is a seating area with informative panels detailing the area's history.
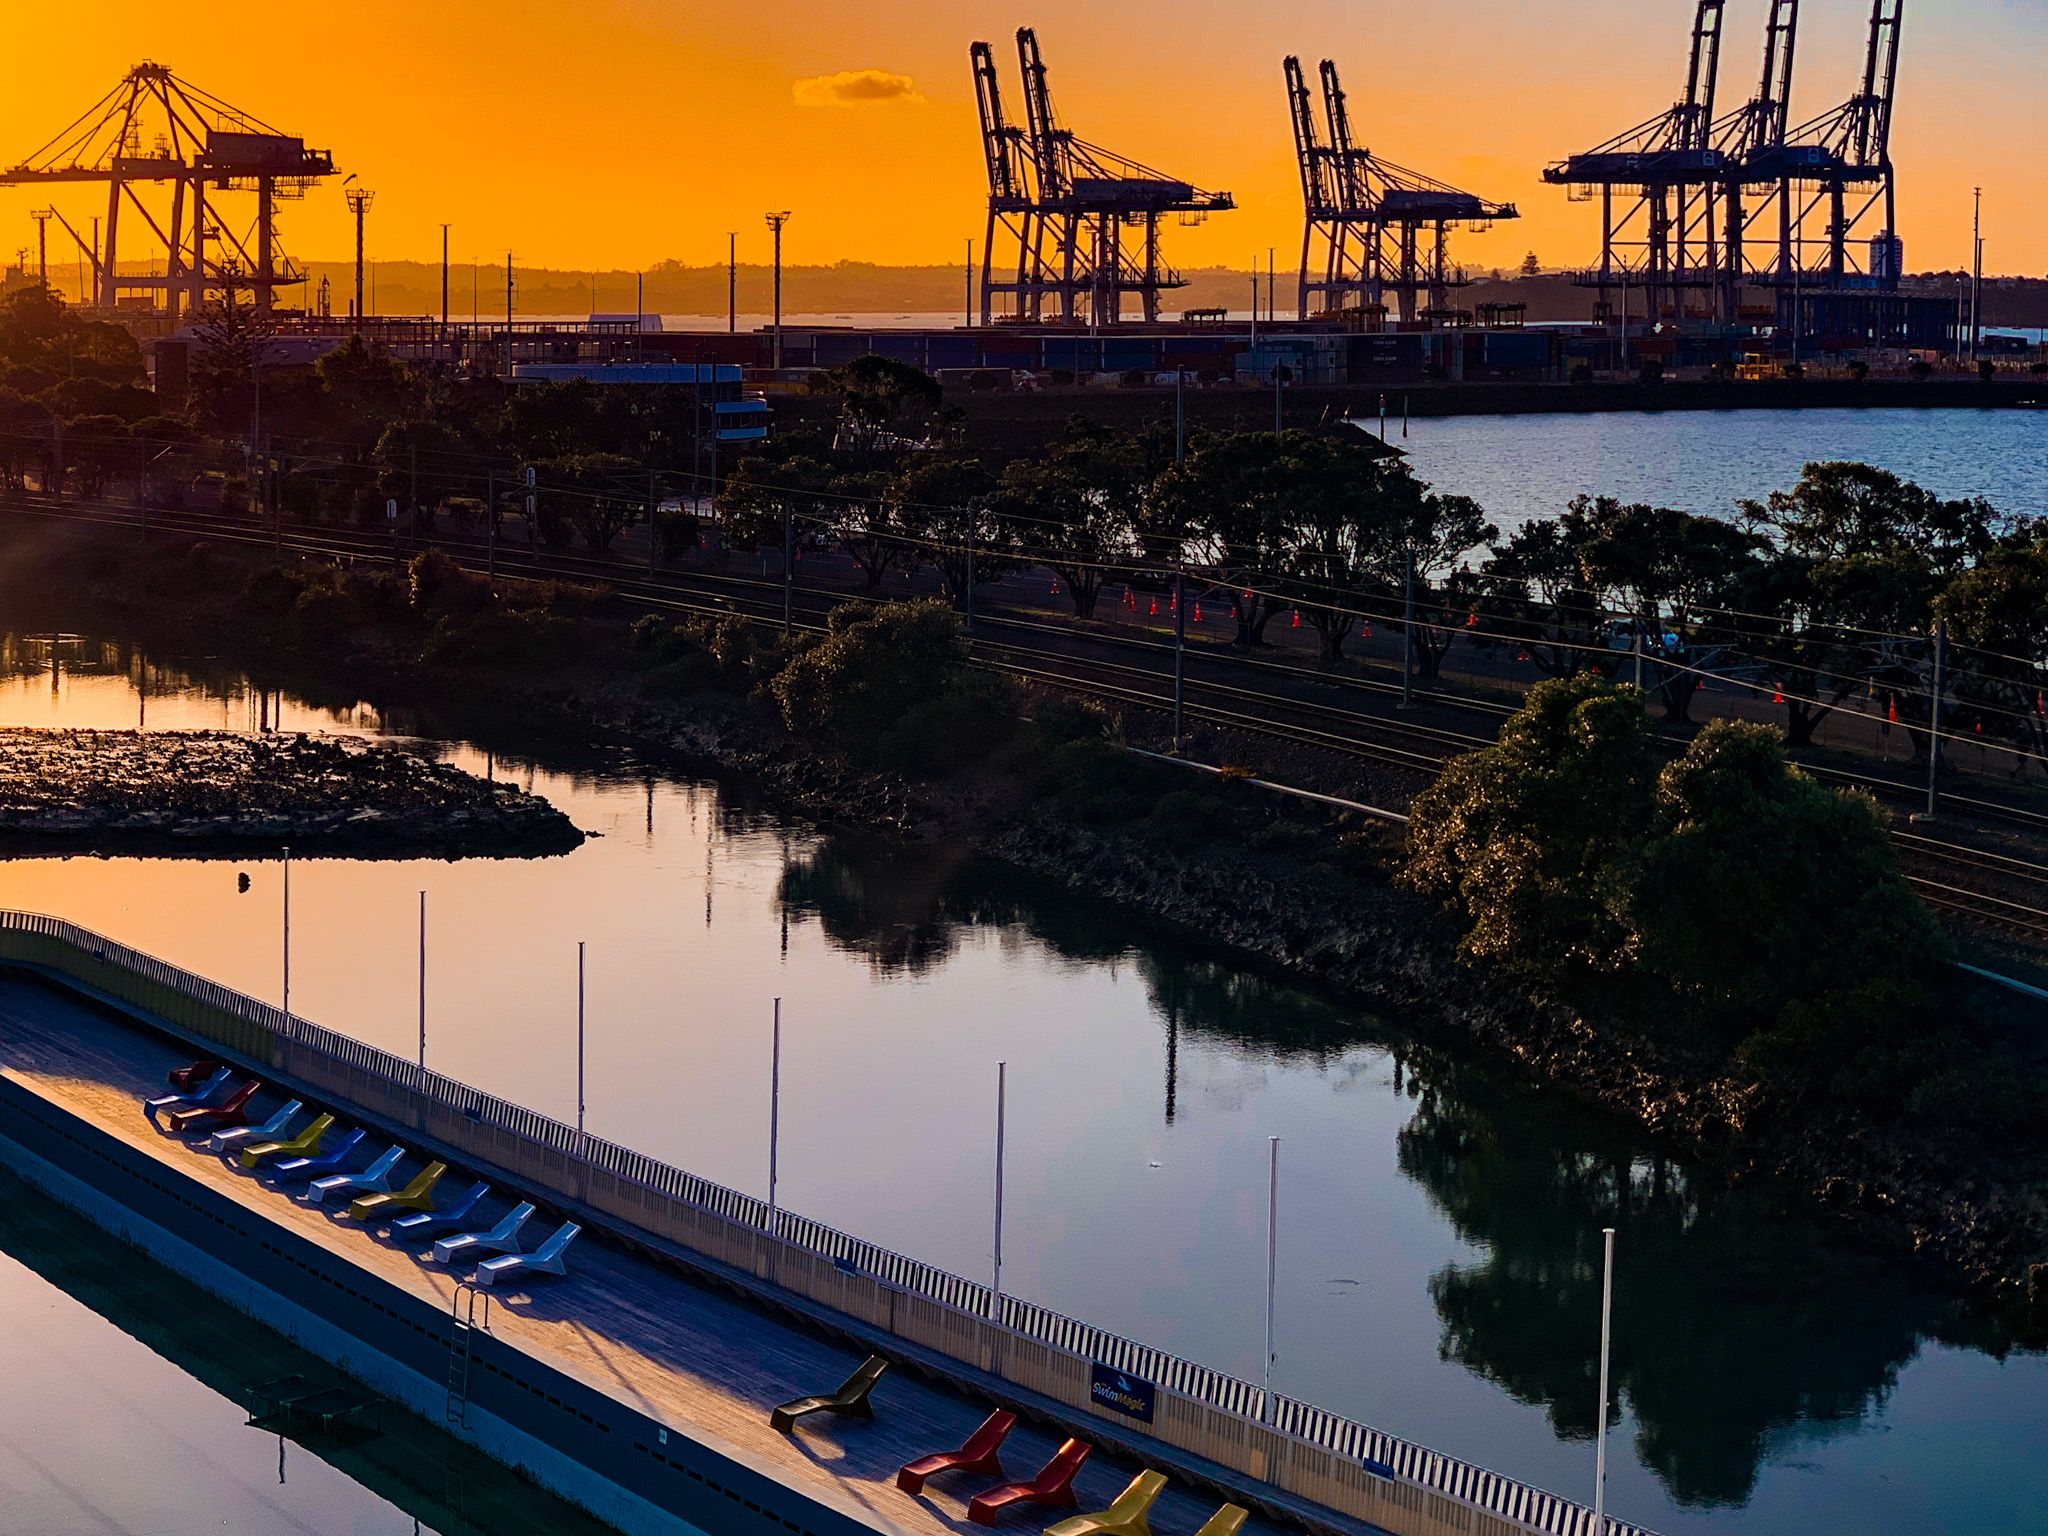
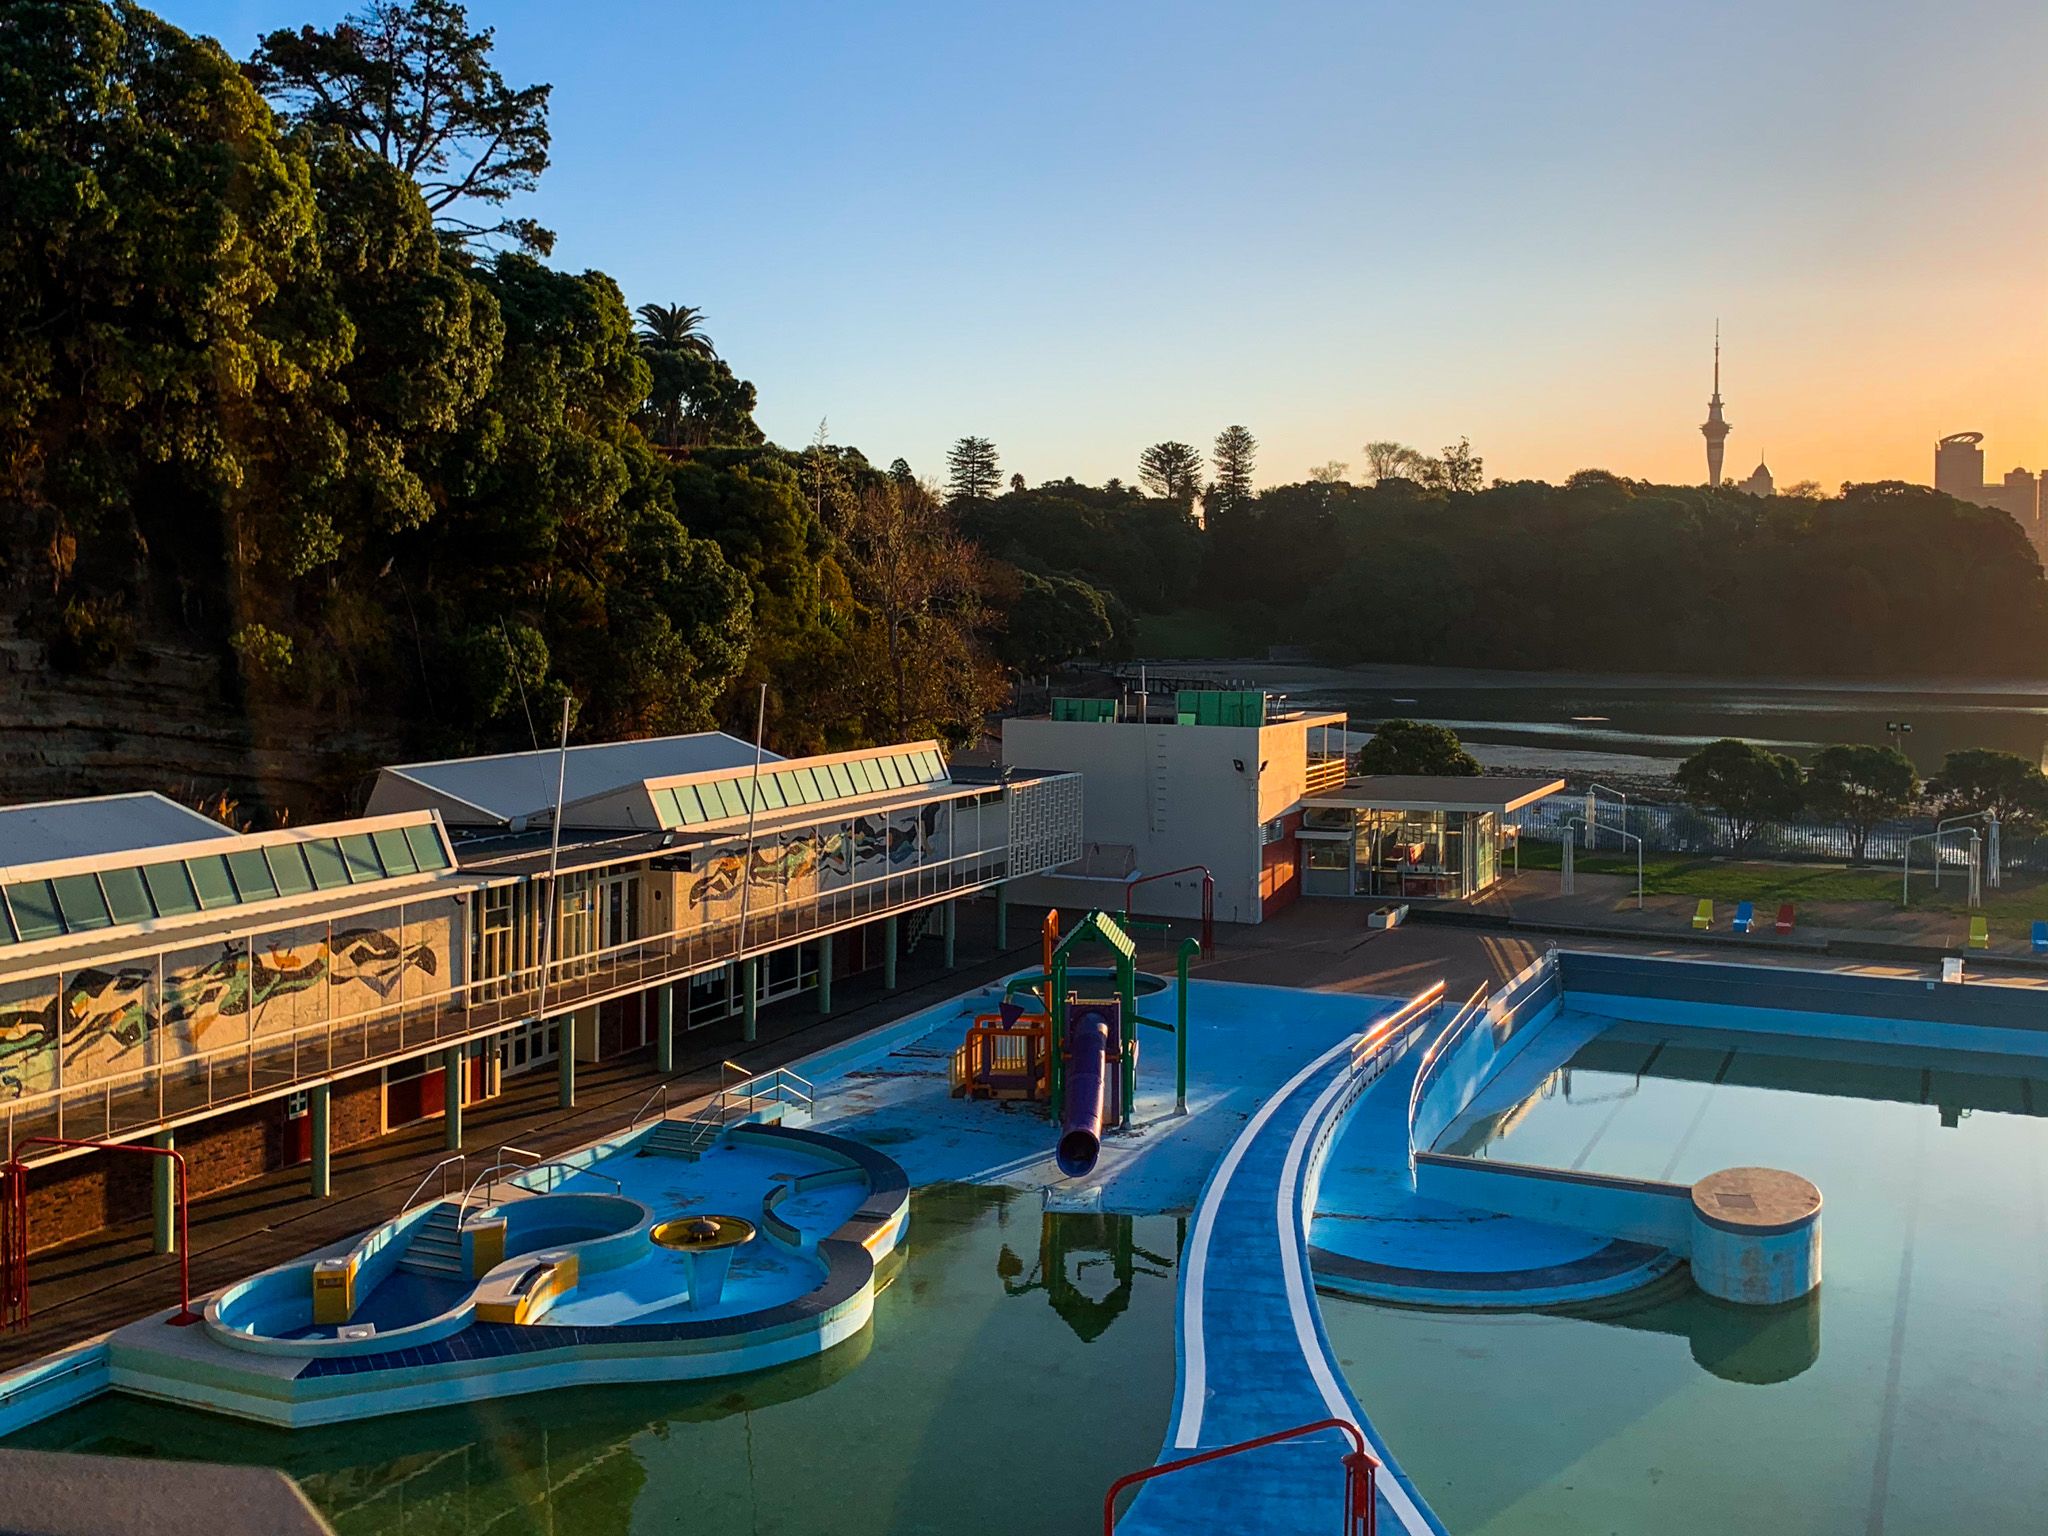
A walkway along the southeast edge of the bay leads to the saltwater Parnell Baths. This path continues through the facility, showcasing a large mermaid mural made from crushed glass. Beyond the pool, you can ascend to Resolution Point Park, then cross the bridge over Tamaki Drive, or loop back to the bay via Judge Street and the reserve.
Getting to Judges Bay
To reach Judges Bay from Downtown Auckland, head east on Tamaki Drive and turn south onto the Strand, then almost immediately east onto Gladstone Road. Park in Dove Myer Robinson Park and walk, or take Judges Bay Road, which leads directly to a car park in the bay. The drive takes a few minutes.
While there, check out the Giant Pōhutukawa and the Parnell Rose Gardens. Further along Tamaki Drive, you can explore Bastion Point, Okahu Bay, Mission Bay, Kohimarama and St Heliers.