From Tent Town to River Valley Drive
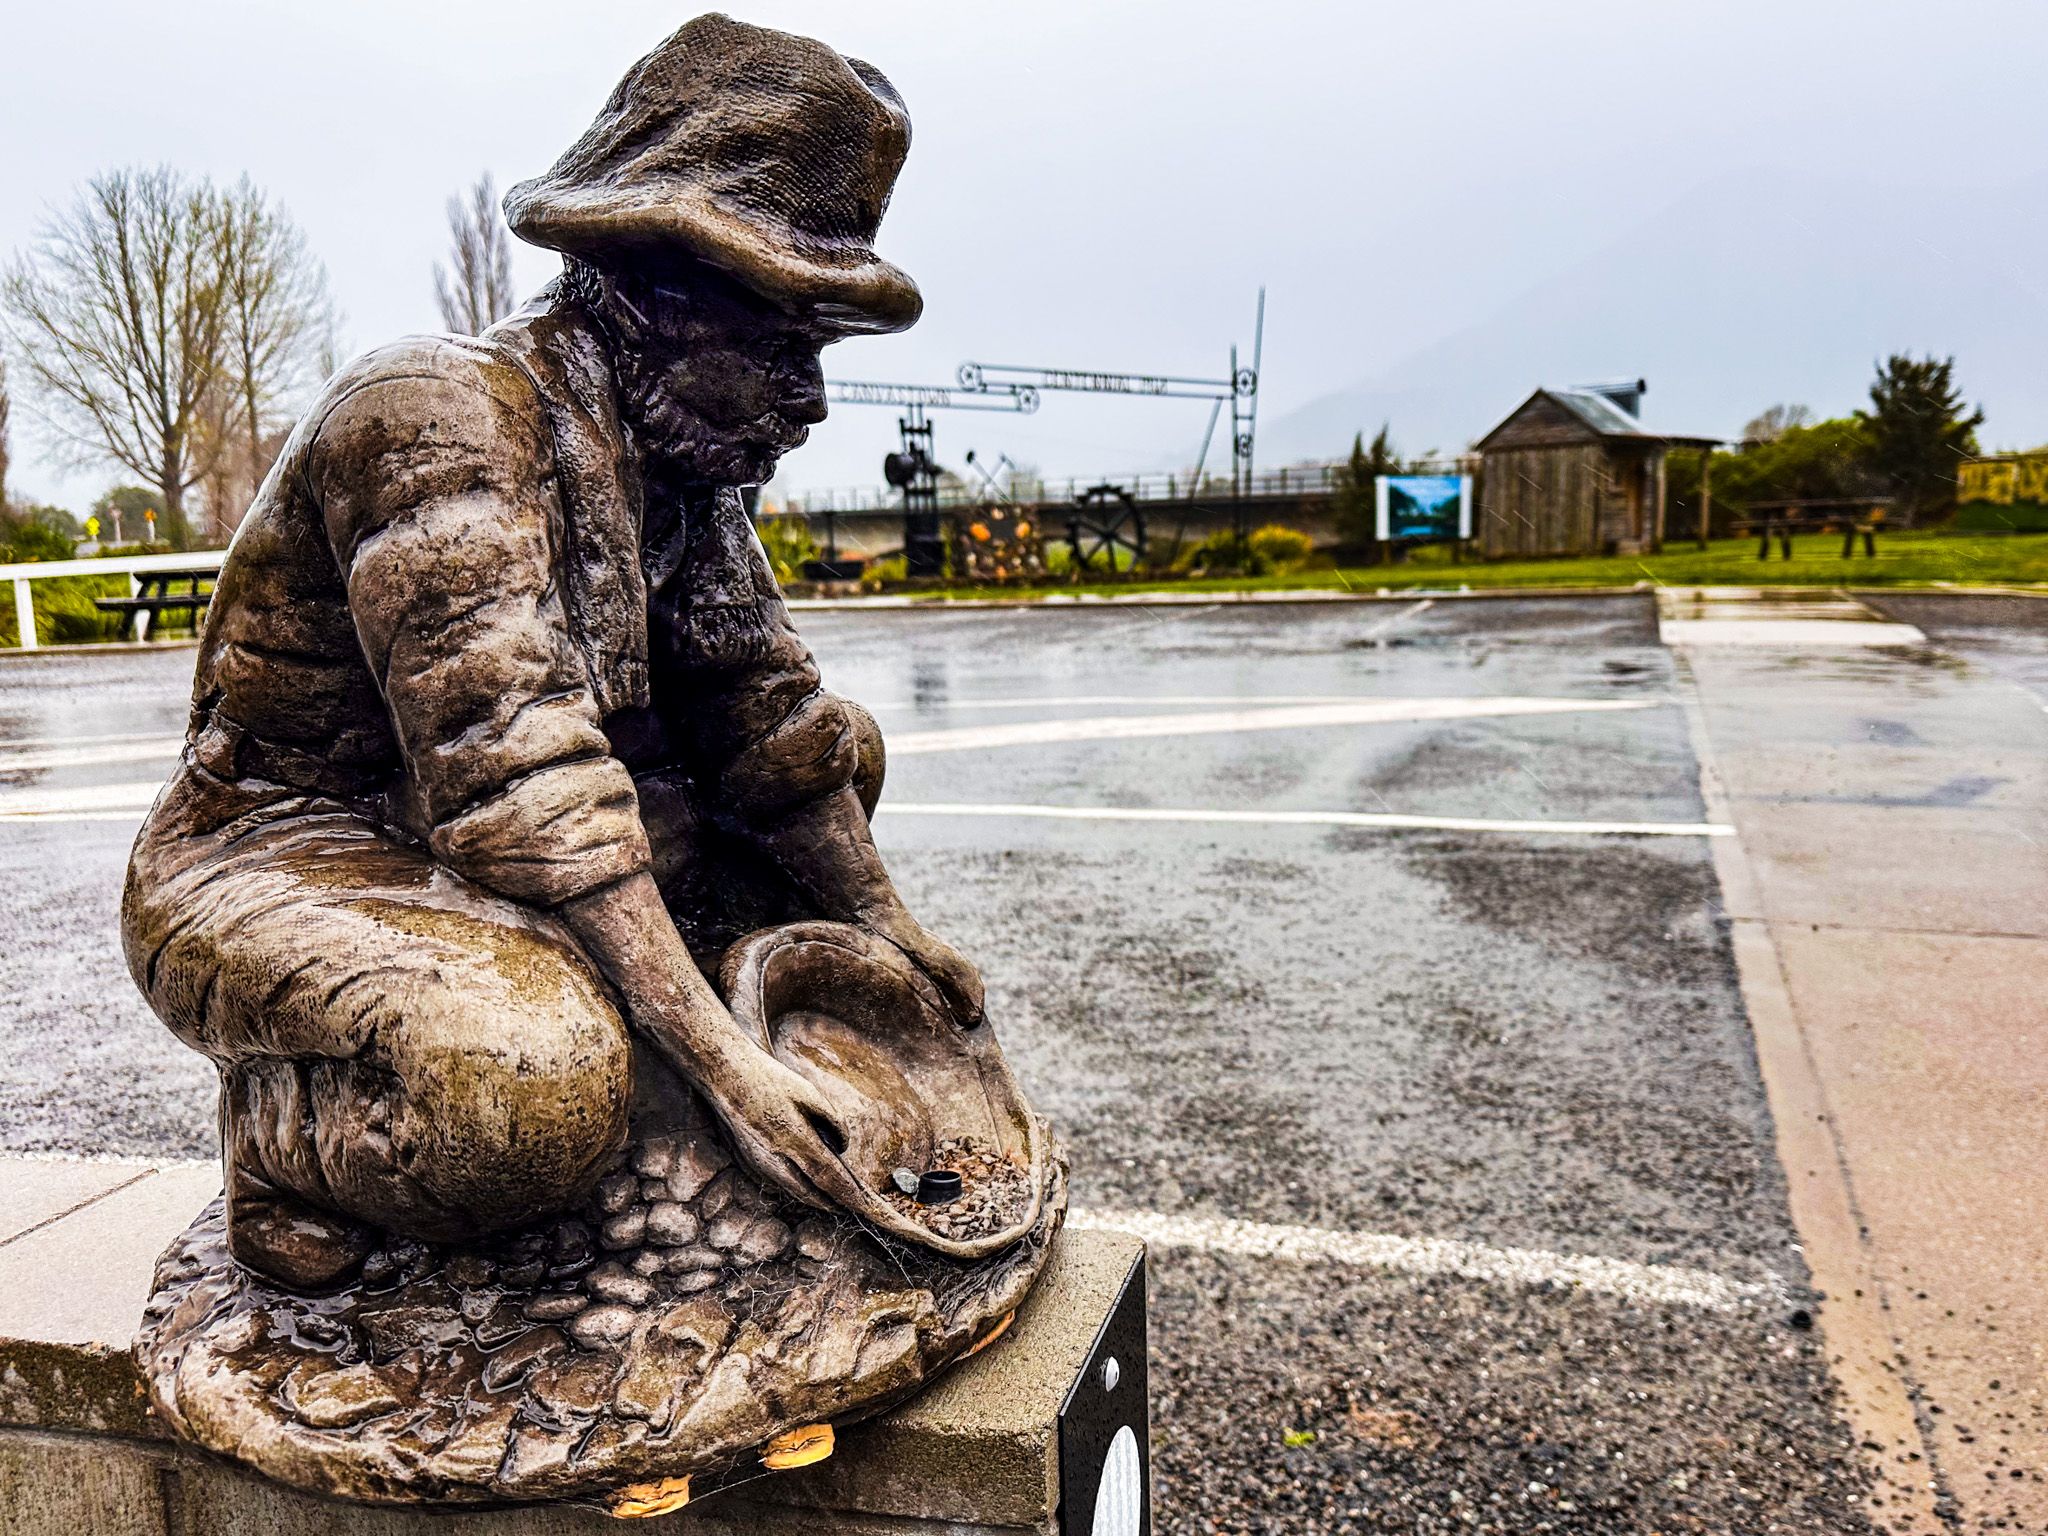
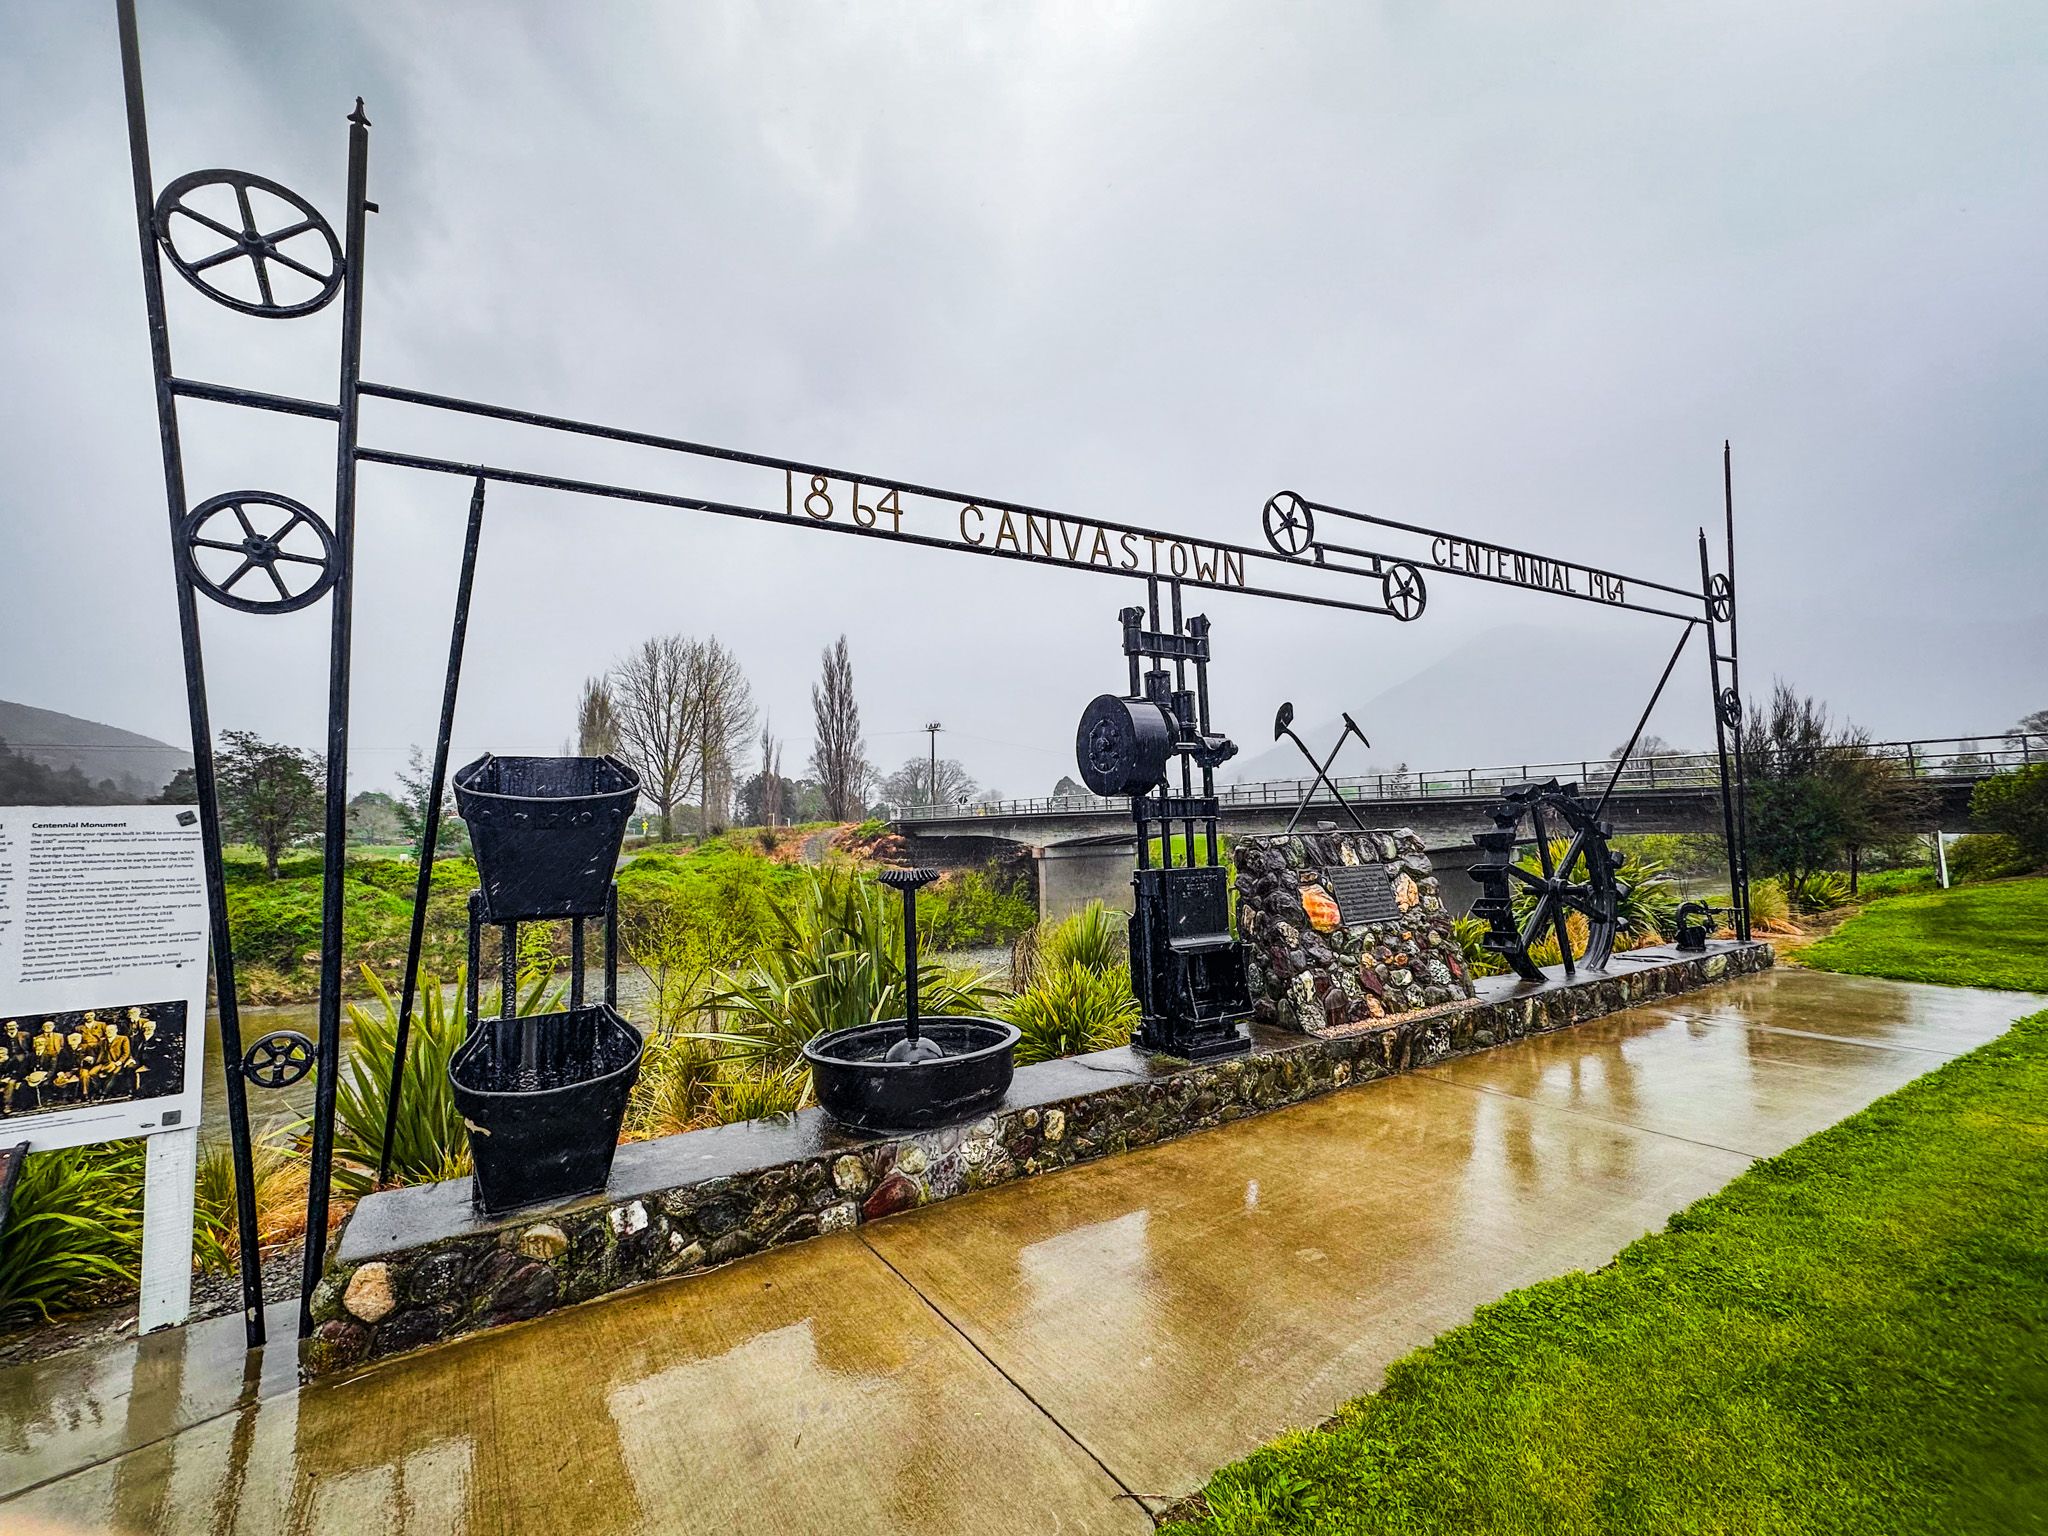
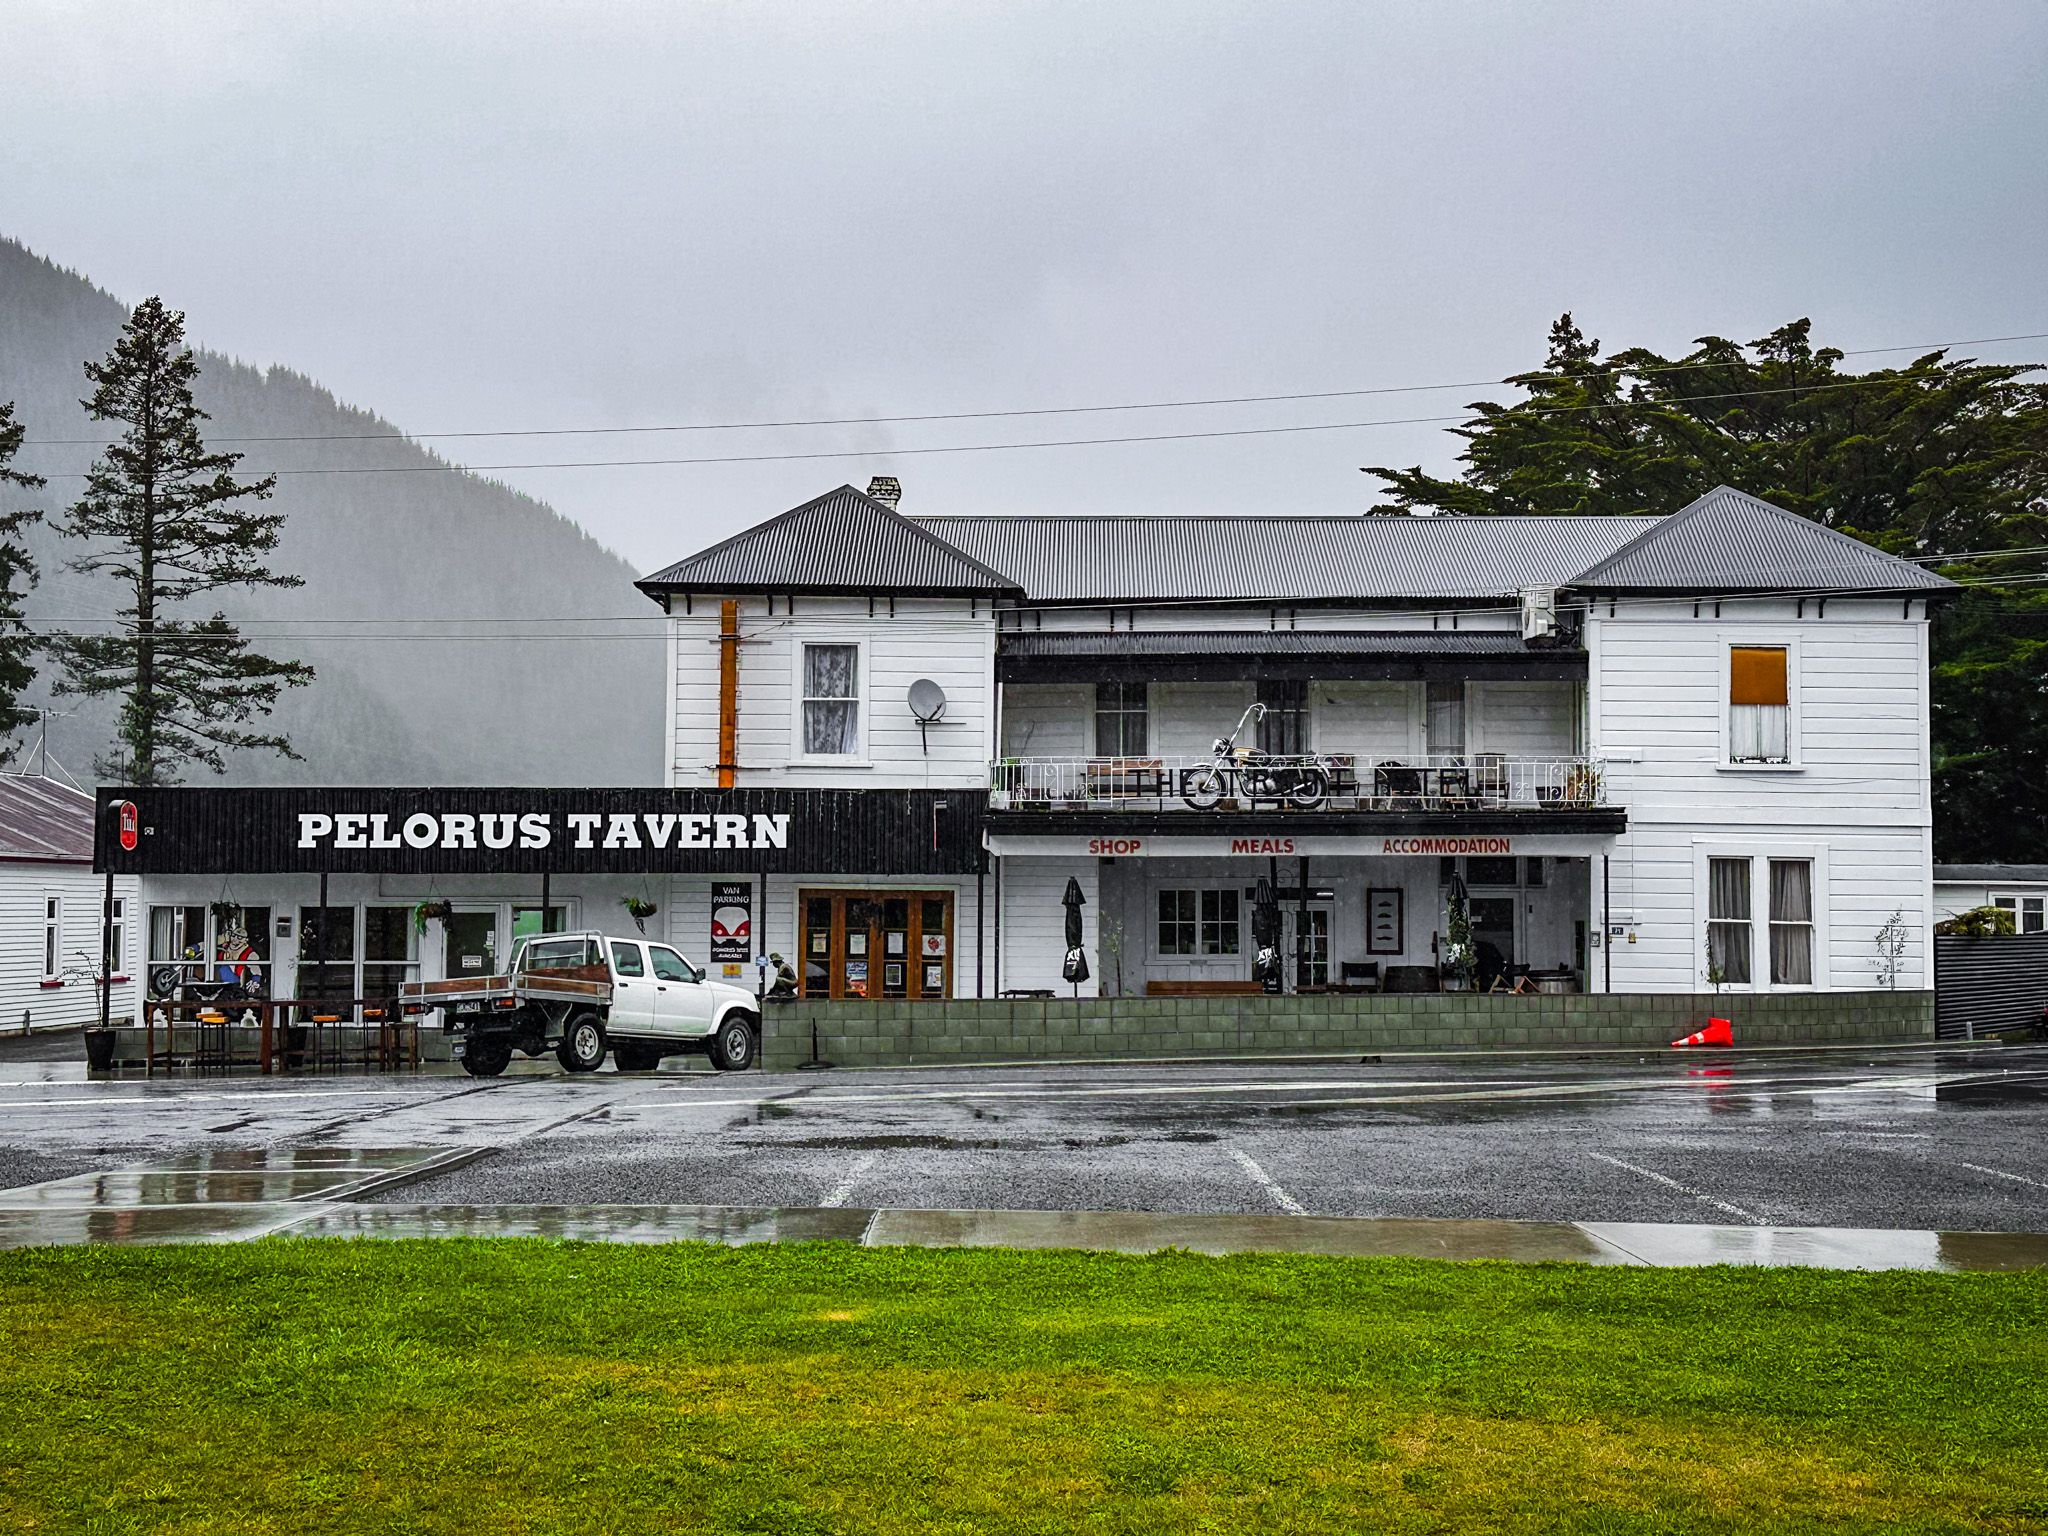
Canvastown lies where the Wakamarina River meets the Pelorus / Te Hoiere River, about ten kilometres west of Havelock. The settlement was born in the 1860s gold rush, when thousands of miners pitched canvas tents along the river, giving the place its name. Today, little remains of those frantic days apart from relics, a centennial monument, a historic pub and a quiet rural community at the junction of State Highway 6 and the Wakamarina Road.
The Gold Discovery
In 1860, Mrs George Pope noticed specks of gold while washing clothes in the river. Payable gold was confirmed in April 1864 at Mountain Camp Creek, a tributary of the Wakamarina. Within weeks, thousands of miners flooded in, with Canvastown springing up almost overnight. Workings took place along the river, with prospectors, then companies, used dredging, then scheelite (for tungsten) and quartz mining once the easy alluvial gold was worked out.
Although yields were high in the first season, the rush was short-lived, and many miners moved on to the West Coast after a year or so; however, industrial-scale activity continued into the 1900s. Gold was followed by extensive forestry, then farming.

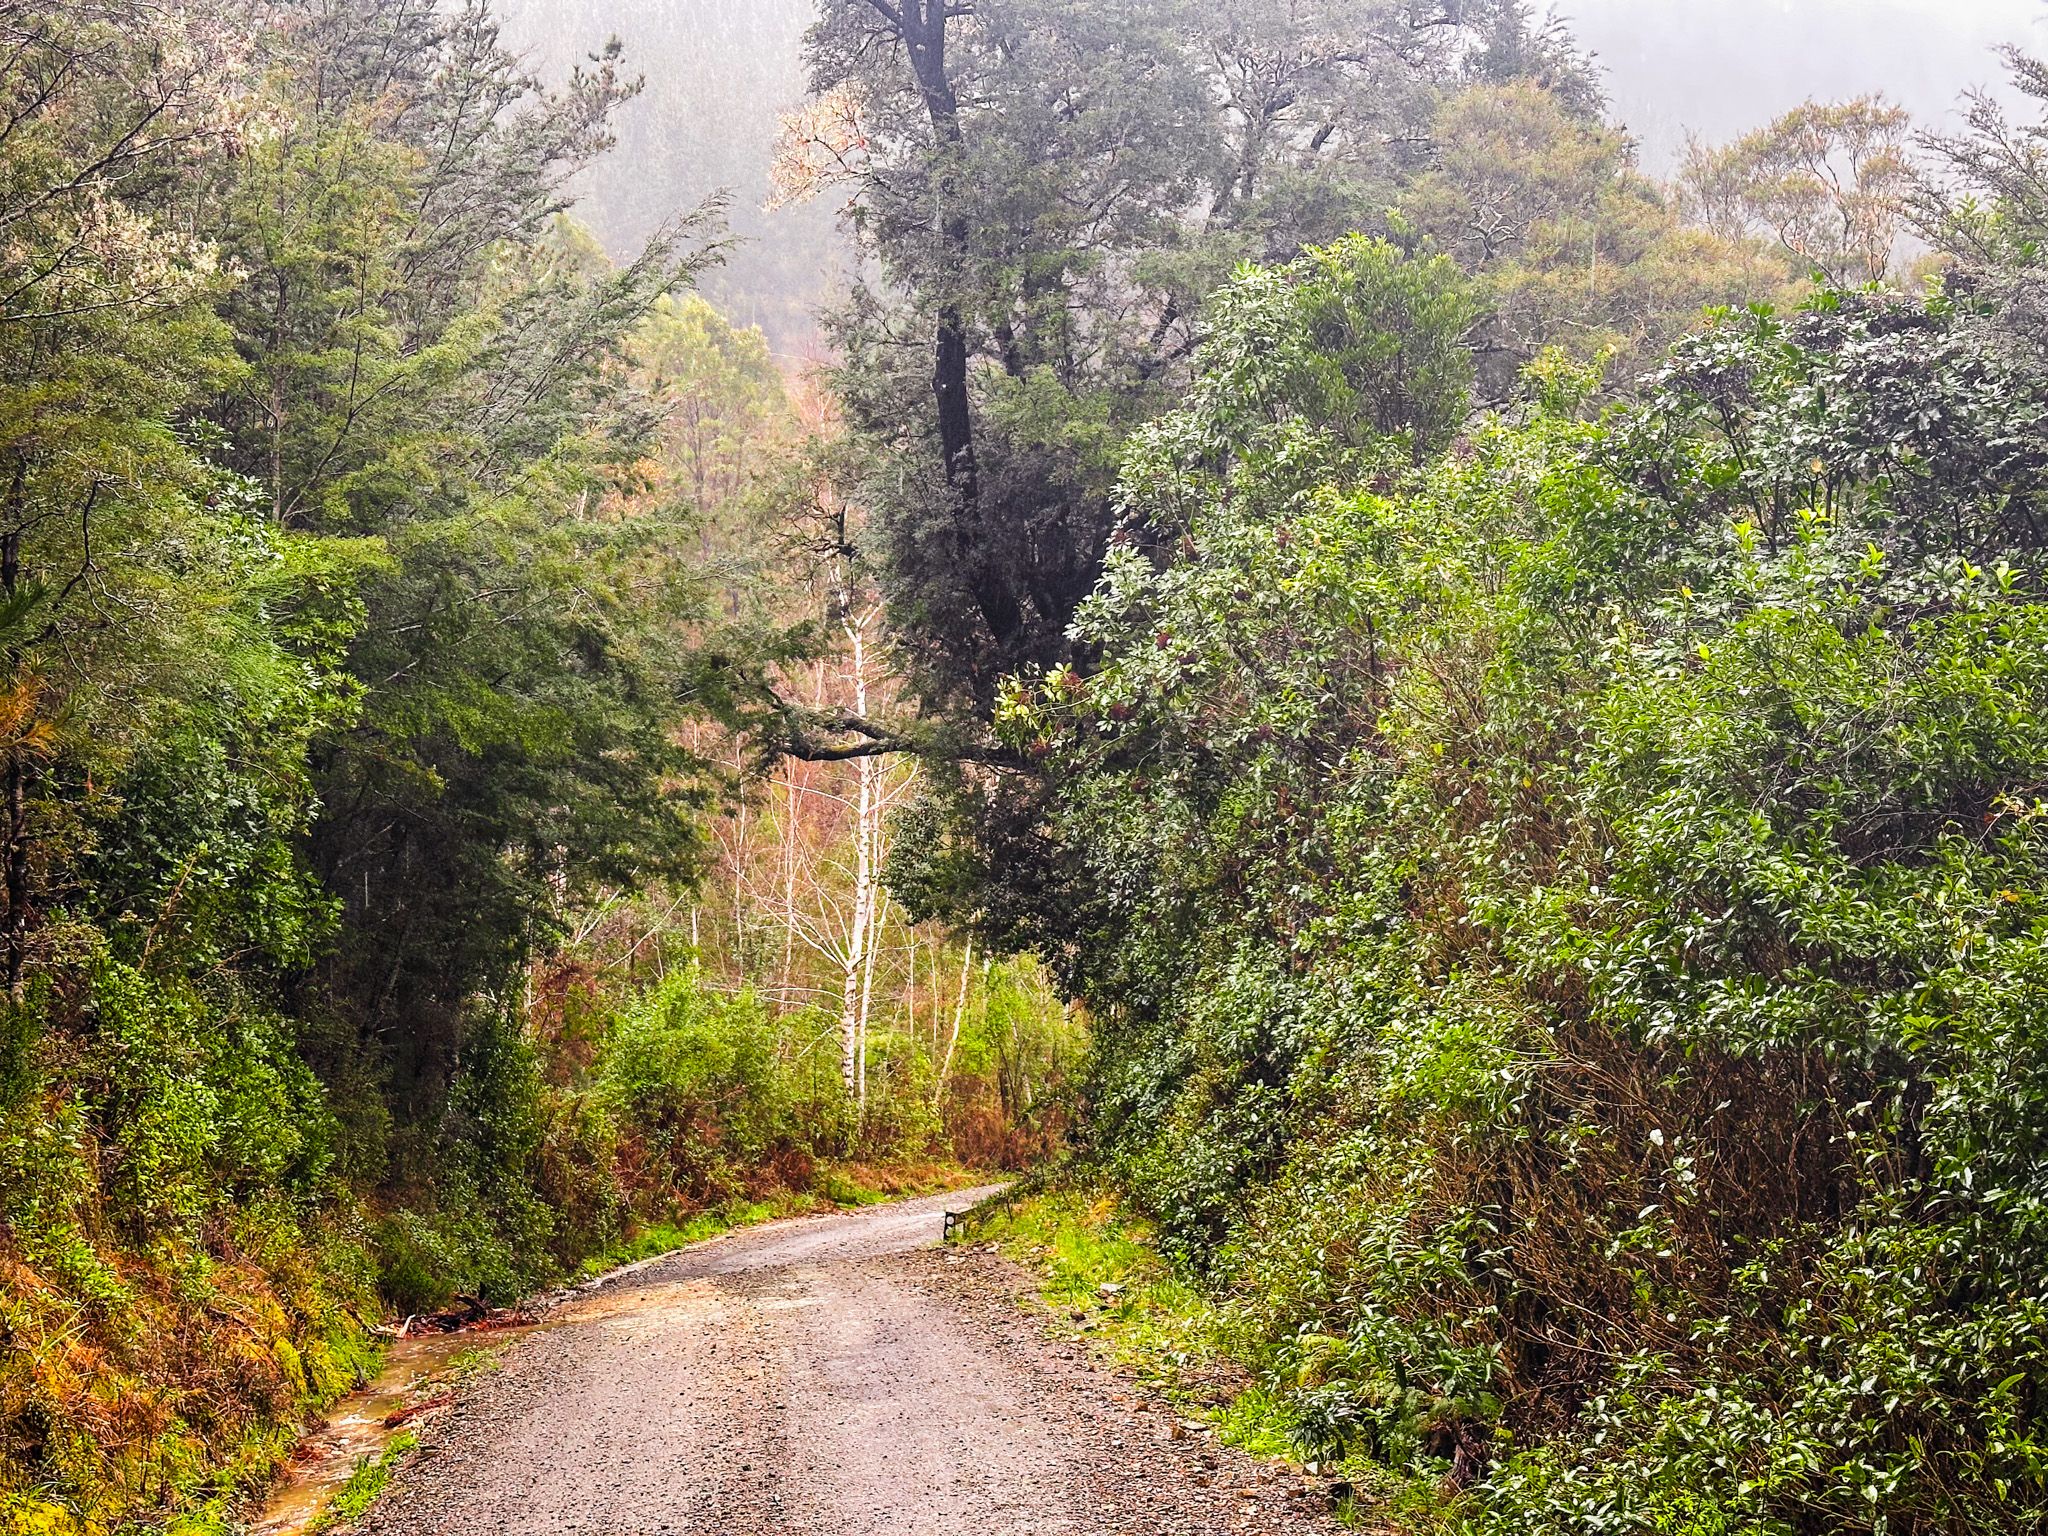
Wakamarina Road and its Historic Sites
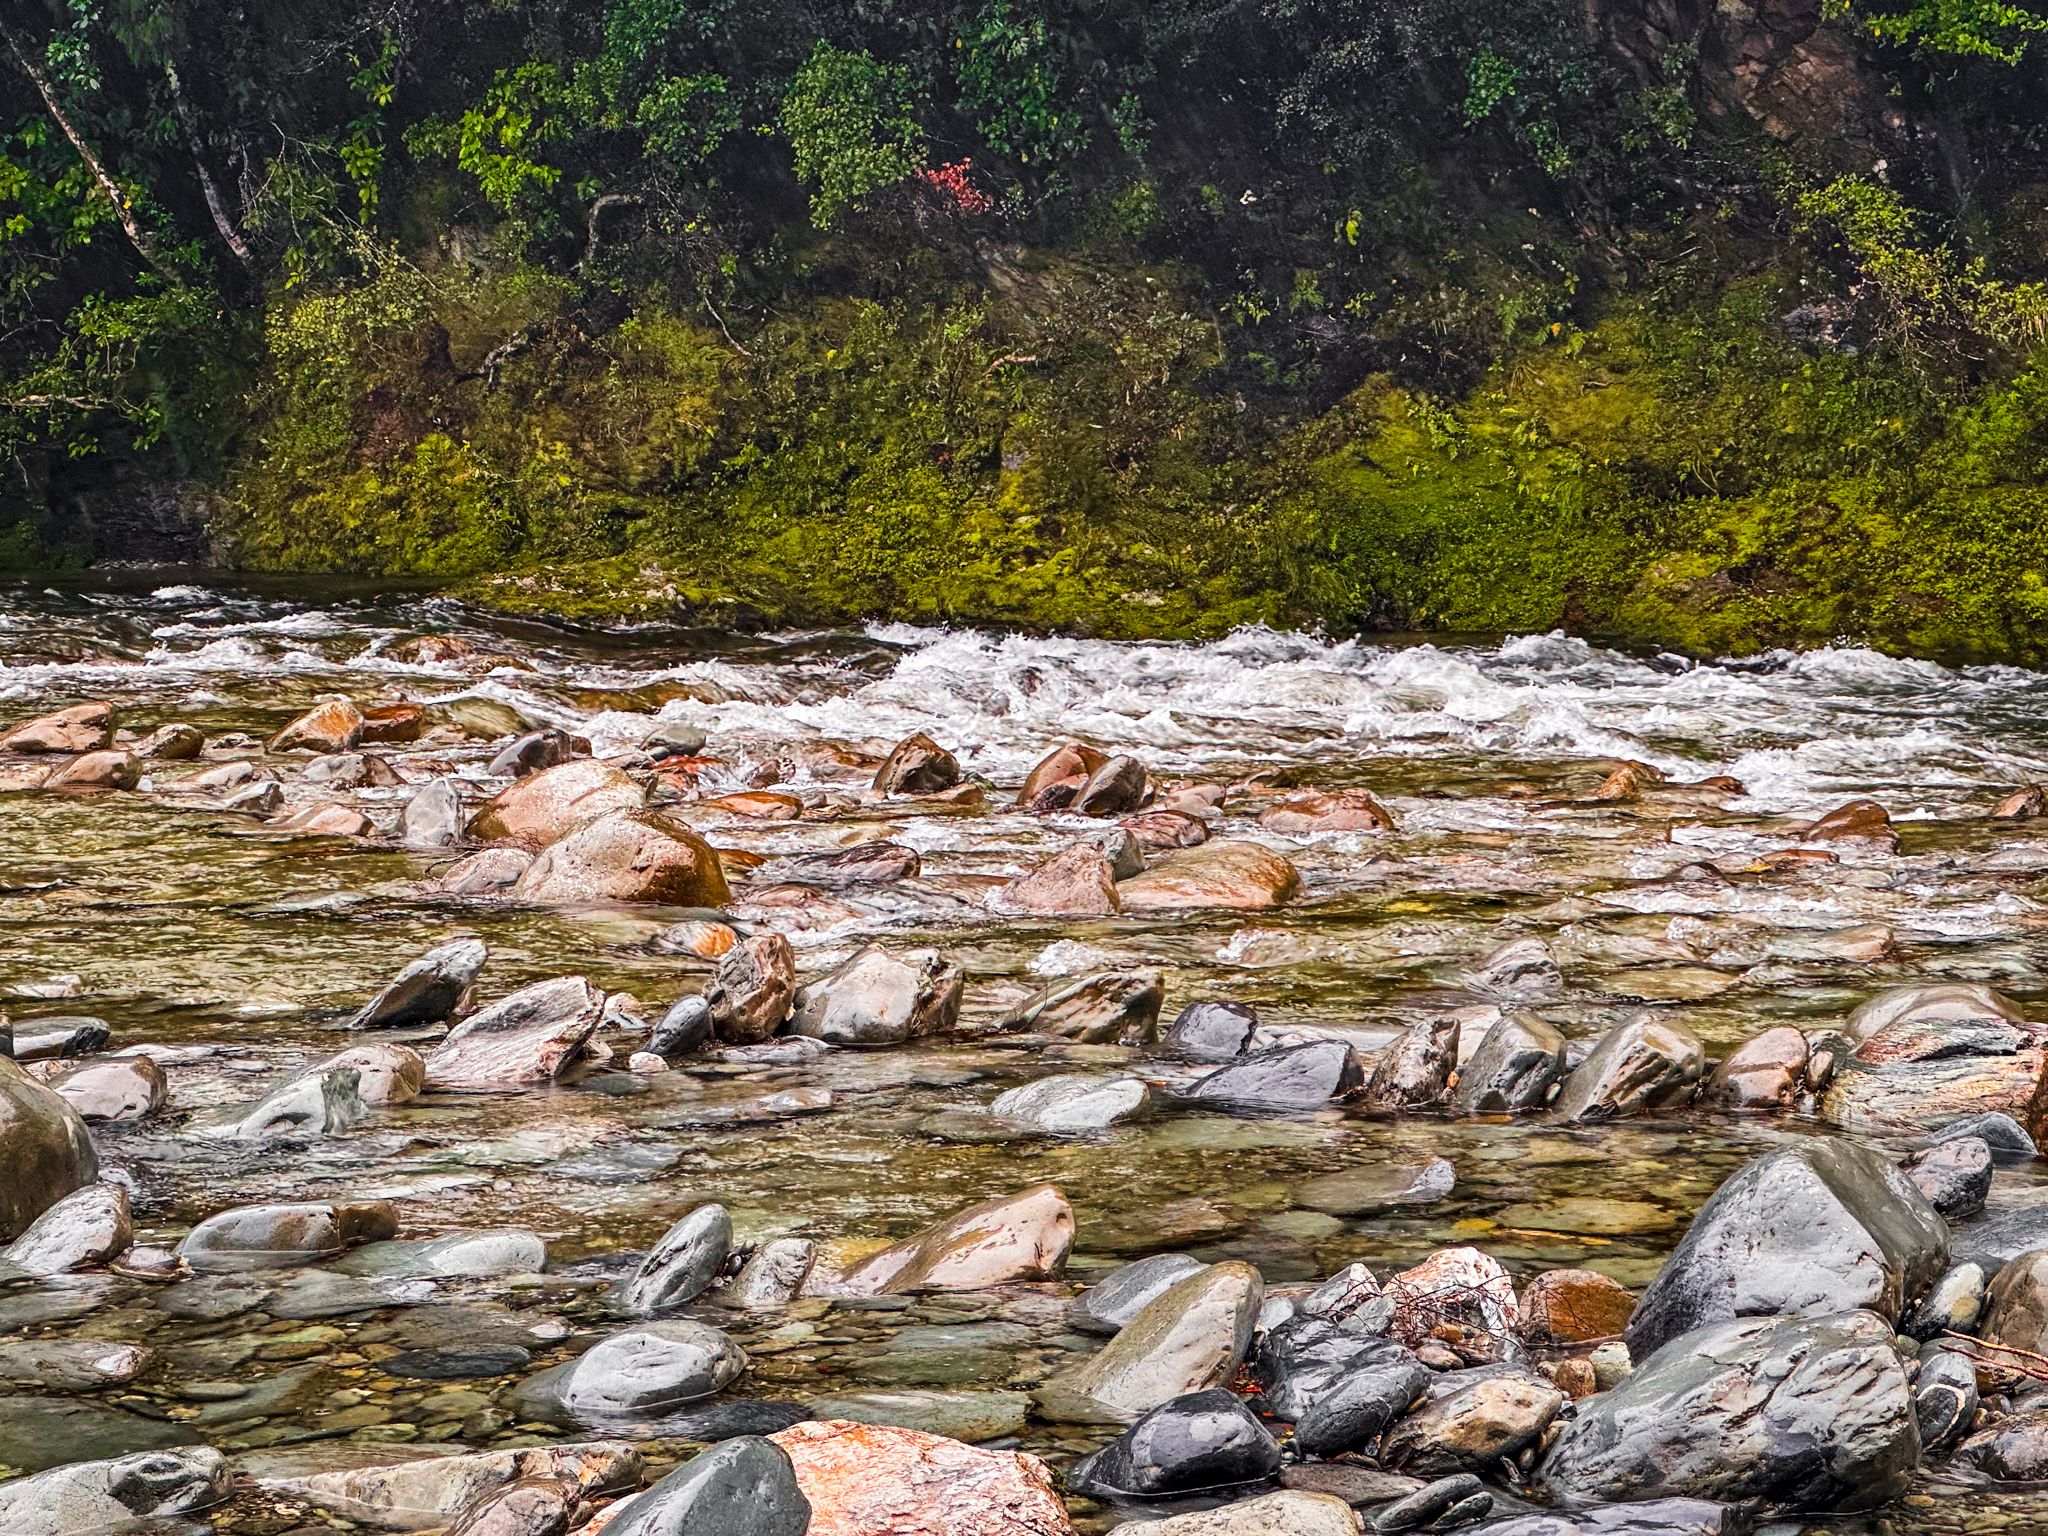
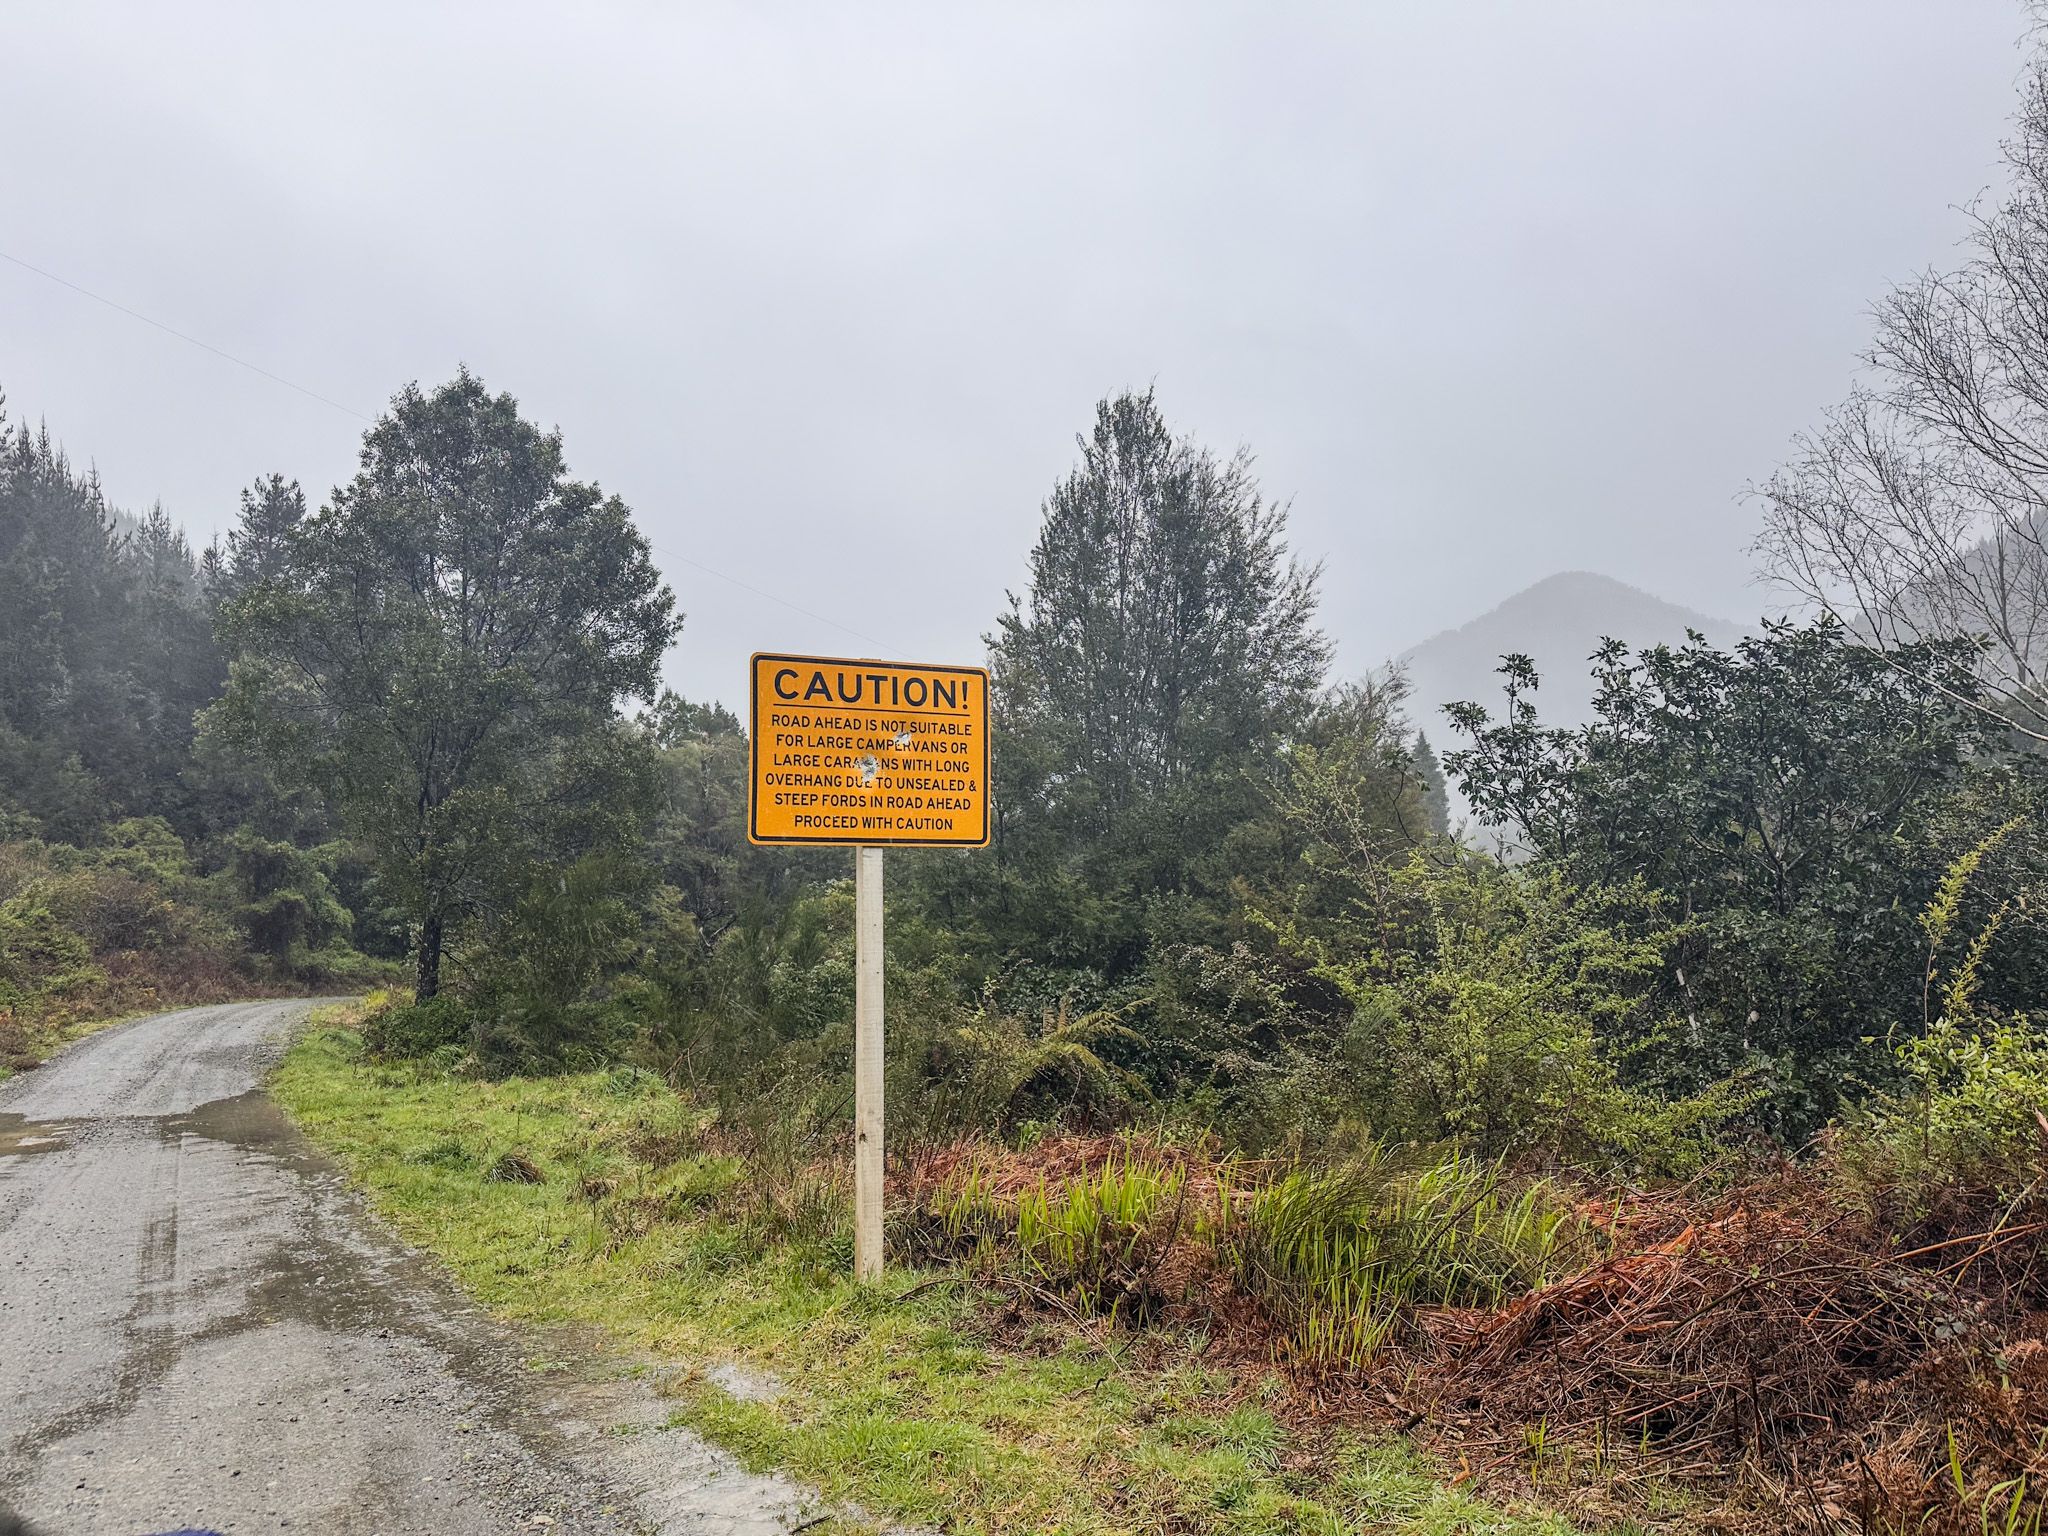
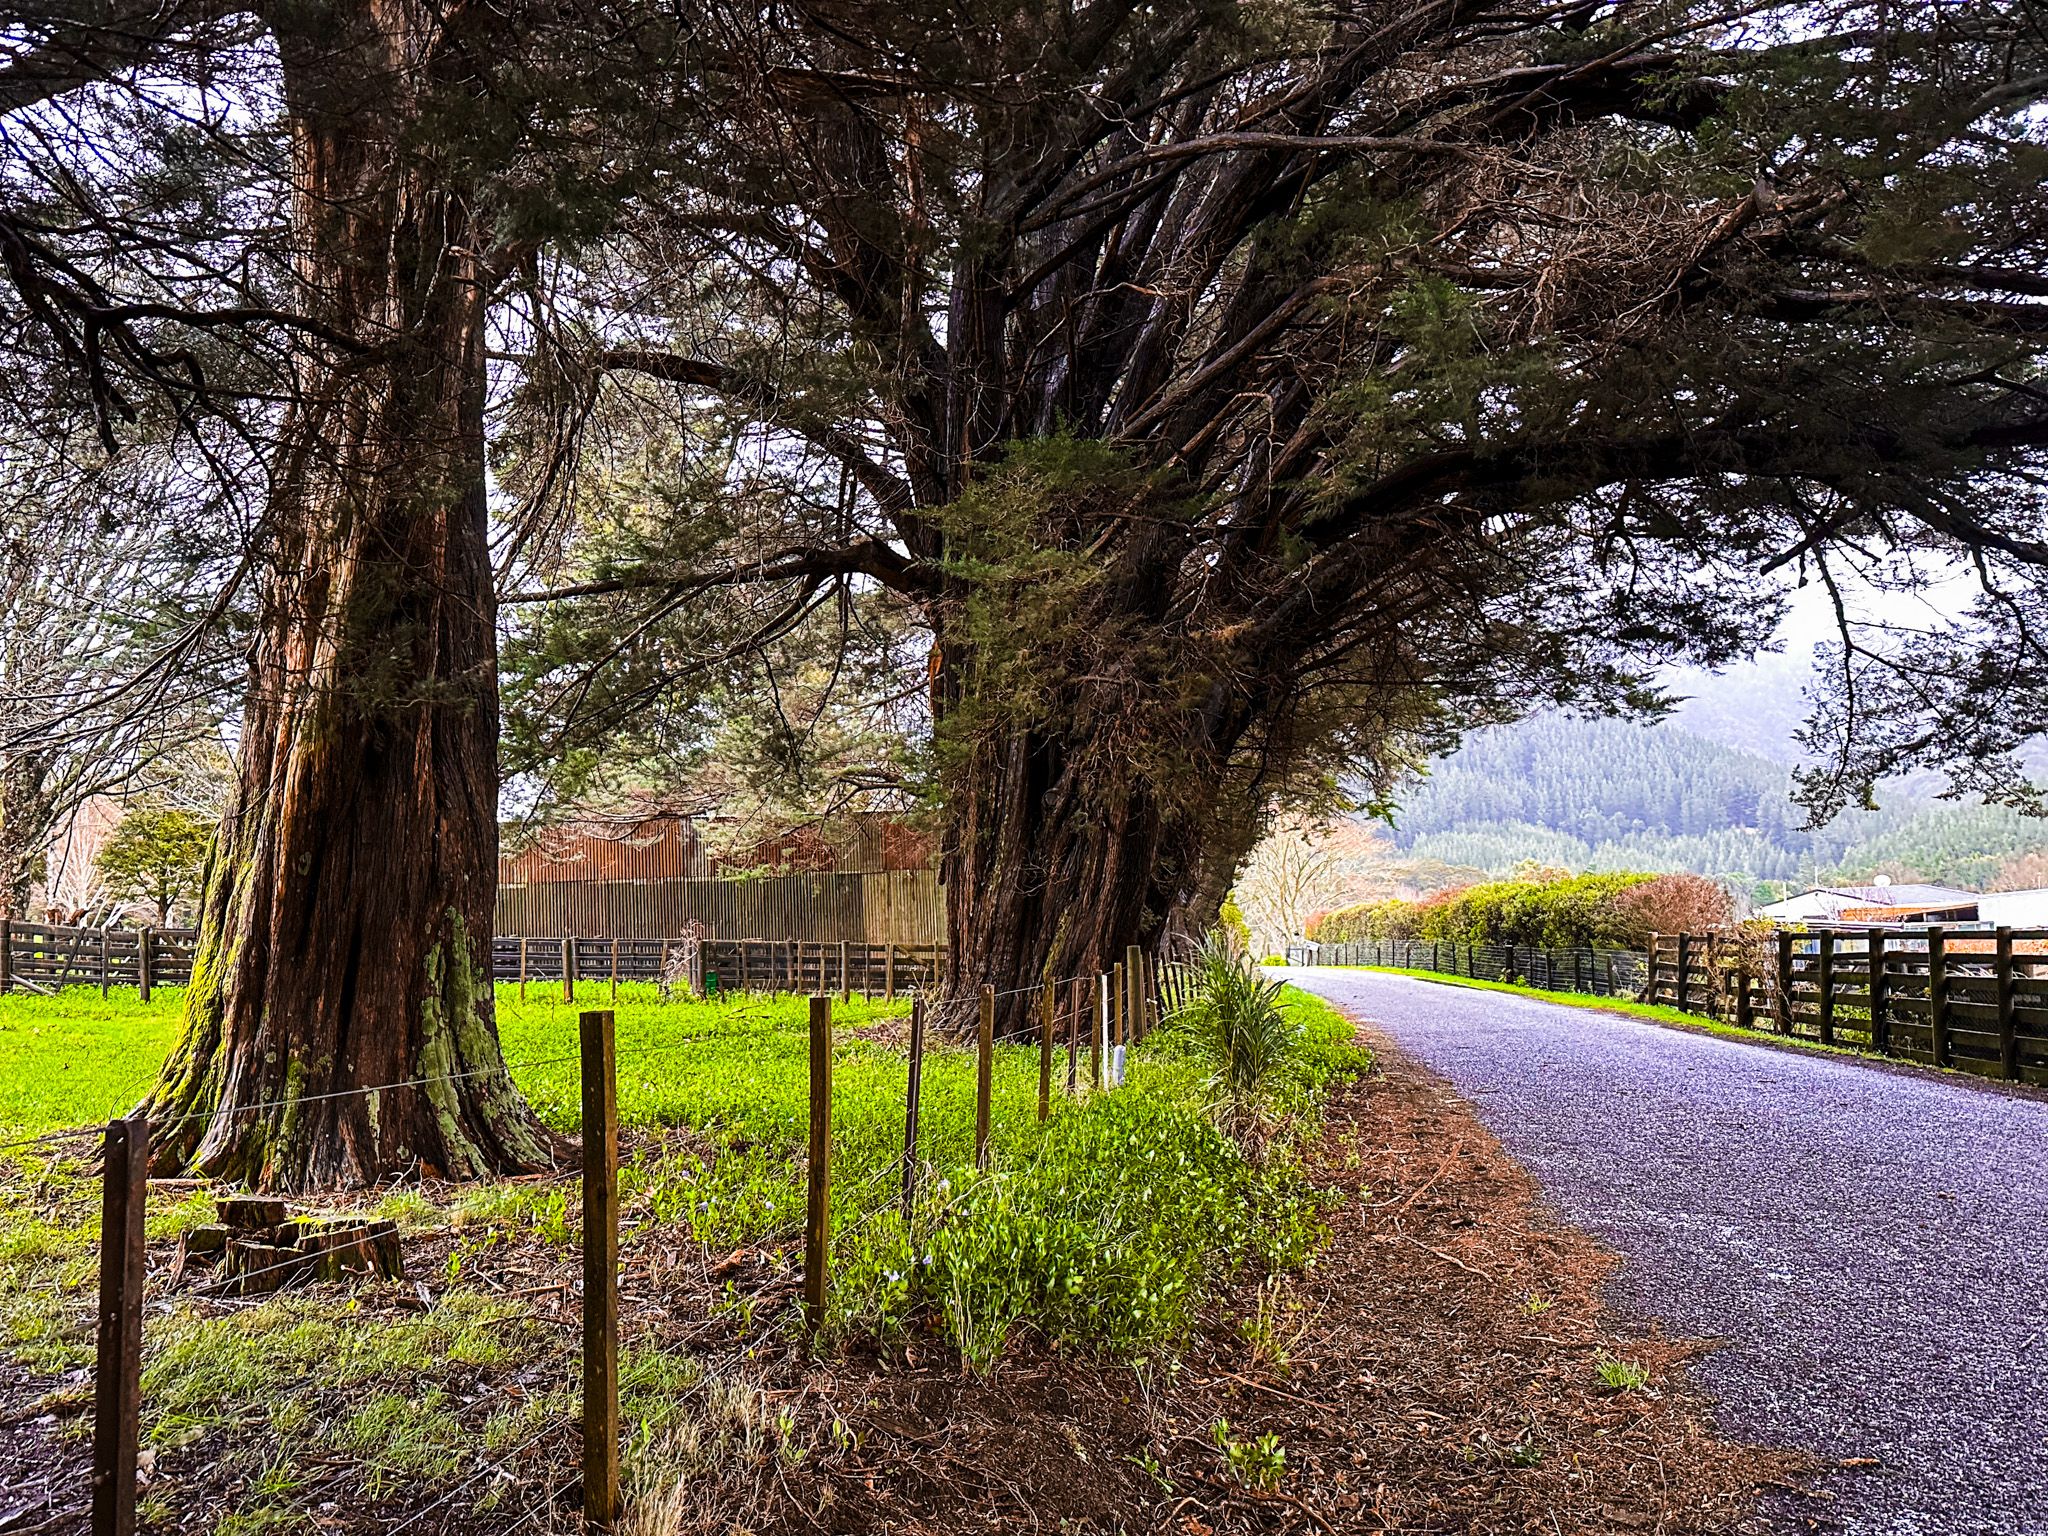
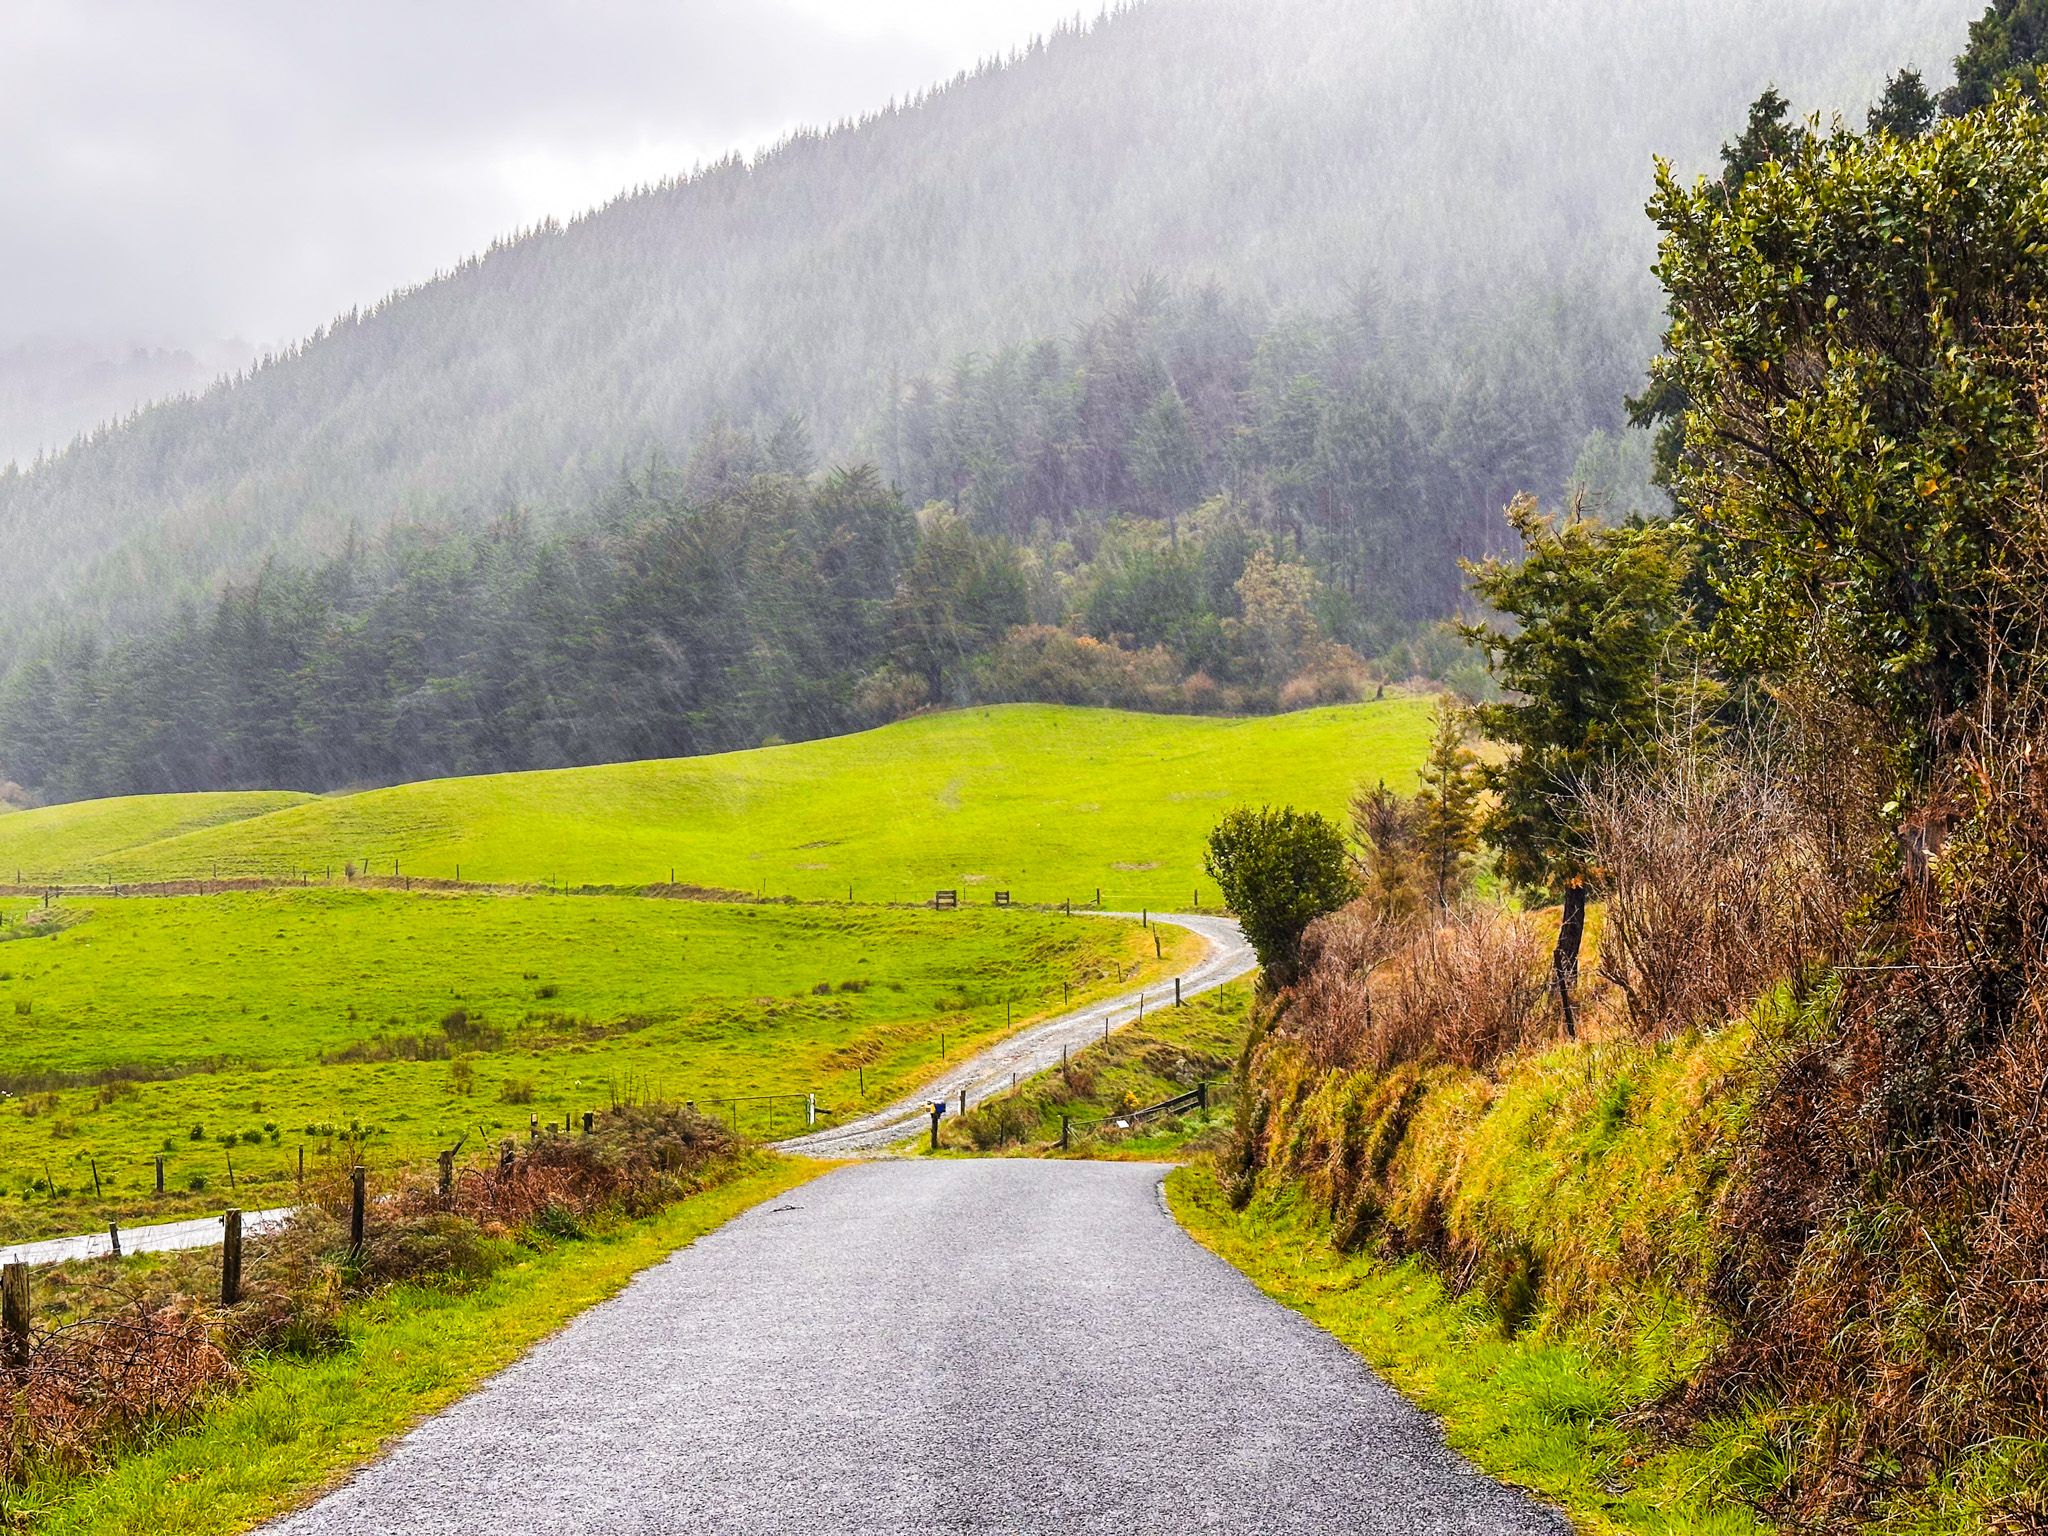
The drive along Wakamarina Road follows the valley upstream from Canvastown. The road is narrow and mostly gravel, with only occasional glimpses of the river. As you progress, patches of regenerating forest blend with farmland, illustrating how the valley has evolved since the days of extraction.
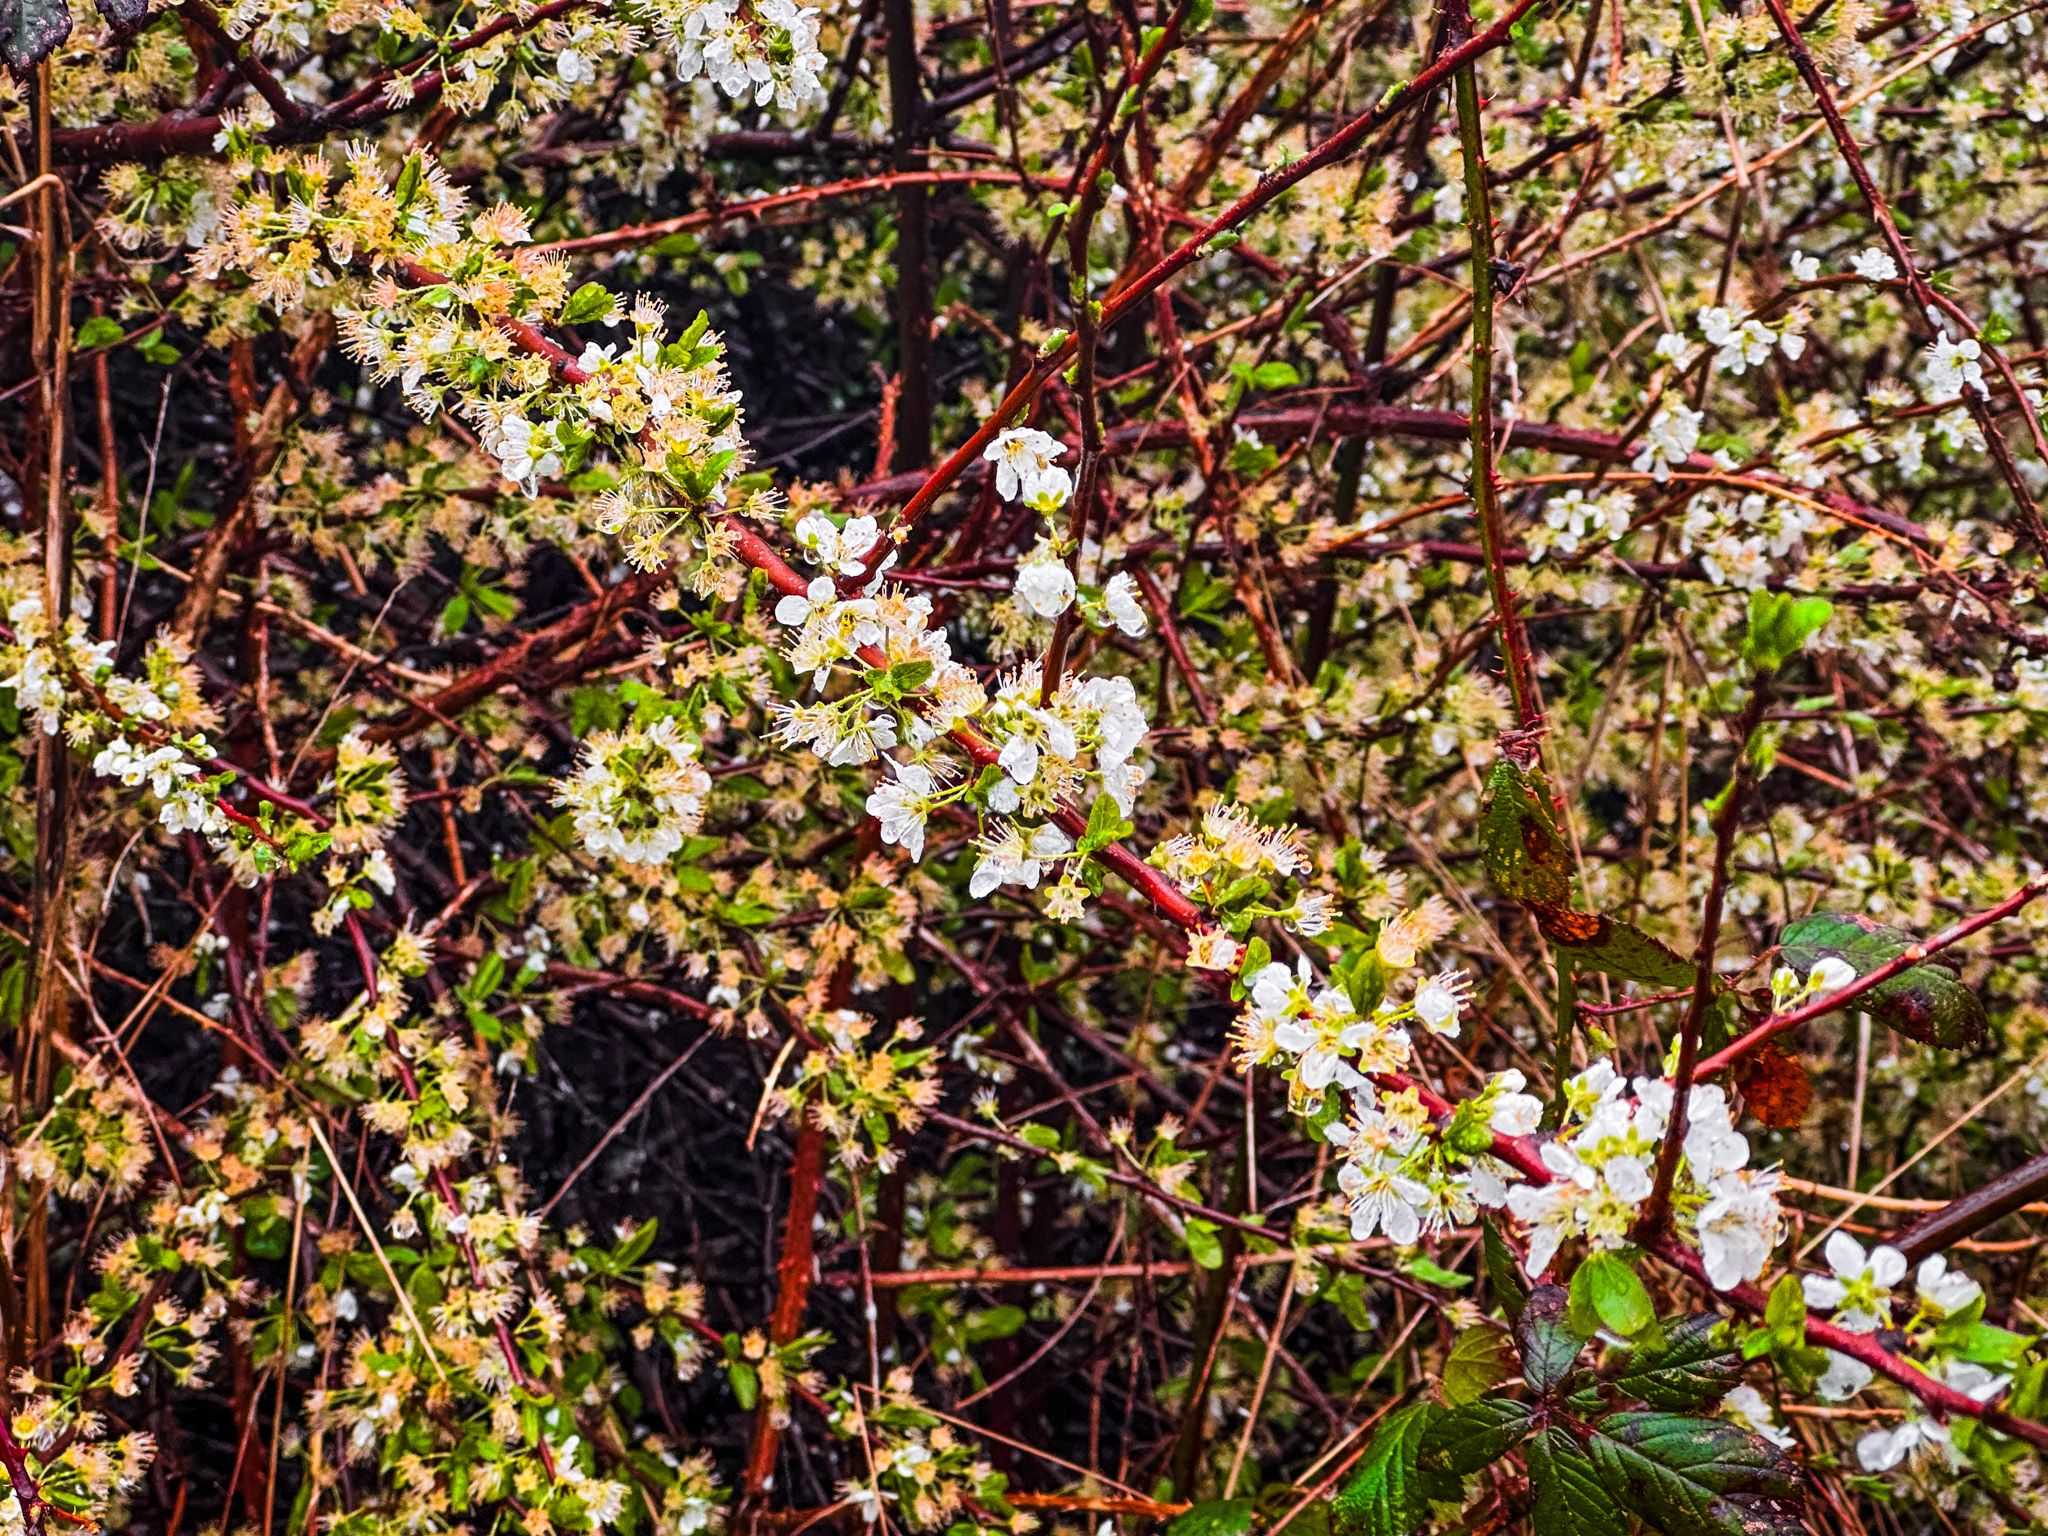
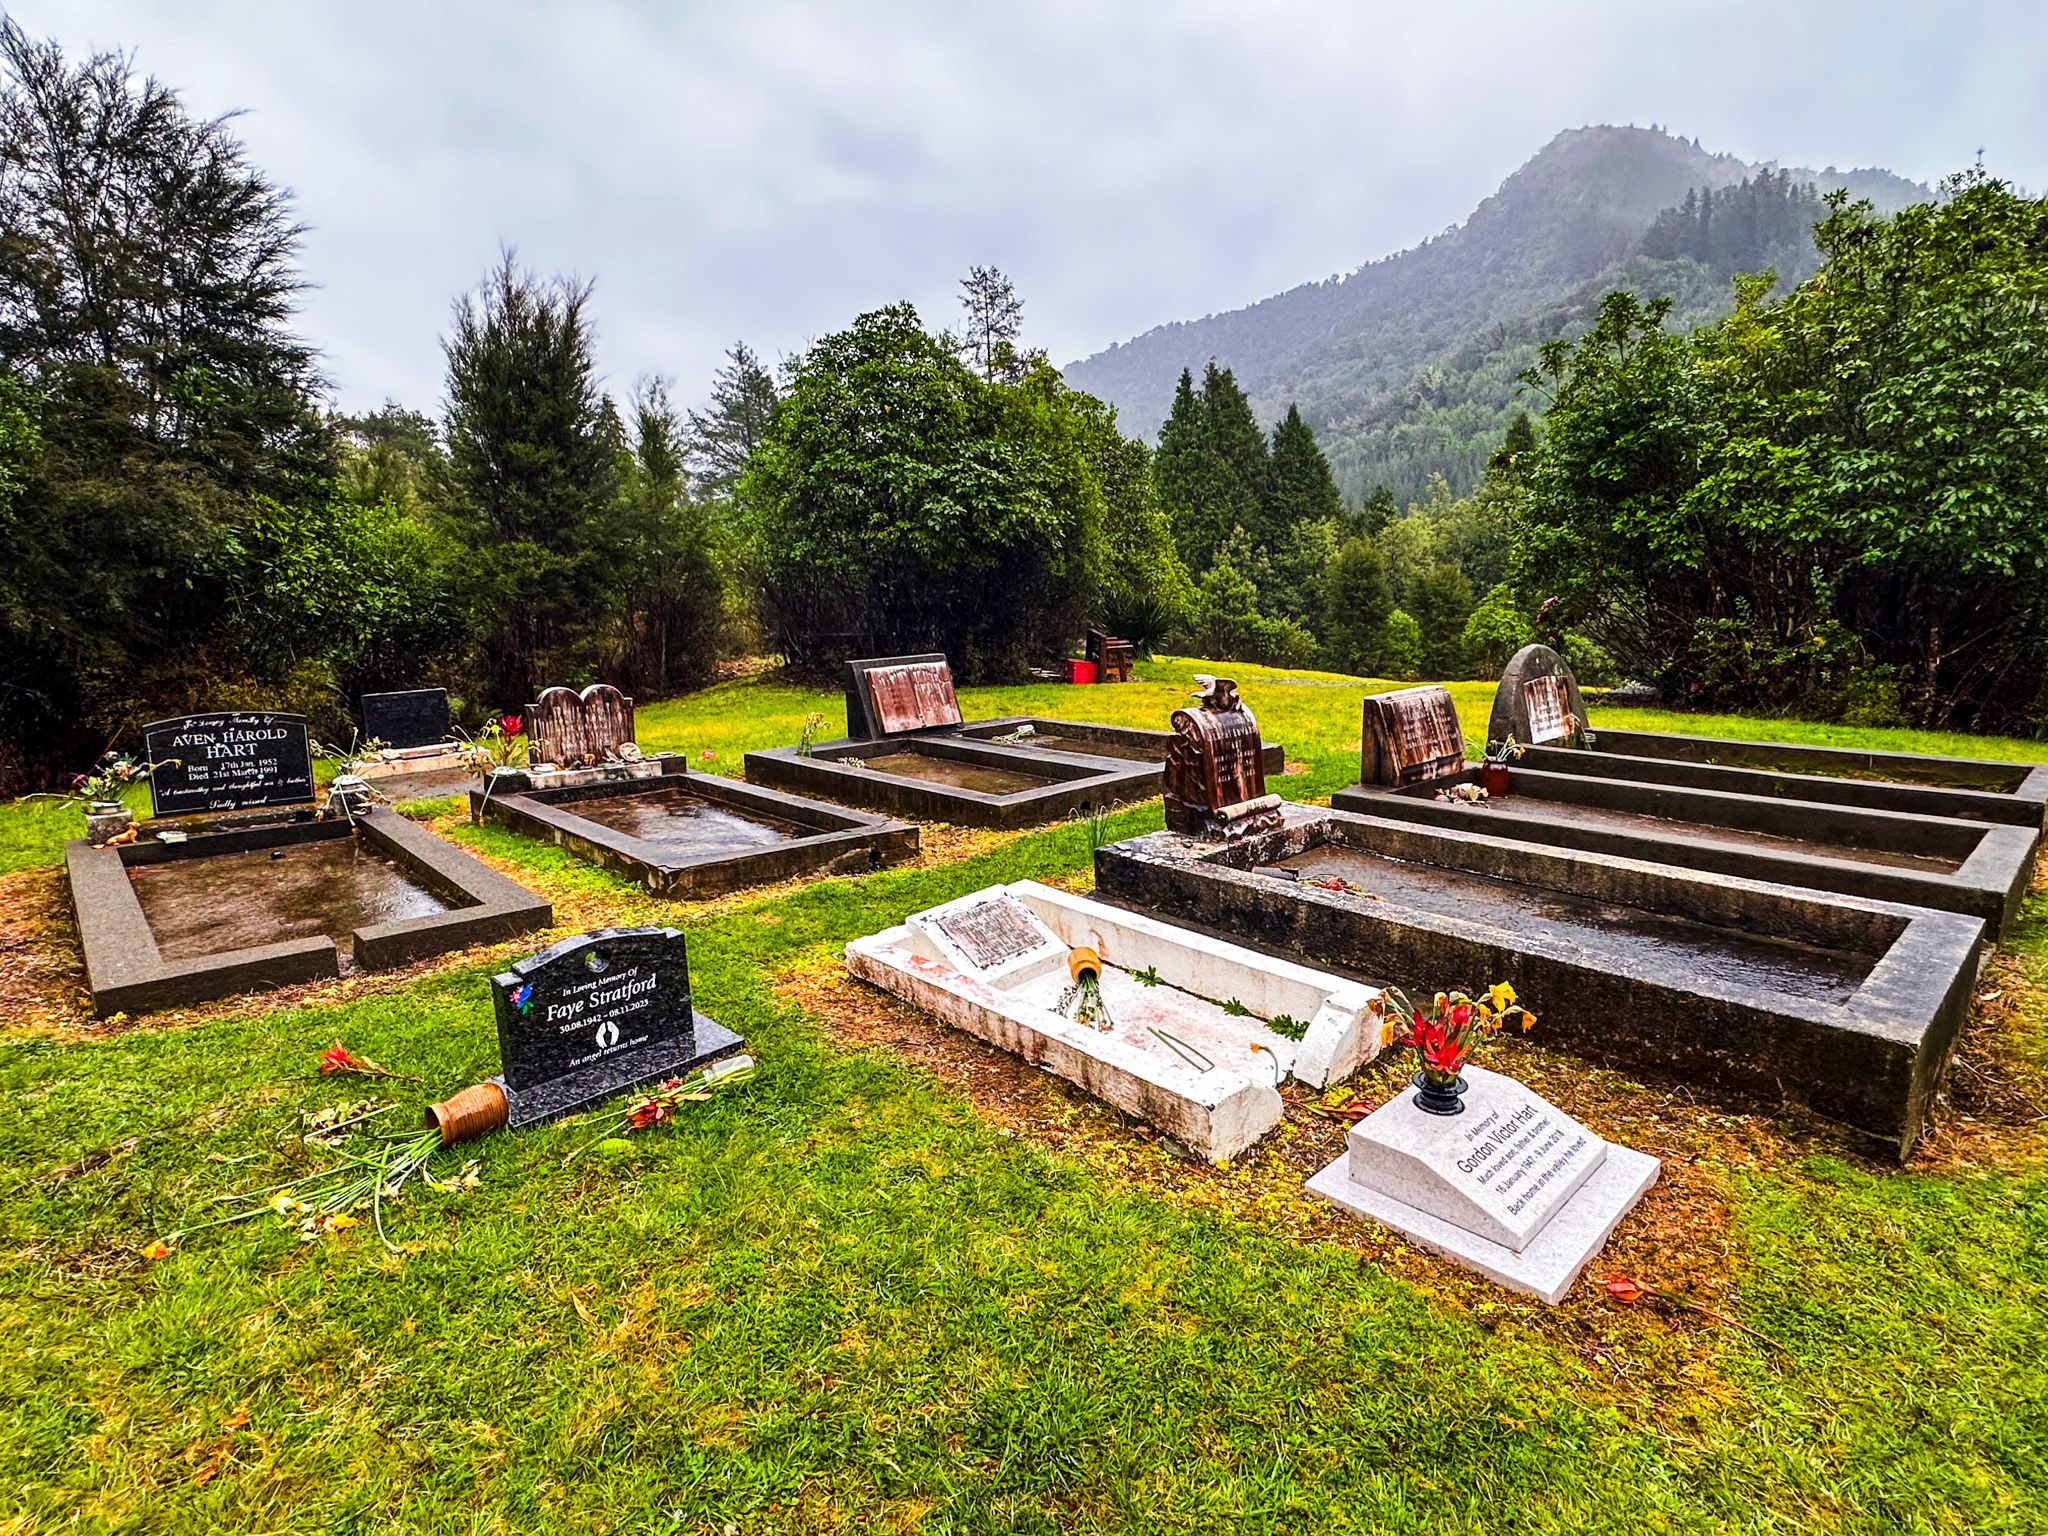
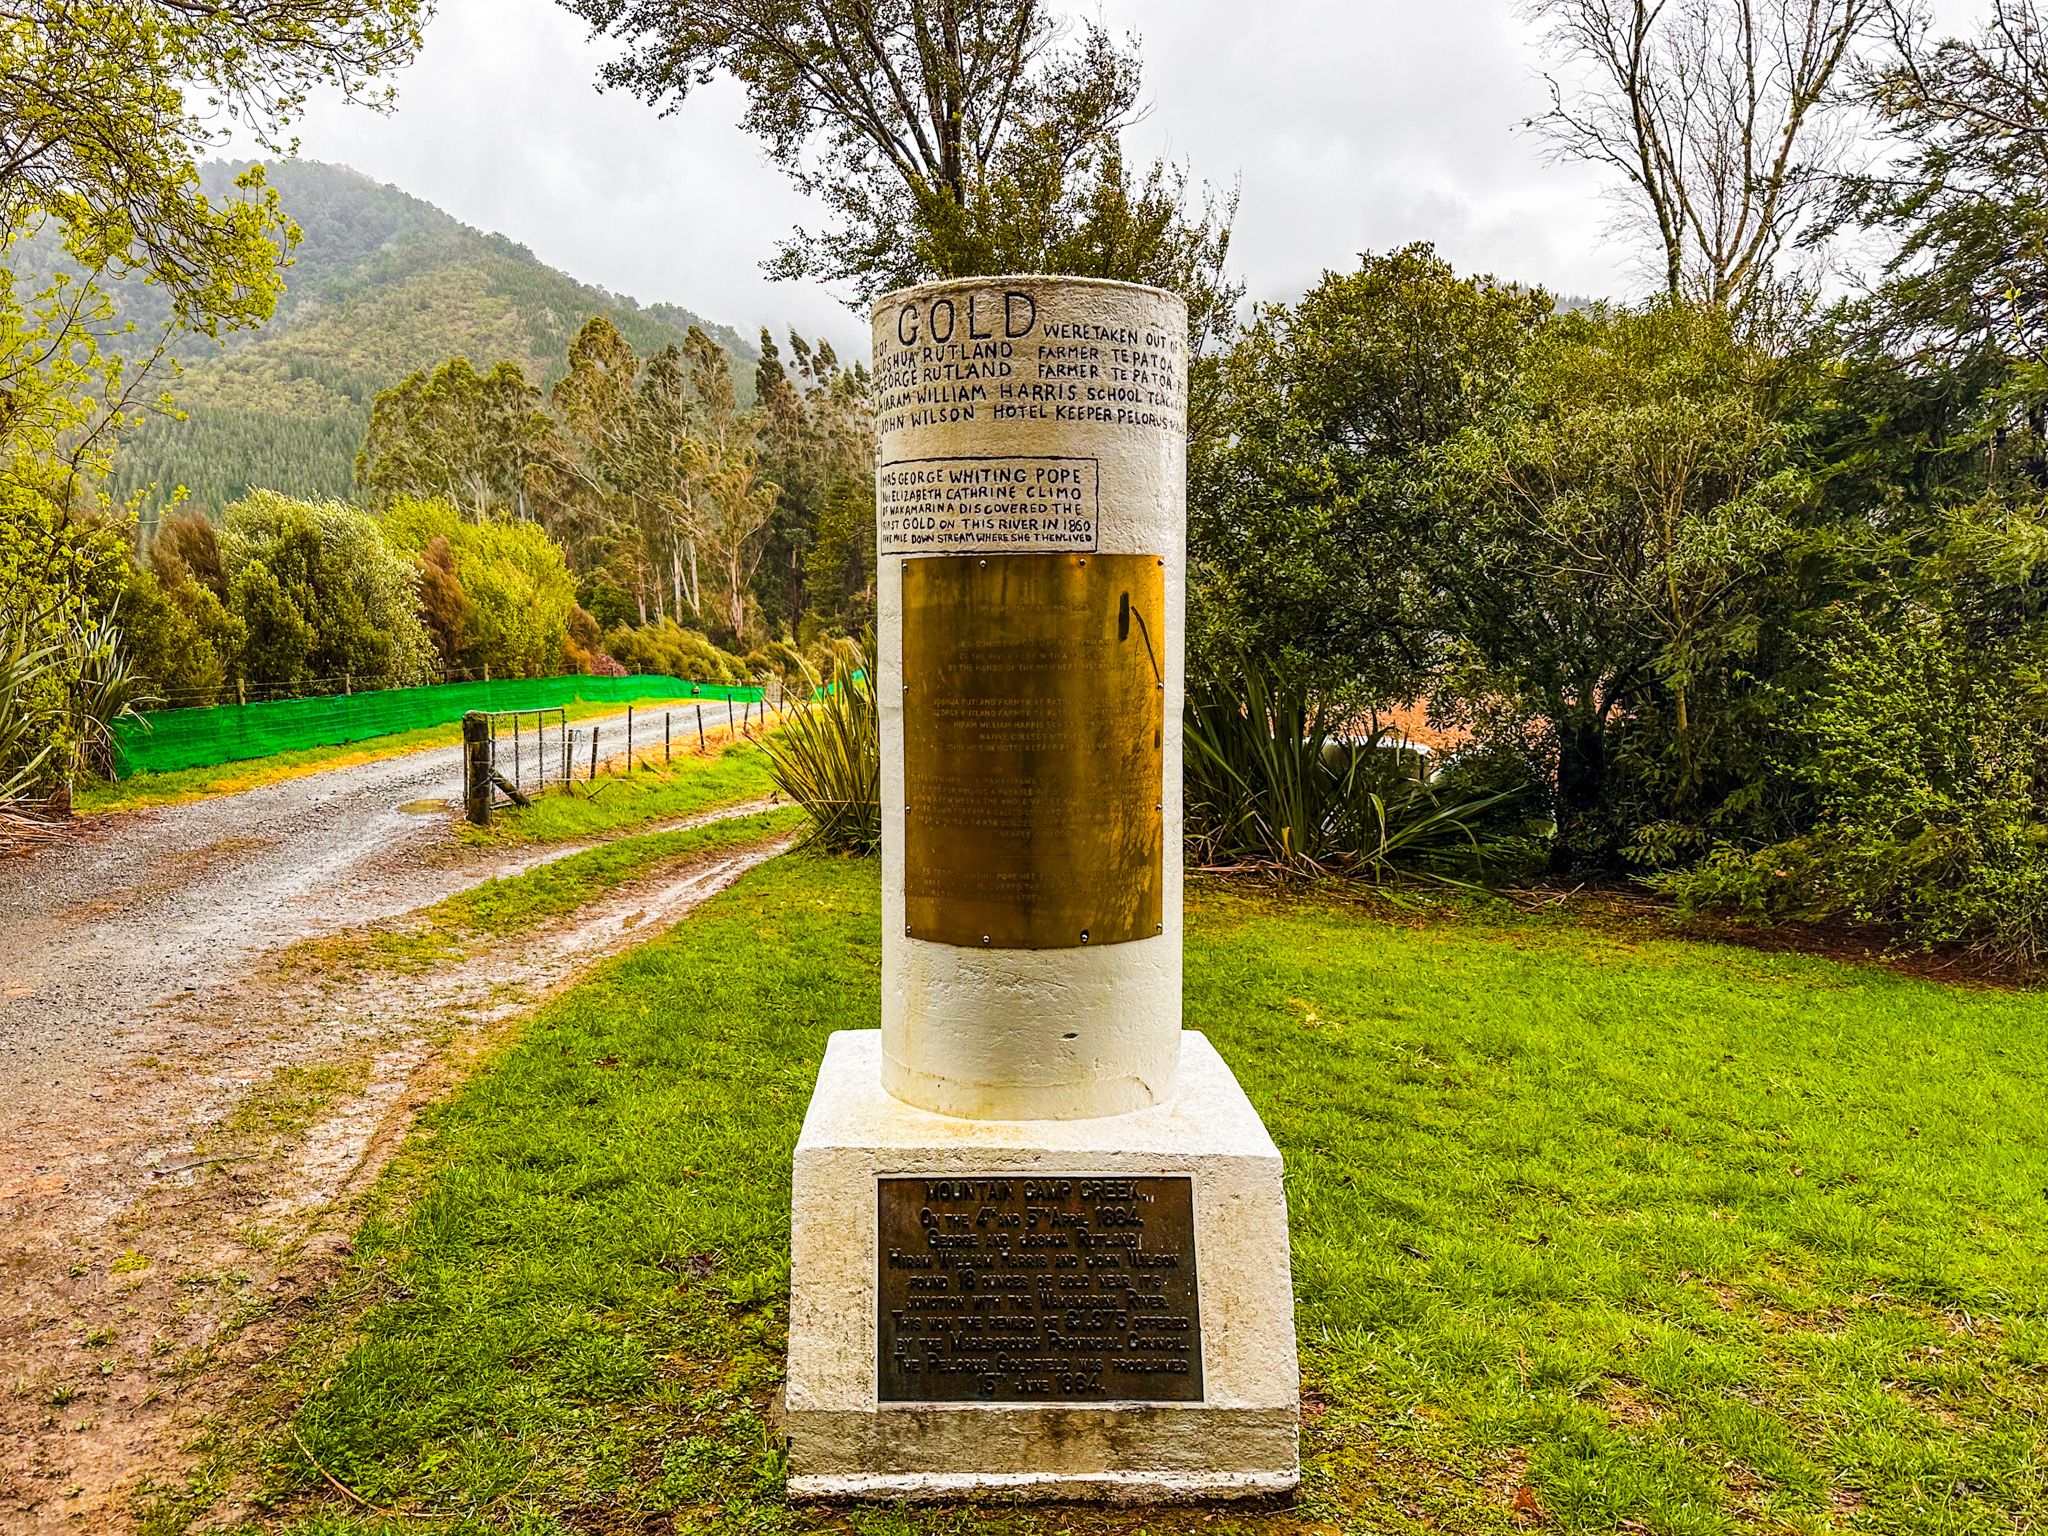
Along the way, information boards and memorials mark key gold locations; in order, these are Matt’s Creek, Mountain Camp Creek, Deep Creek, Pear Tree Flat and Butchers Flat. At Mountain Creek, there is an unusual white and gold roadside memorial to the first discovery of payable gold in 1864. At Deep Creek, you can walk out onto the bridge and look down into the narrow deep gorge. It’s hard to imagine this was an area of industry! The historic cemetery is also near Deep Creek, although only a handful of headstones have survived. At Pear Flat, you can get access down a 4WD track to the grassy area beside the river. Apparently, there are still a couple of pear trees there, and the surrounding bush includes a large area of exotic berries that were probably planted over 150 years ago by miners.
The boards are easy to miss, but are packed full of interesting stories, and are worth stopping for. As you drive through this remote place, it is hard to imagine the scale of the industrial enterprise that took place here, of which there is very little left to see.
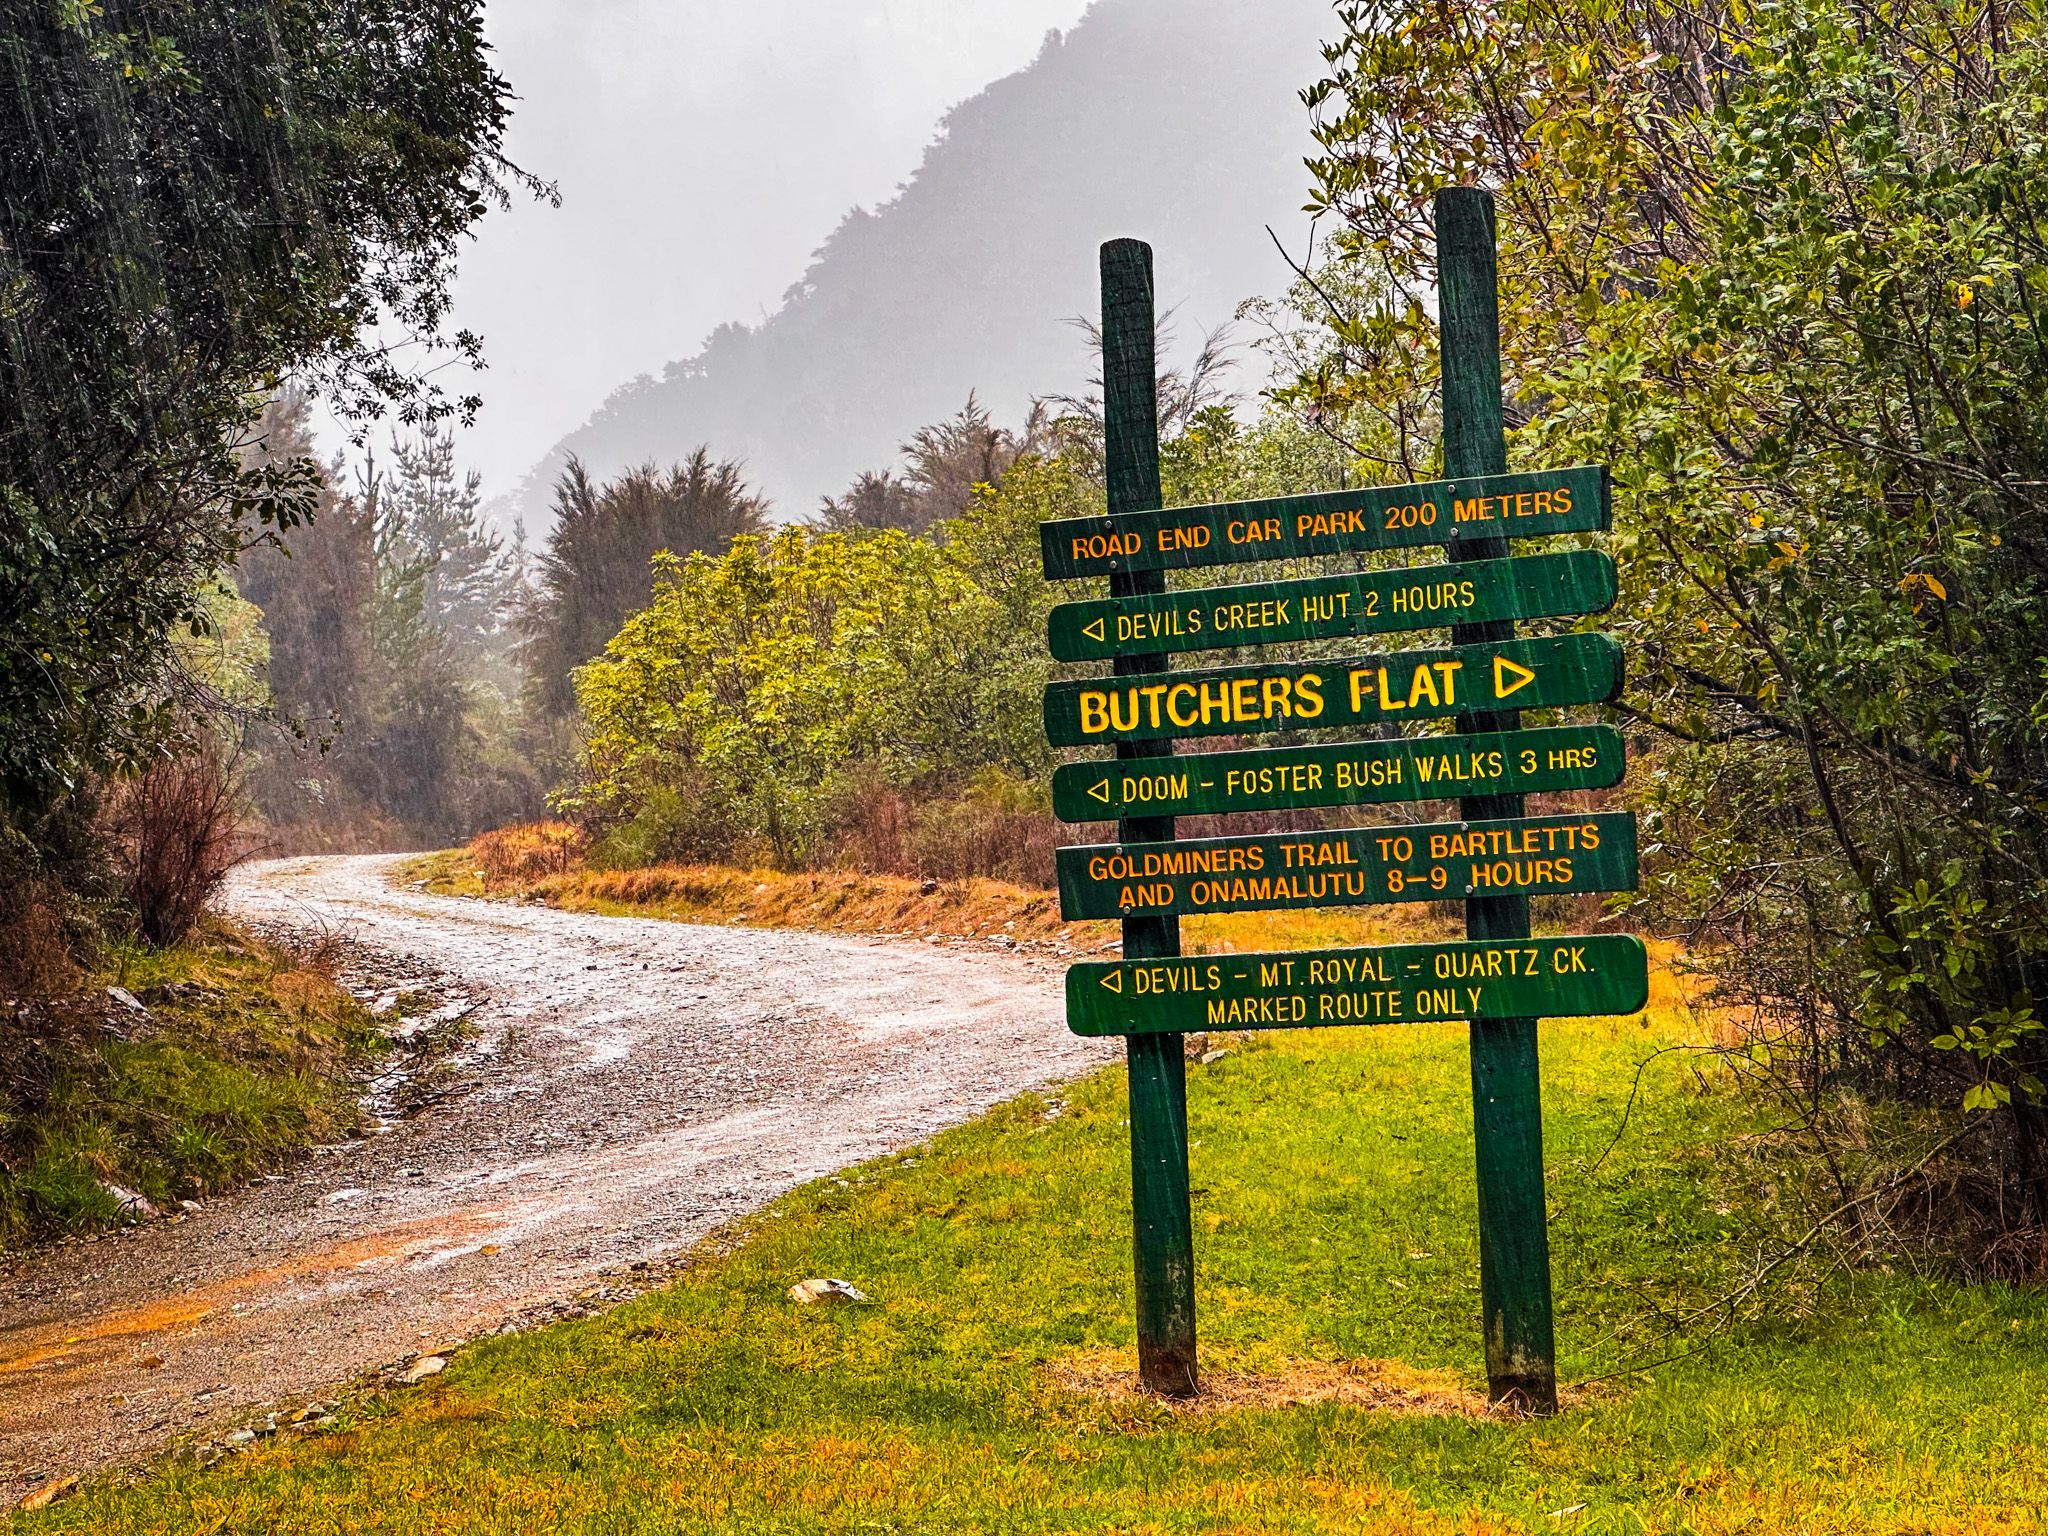
Butchers Flat – Road’s End
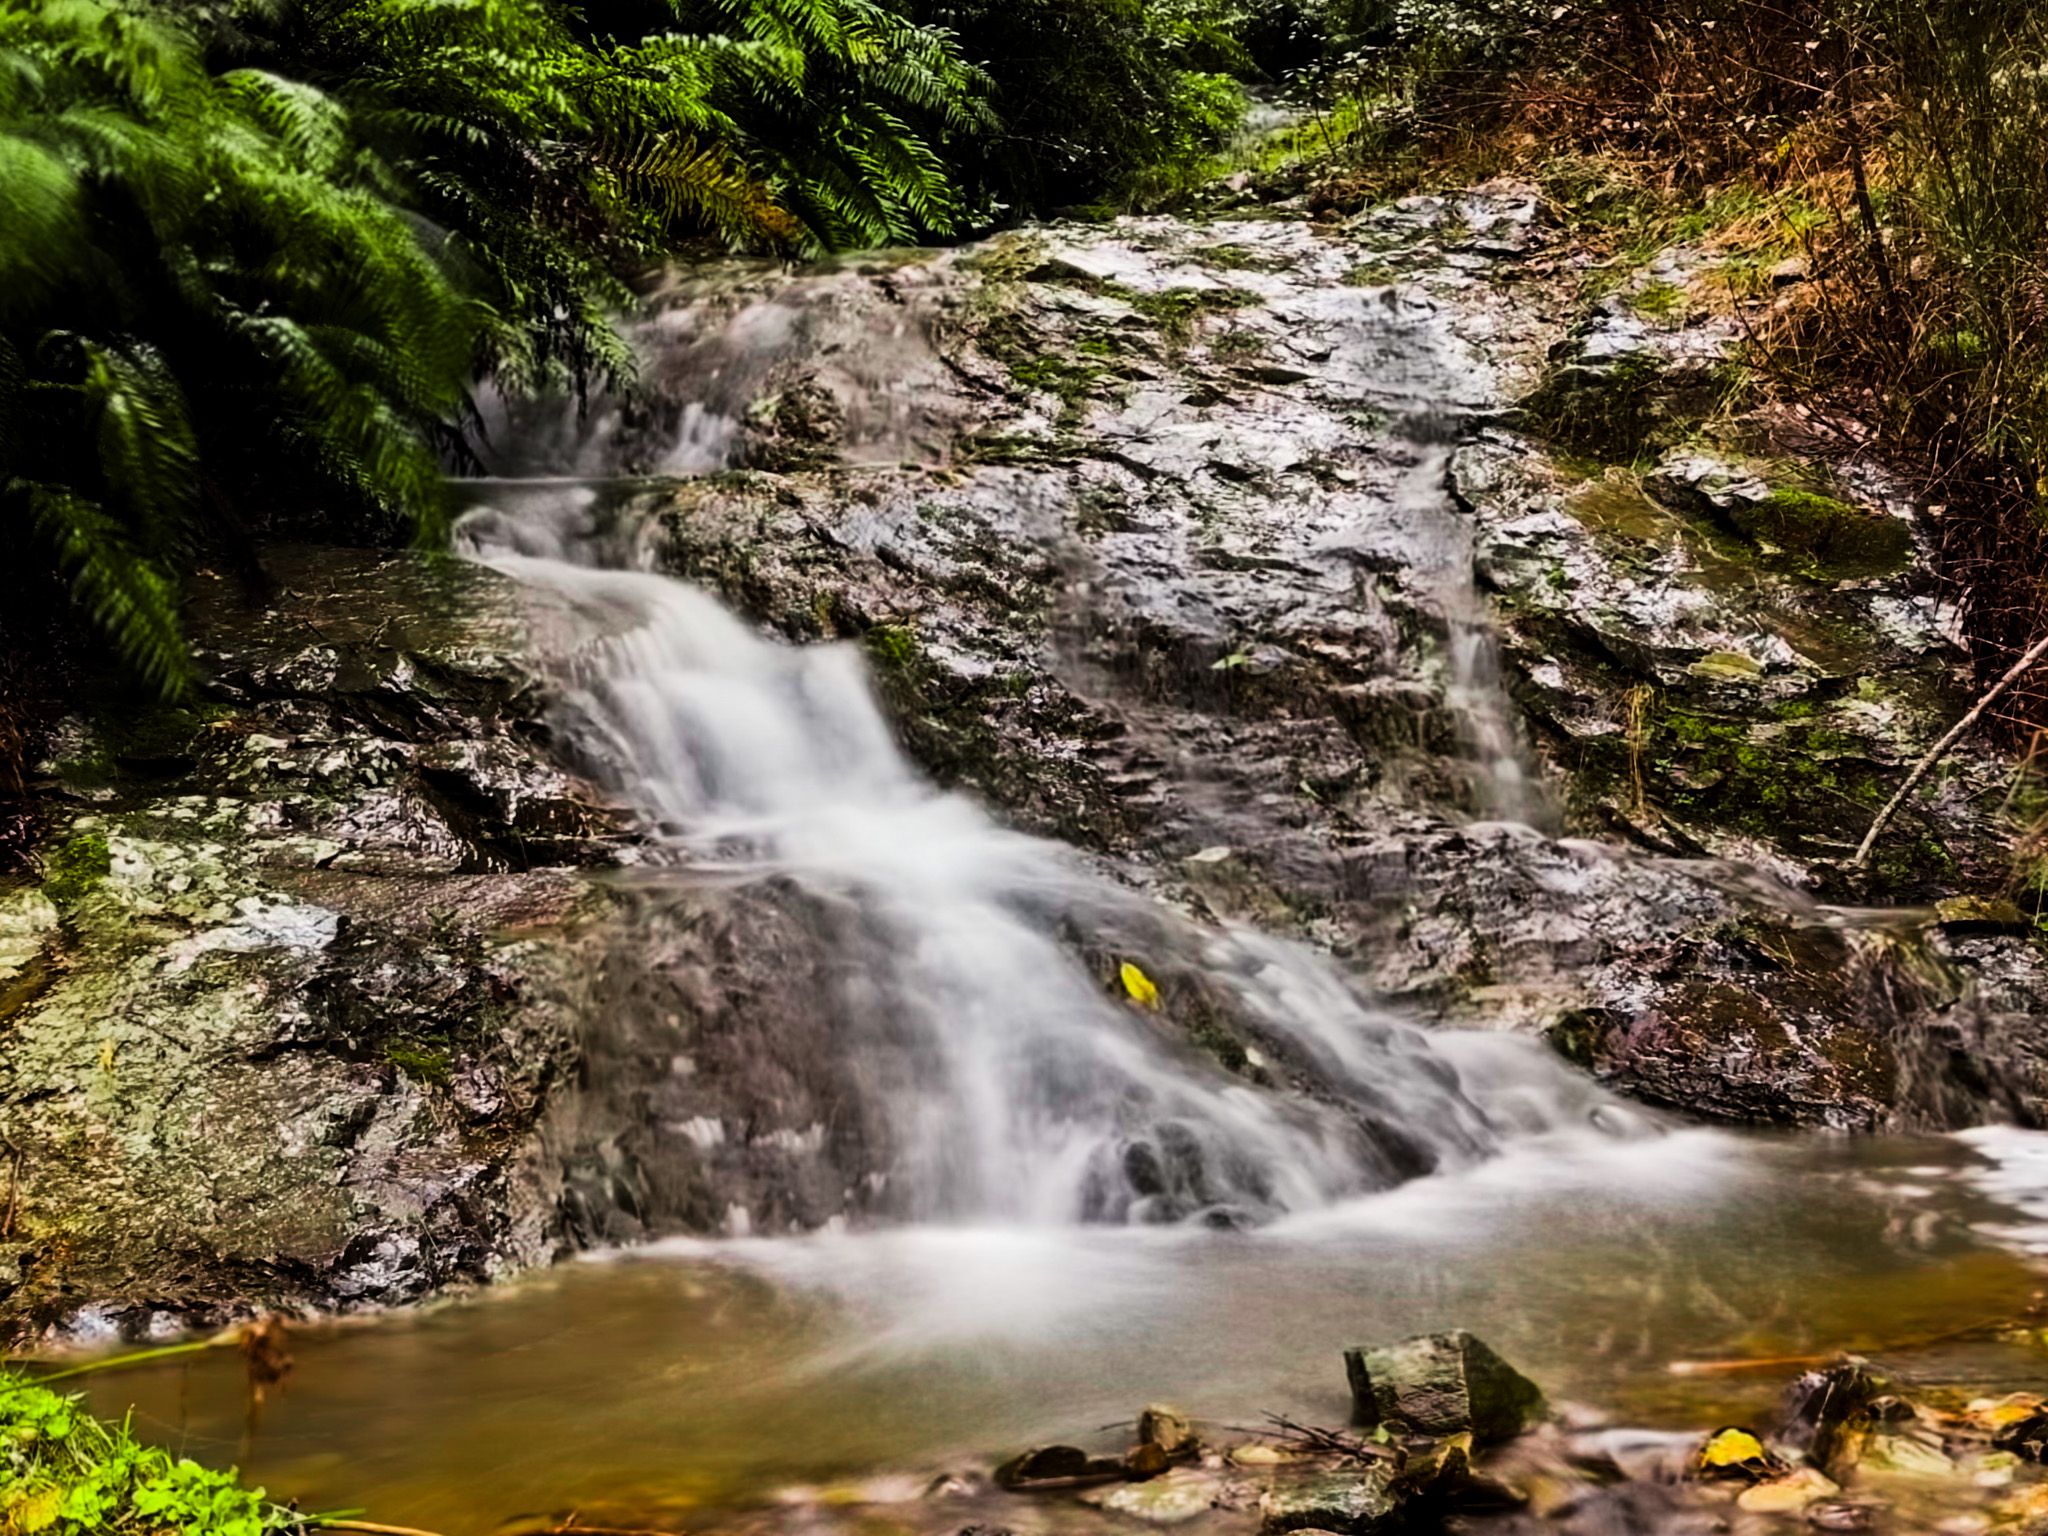
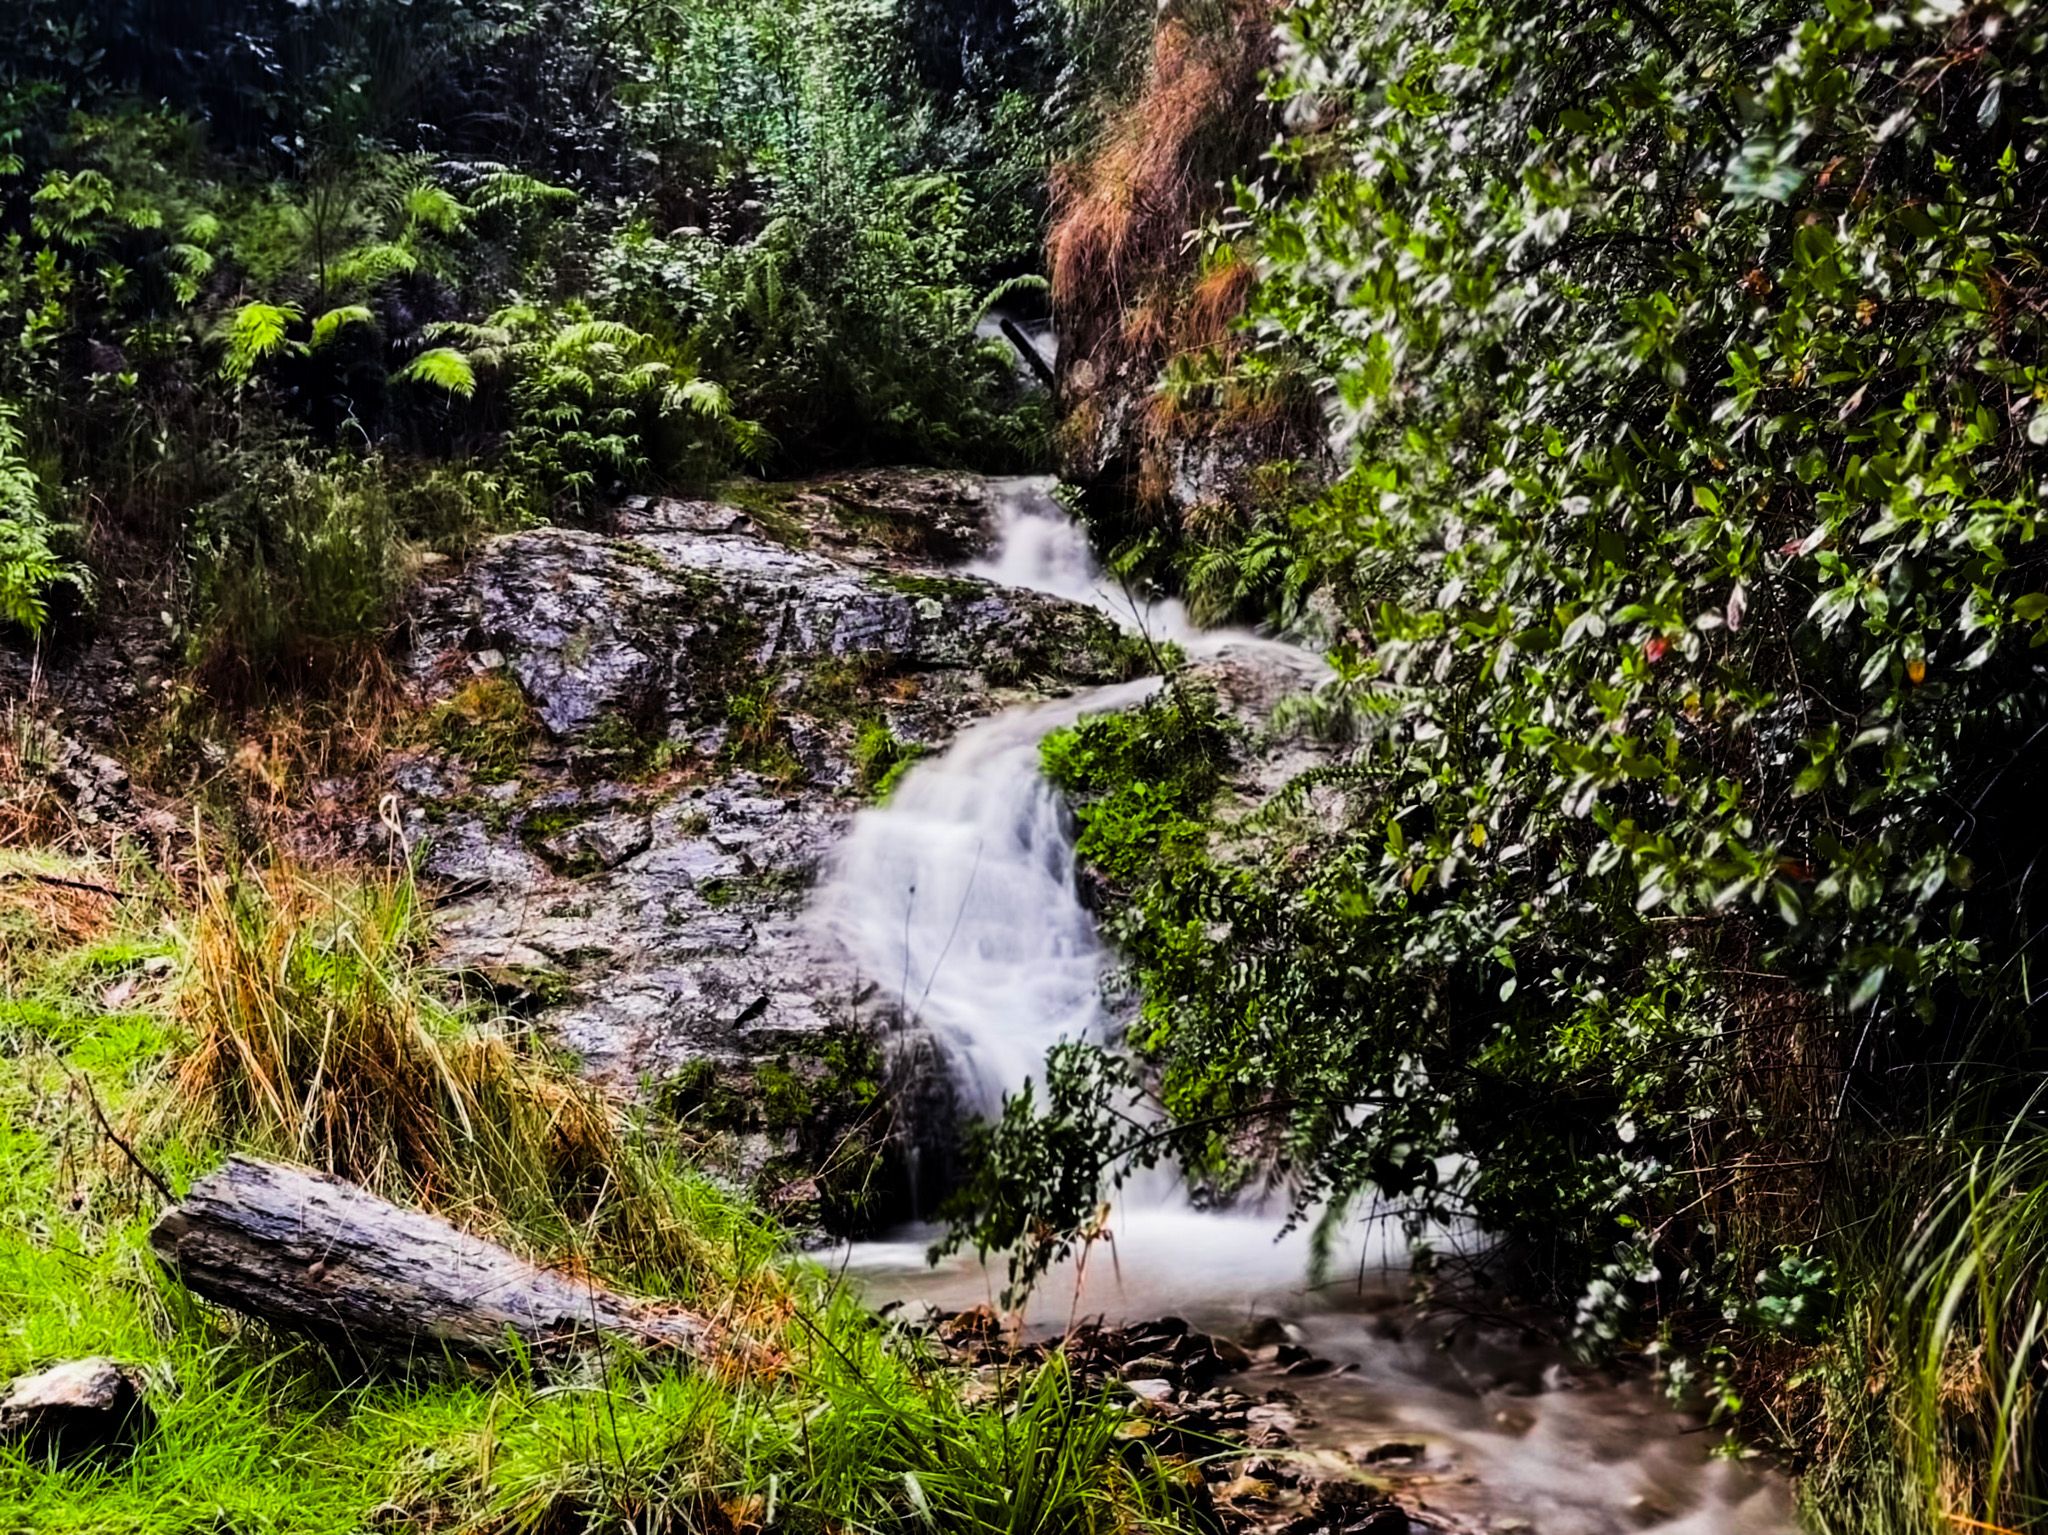
The road ends at Butchers Flat, about fifteen kilometres up the valley. Once part of the gold workings, it is now a DOC campsite on a flat terrace, with the Wakamarina River rushing through a gorge below. Take care near the cliff edge, and there is a safe way down at the north end of the campsite. The site features toilets and picnic tables, making it a good base for exploring tramping tracks into Mount Richmond Forest Park, following the old miners’ routes deeper into the ranges.
Getting There
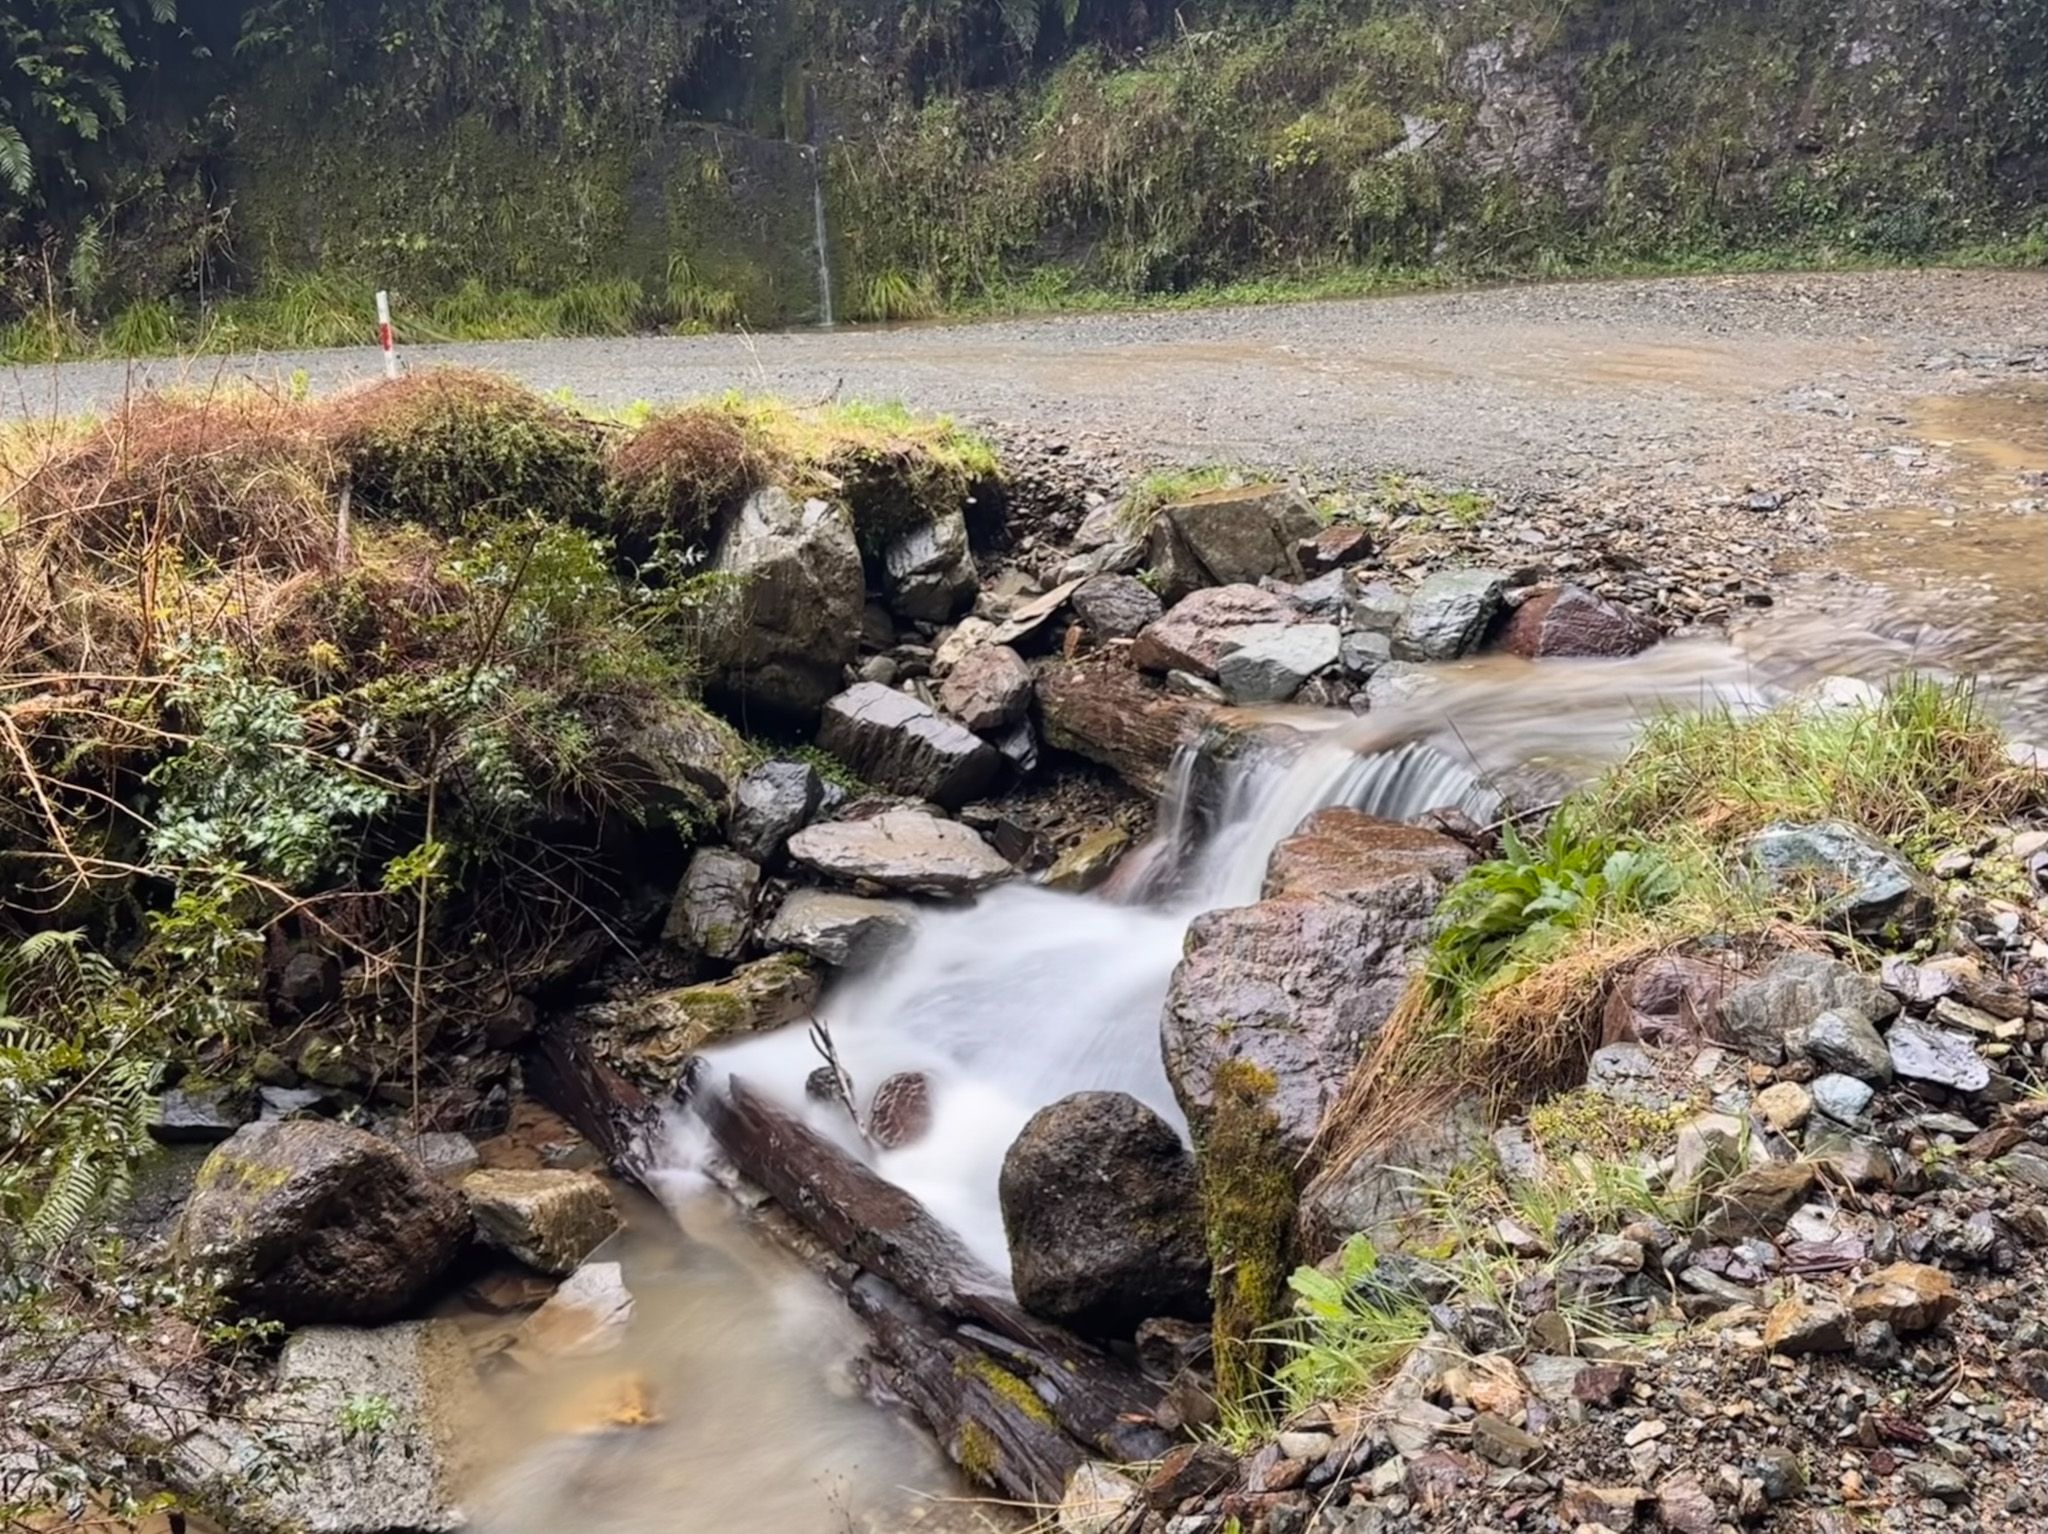
From Havelock, drive west along State Highway 6 for about ten kilometres to Canvastown. Turn onto Wakamarina Road and follow it into the valley. The road is mostly gravel, with two modest stream fords towards the end. It can be narrow in places, so allow extra time. From Canvastown to Butchers Flat is about fifteen kilometres.
If you have time, you can continue your journey by hiking the Wakamarina Track into the Richmond Ranges. There is a short option on the Doom Track, with old mine working, or multi-day tramps. More sedate are the short loop tracks around nearby Pelorus Bridge Scenic Reserve.